First user admission
In a school, usually several hundred to several thousand students have to be created as users. Therefore, this complex task at linuxmuster.net is handled by the program Sophomorix.
Sophomorix reads all students from a text file, e.g. from the school administration program. All students in this list that do not yet exist in the system are then created, assigned a new class, and students that are no longer listed are deleted from the system.
The School Console is a web-based tool for network administrators that makes it much easier to use Sophomorix. The individual steps are explained below. The network administrator only has to work with the command line in exceptional cases.
To add new users, the following steps must be carried out one after the other:
- Export Students and Teacher List from the School Administration Program.
- Import the user lists on the server.
- Check all user lists for incorrect entries or similarities with existing users.
- Then correct the user lists accordingly.
- Transfer user data, i.e. create users now actually
- Print out password lists or login cards (usually by the teaching staff)
The following shows how the first recording of students is done.
Initial admissions of students
Note
All the student names listed here are exemplary and fictitious. If there are people with the same name combination, then this is coincidence.
User administration is up to the administrator, so the administrator logs into the school console.
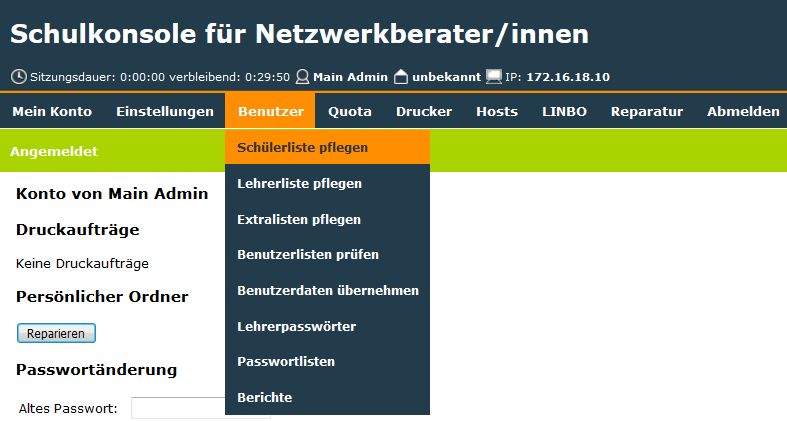
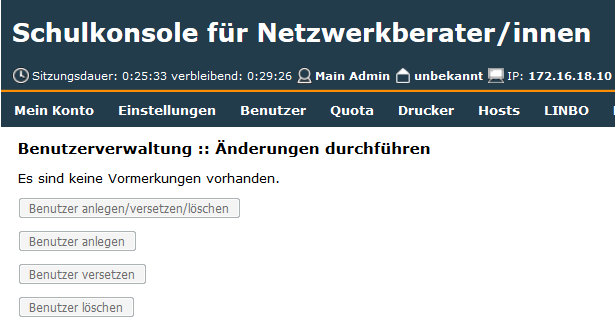
In the school console, choose User Maintain student list from the menu.
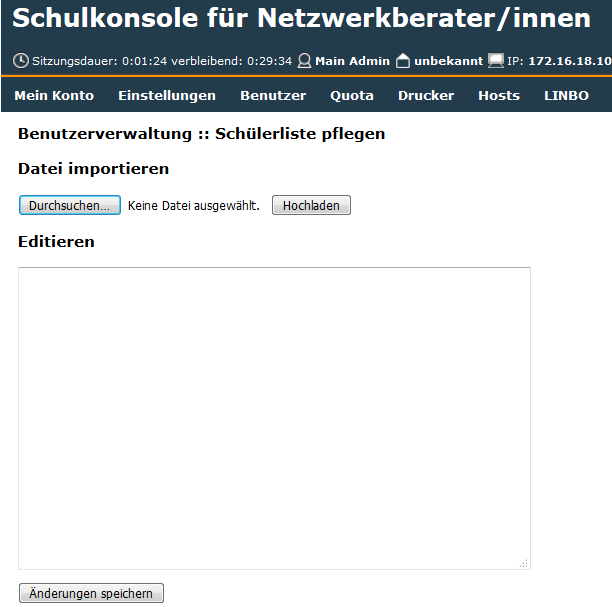
and see an empty window.
Note
In principle, the student list can be inserted into the empty window by “Copy and paste”. Shows how to import the file.
Note
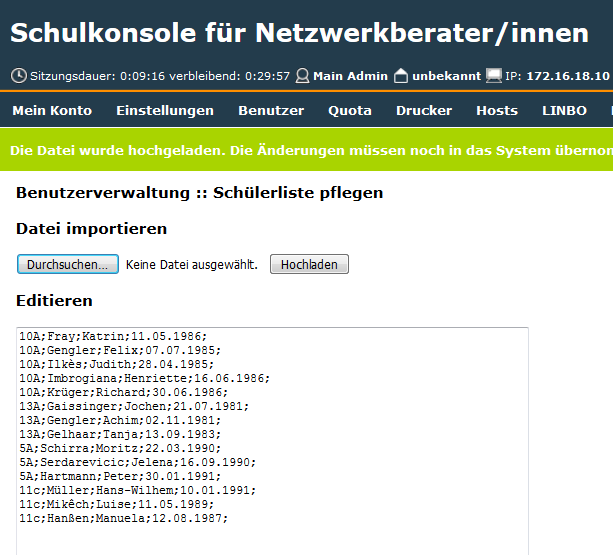
The student list must be in CSV format in the form of "class; surname; first name; date of birth; no.. The last field is optional. It contains the unique student number assigned in the school administration program. If it is present, it is essential to take it with you so that it makes it much easier to identify the correct data set in the event of transfers, name changes, and so on. If the number does not exist, each line consists of only 4 fields.
Note
Student Management Programs usually have a function to export student data as a CSV file. This file must be handed over to you as an administrator if you do not have access to the Student Administration program yourself.
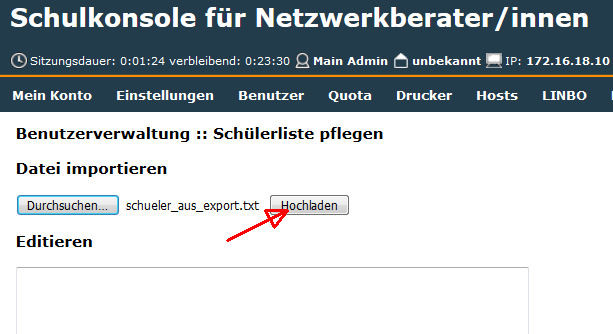
After clicking on Browse

navigate to the location where the file exported from the Student Administration file is located. Here on the desktop the file schueler_aus_export. txt.
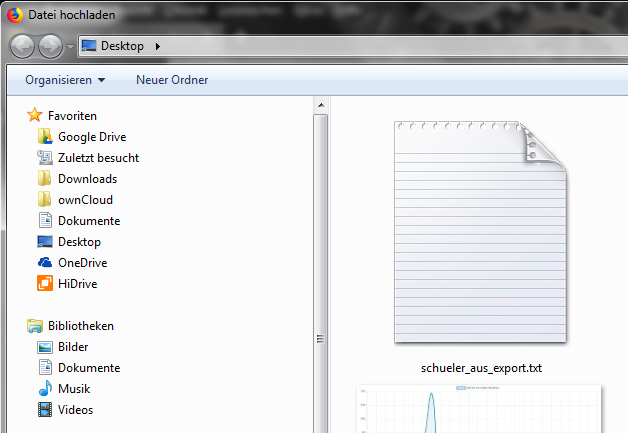
You select the file by double-clicking it and click on Upload in the following window
Depending on the number of students, it may take a while for the list of students to appear in the following window.
Click on Save changes
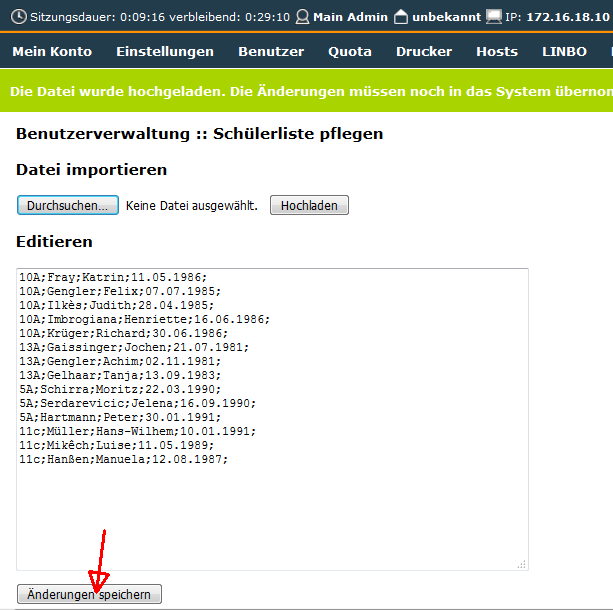
to save the students to be recorded in the schueler.txt file on the server under /etc/sophomorix/user/.
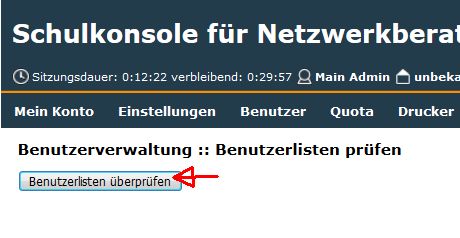
Now the file schueler.txt has to be checked. This is done by selecting Check user lists in the menu User Check user lists,
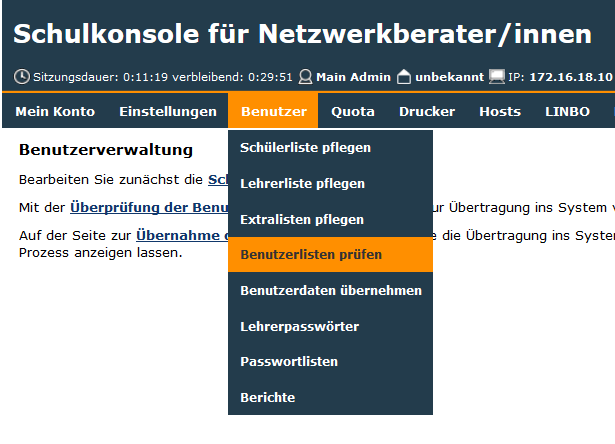
to click on Check user lists.
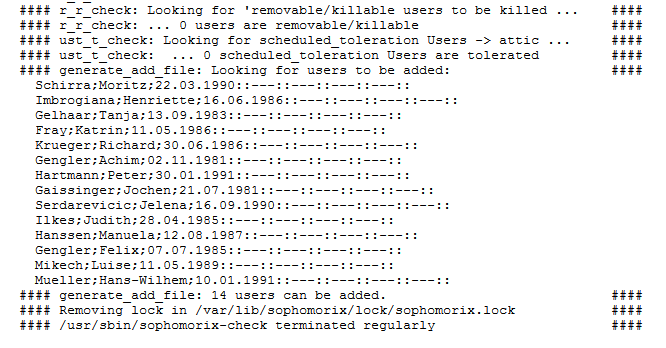
When the check is finished you will get a list similar to the one shown here
Note
Verification is necessary to detect possible errors. In at least one federal state it is possible to provide the pupil name with numbers. Sophomorix reports such errors. Birth data that do not correspond to reality or are not within the period of the /etc/sophomorix/user/sophomorix.conf are also reported.
Note
To avoid problems it is advisable to convert special characters ä; ö; ü; ß to ae; oe; ue; ss.
You may need to rework the file schueler.txt if errors are reported in the list. Revisions can of course be done in the school console.

If all errors have been fixed, click on Accept user data.
Note
You can - even if not all bugs have been fixed yet - click on Copy user data and Create user. The system then creates the students whose records are OK. You then proceed with the step Check user lists, see above.
A list of the students to be created is displayed again.
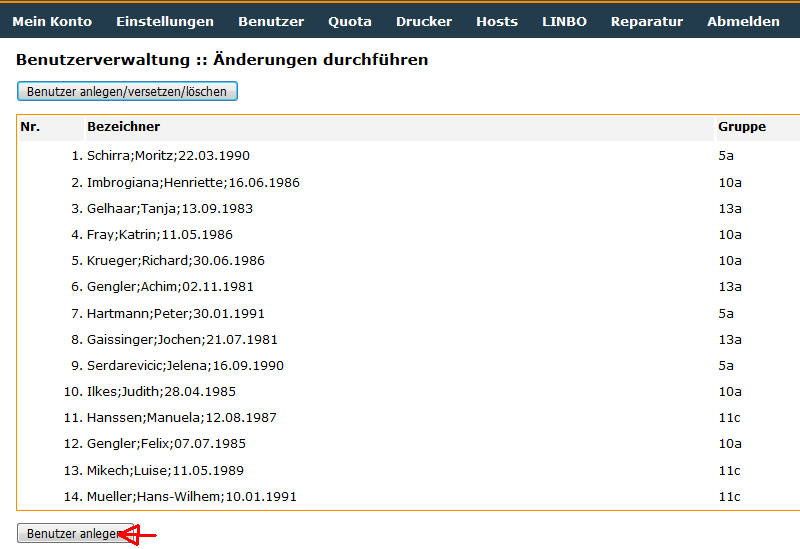
Below this list you click on Create user.
The following status messages are displayed as shown in the following figure
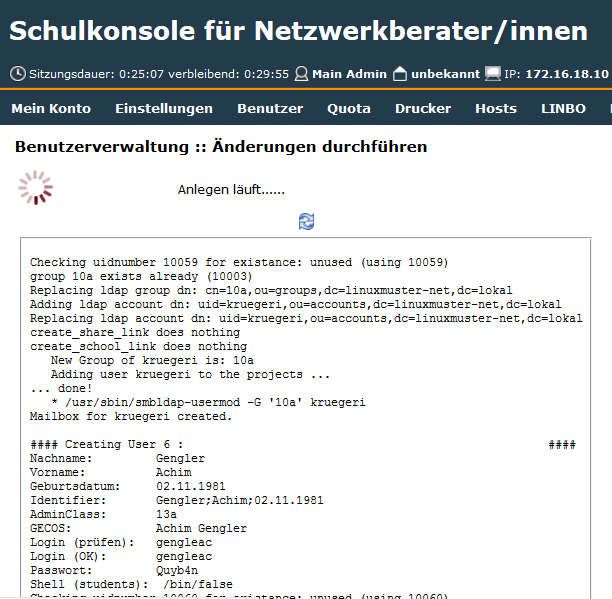
With a large number of students it can take several hours until the following picture shows the end of the user import
This completes the first recording.
Note
In the sense of a reasonable division of labour, the printing of the cards with login names and passwords should be left to the teachers who use the computer room with the students. Teachers should also change students’ passwords if the password is forgotten.