Register computer in the network
New clients are registered via the LINBO interface of the client and then recorded on the server in the system.
Registration with LINBO
However the LINBO user interface (Manual) on the Client provides a way to register a new machine to the system.
Restart the computer using PXE boot.
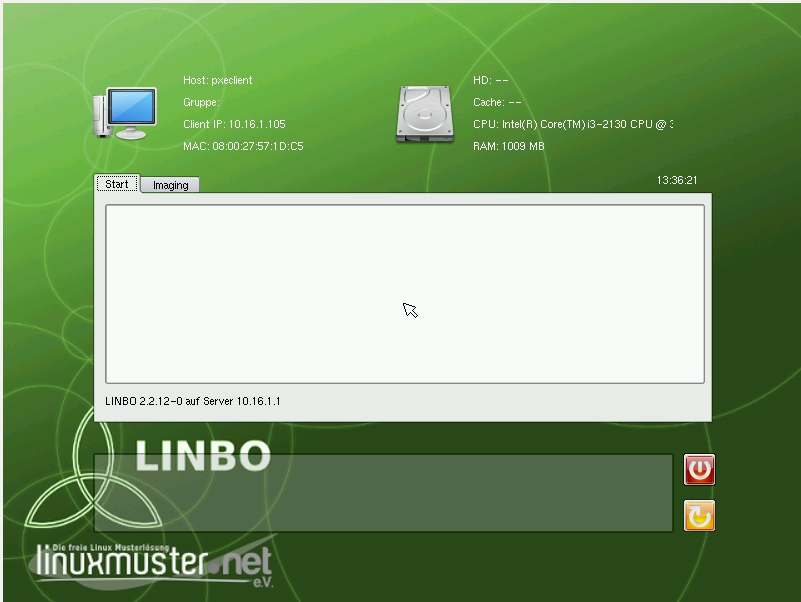
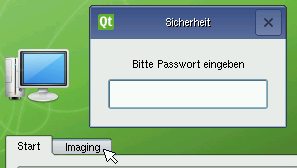
Click on the “Imaging” tab and log in with the LINBO password.
Note
In the password field, nothing is displayed. You must type it in “blind”.
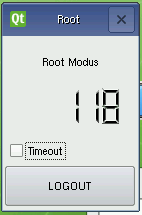
Now you are LINBO administrator. There is a timeout window that shows the time after which you will be logged out automatically. By clicking the checkbox, the timeout can be disabled.
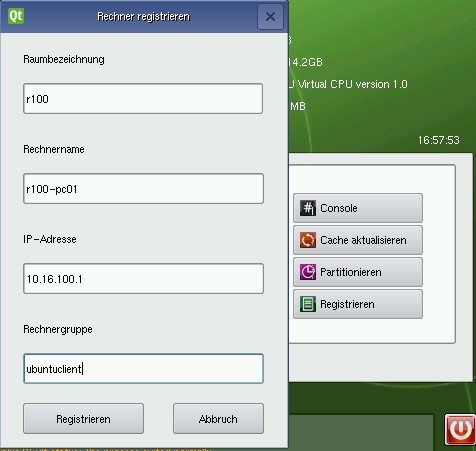
The button Register opens a dialog box where you can enter data for the client.
Note
- Room
- Enter the name of the room (for example, r100 or g1r100). Please note that the name of the room or the building must begin with a lowercase letter. Special characters are not allowed.
- Hostname
- e.g. In the form r100-pc01 (up to 15 characters), (if necessary, take the building into account g21r100-pc01). Please note that only characters and numbers are allowed as characters. Only the hyphen
-may be used as a separator. You may not use spaces, underlines or other special characters (such as german Umlaute, ß or punctuation marks) under any circumstances. - IP Address
- The IP address should fit to the room and must be outside the default DHCP range. Depending on your network data, you can enter e.g. 10.16.100.1 for this PC, usually not between 10.16.1.100 and 10.16.1.200 (default DHCP range).
- Host Group
- In the computer group, e.g. xenial, several (almost all) similar computers are combined, which get an (nearly) identical configuration.
If everything is filled in correctly, the client data is uploaded via the button Register on the server.
Note
If other clients are registered, you do not have to fill in the fields. Linbo increments automatically in the right place. E.g. its increments the hostname r100-pc01 =` r100-pc02` and the IP address 10.16.100.1 =` 10.16.100.2`. It’s clear that if you want to use the feature, you must register the computers in the correct order!
Import Registered Clients
As soon as all hosts are added, you have to start the import of the computers in the school console (school console manual) or at the console!
Since the access to the school console is only allowed by computers that are included in the system, at least the first computer must be imported manually.
Log on to the server as root and run the command line command
server ~# import_workstations
out.
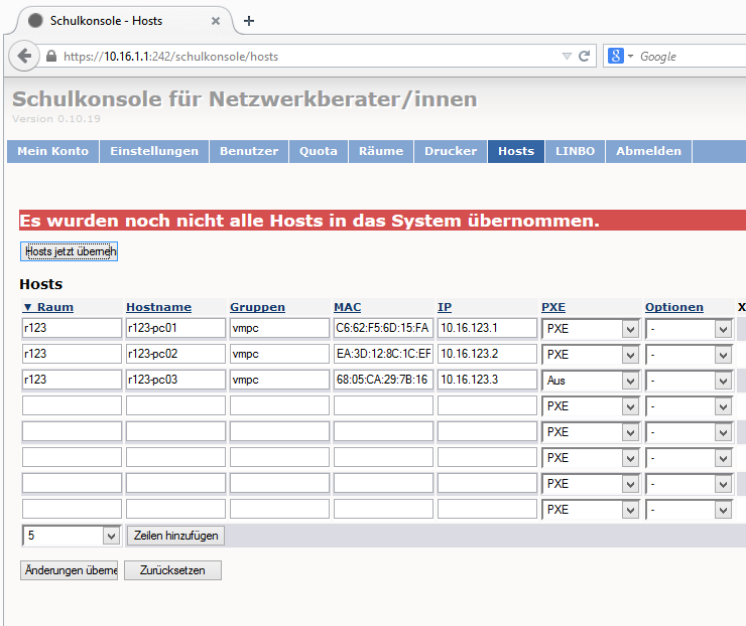
If you want to register and record other clients later, browse the school console from an already imported computer: https://server:242 and log in as administrator.
On the host tab of the school console, new computers can be entered directly and all new clients appear as not yet taken over into the system. A click on the ‘Import hosts now’ button does this and the newly registered clients are imported.