Management Options for the XenServer
For the operation, you have several options available. If you have a Windows computer in the network, you can use the program XenCenter.
For Linux computers, there is a clone of XenCenter called OpenXenManager.
Alternatively, if you have the VM “lmn62.xoa” imported, you can manage the XenServer platform independent from web browser.
XenCenter
Open a web browser and navigate to the page http://10.16.1.10.
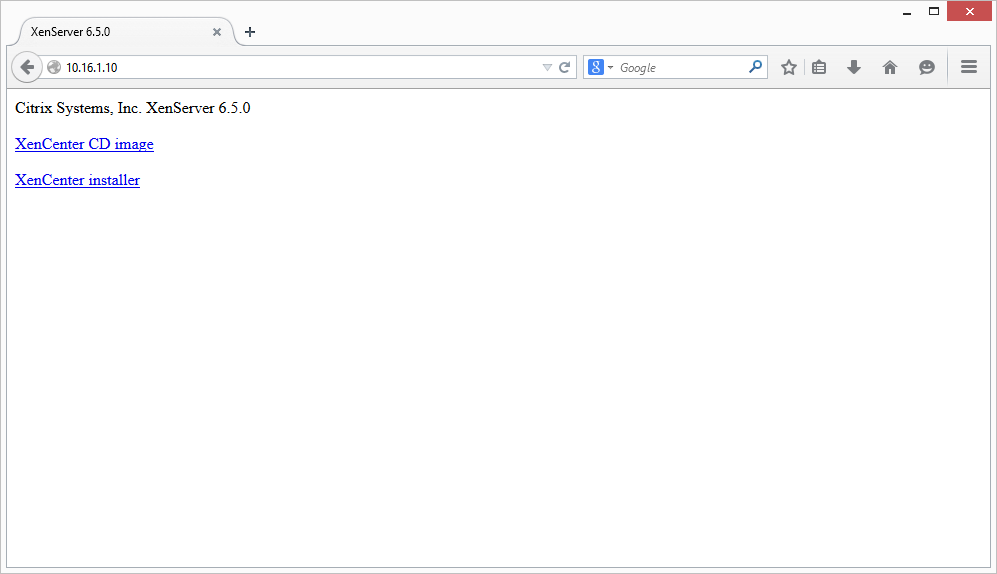
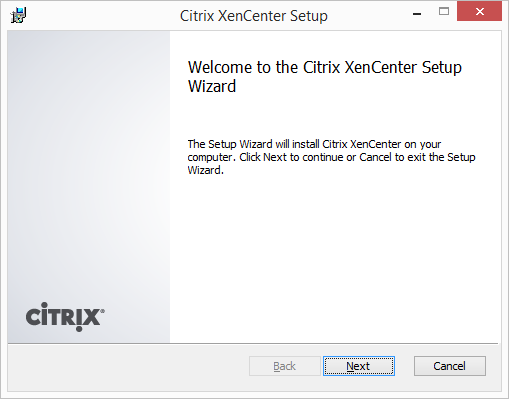
Click “XenCenter installer” and save the file and execute it directly. Follow the wizard to install the program.
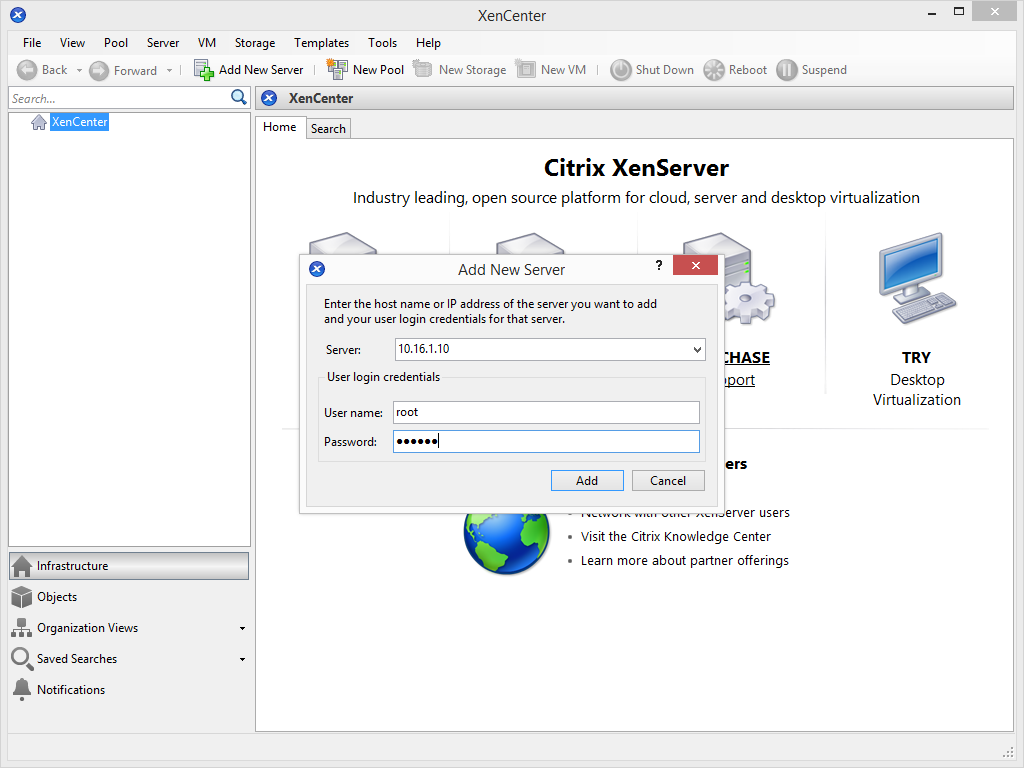
Run the program and click with the right mouse button on XenCenter. Select Add.
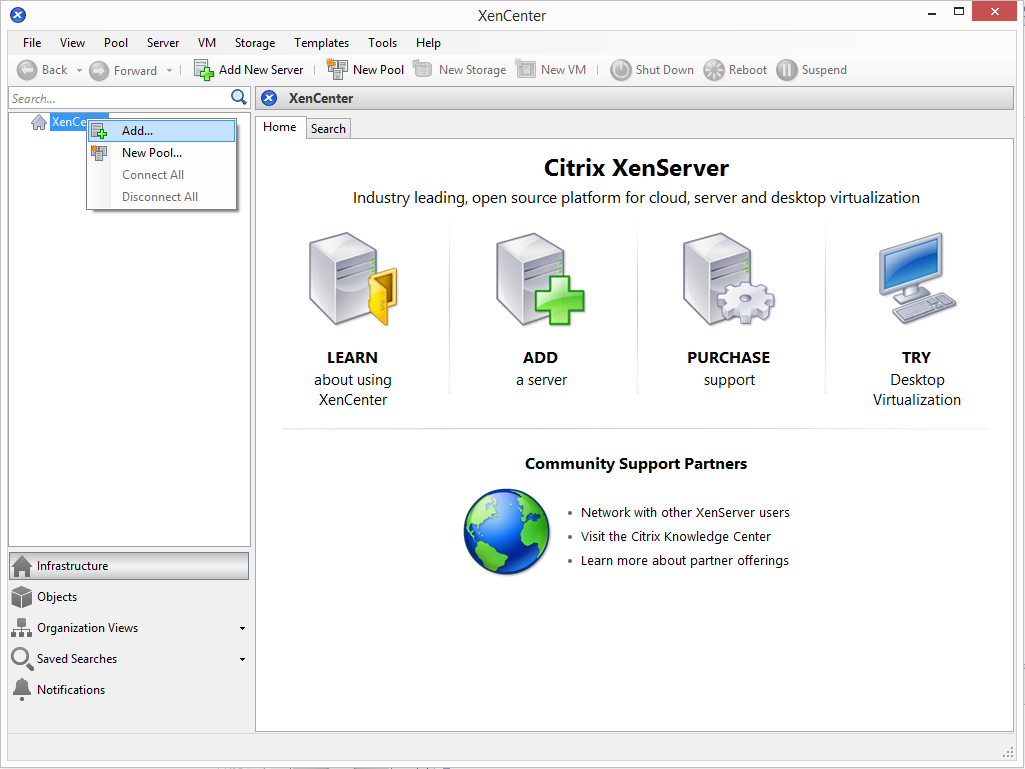
Enter the IP address 10.16.1.10 and the user data for root.
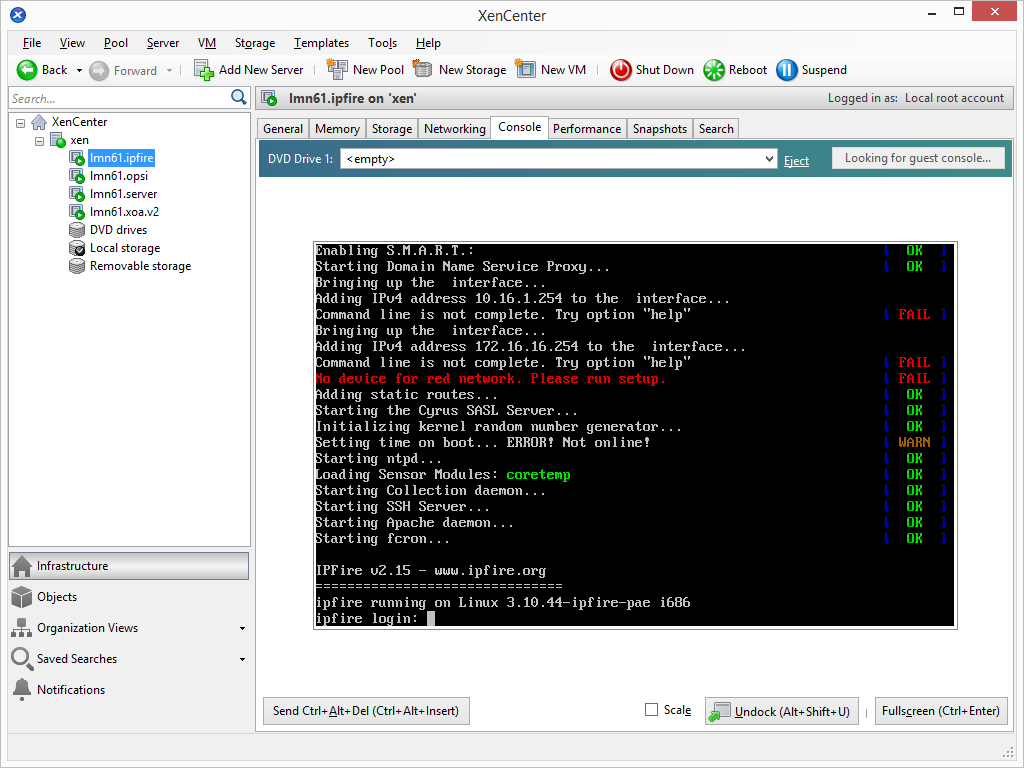
Now click on a VM from the list and switch to the tab Console. You can now use the VM.
Xen Orchestra (XOA)
Note
To use XOA the VM “lmn62.xoa” must be imported!
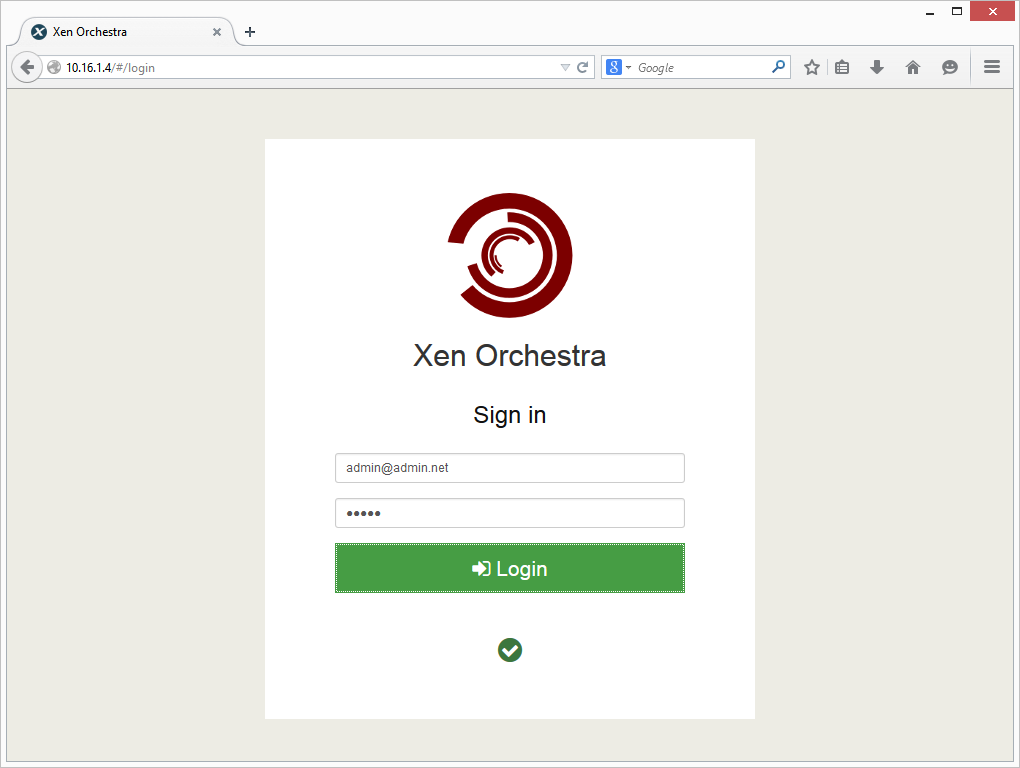
Open a web browser and navigate to the page http://10.16.1.4. Enter the user admin@admin.net with the password admin and click on Login.
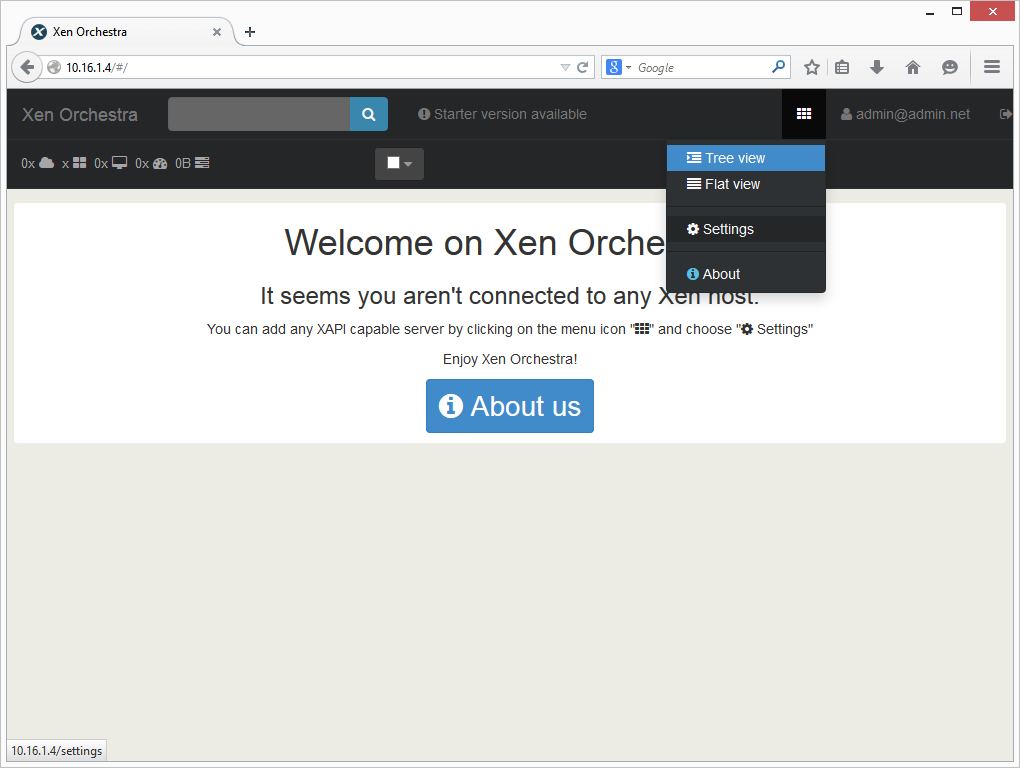
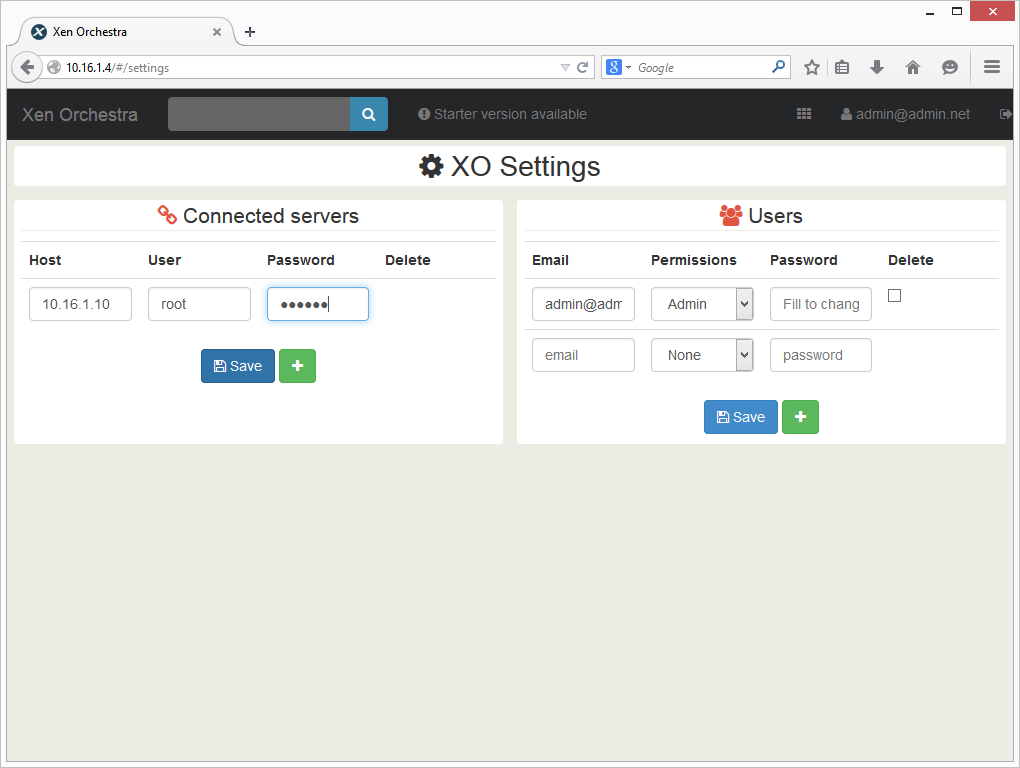
Click on the tile icon on the top right and select Settings.
Enter IP address 10.16.1.10 and the root password that you have assigned. Click to apply to Save.
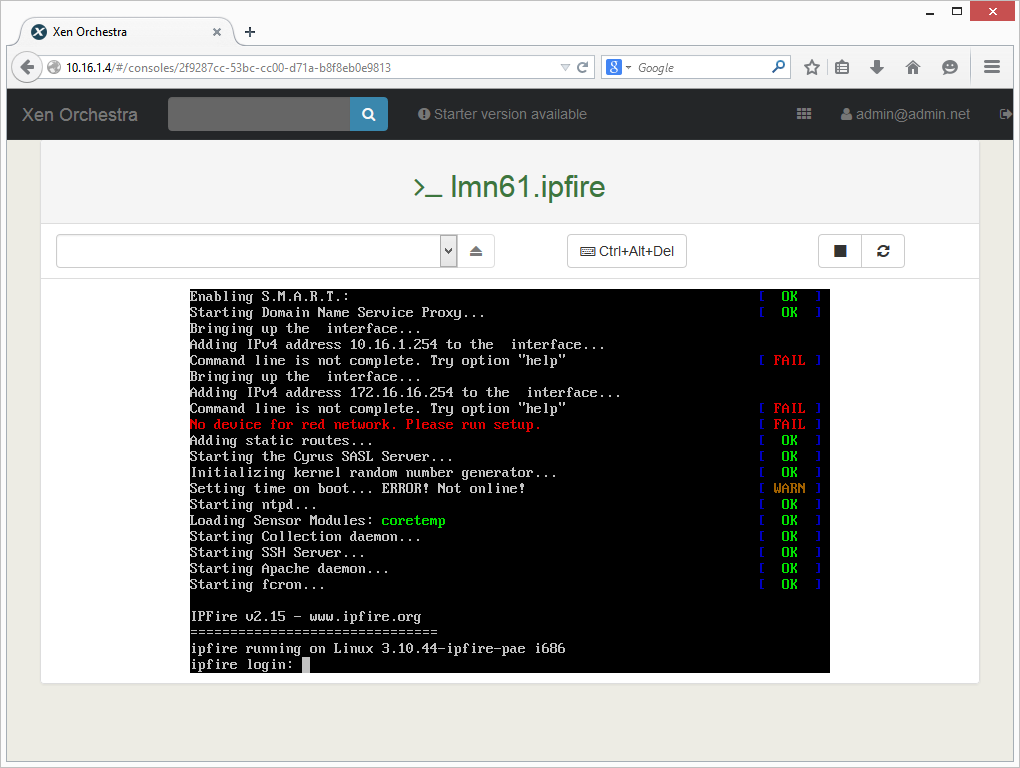
If you move your mouse over a VM some buttons appear directly. Click “VM Console” to operate a machine.

You can now use the Virtual Machine.
OpenXen Manager
To use OpenXen Manager you must first install the package. Proceed as follows.
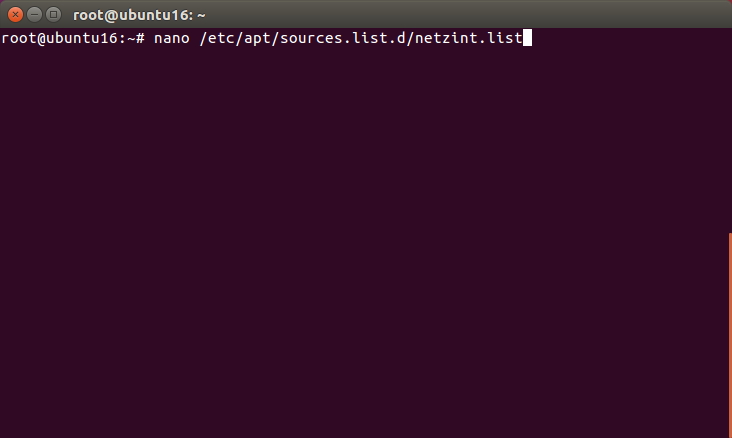
Open a terminal and enter the following command:
$ nano /etc/apt/sources.list.d/netzint.list
Now write in the line:
deb http://pkg.netzint.de/ precise main
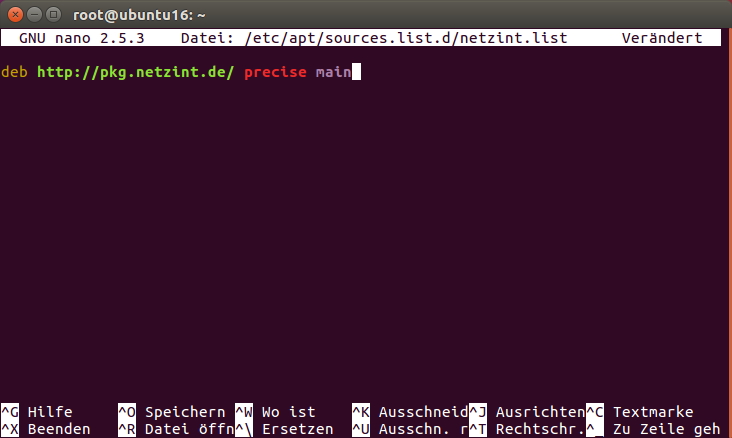
Exit the editor with Ctrl+x. You will be asked whether you want to save the changes. Press Y and confirm the location / filenames with Enter.
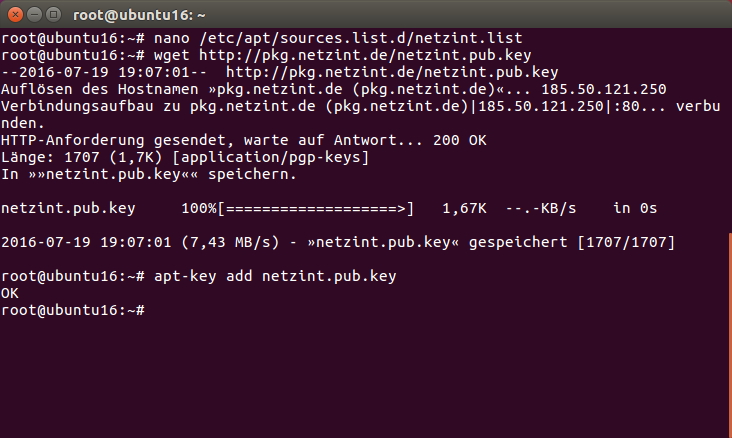
Enter the following commands in the console and confirm each with `` Enter``:
$ wget http://pkg.netzint.de/netzint.pub.key
$ apt-key add netzint.pub.key
Enter the command apt-get update in the console and press Enter.
$ apt-get update
Enter the command apt-get install netzint-xenmanager in the console and press Enter. Continue with Y.
$ apt-get install netzint-xenmanager
After installation, you can start OpenXenmanager with the command
$ xenmanager
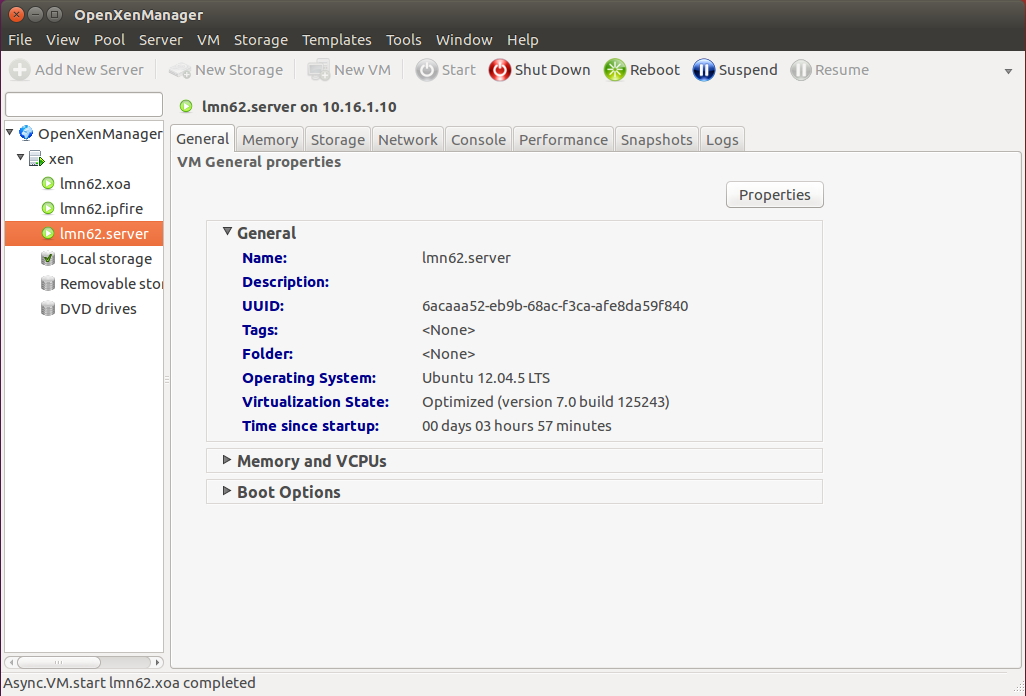
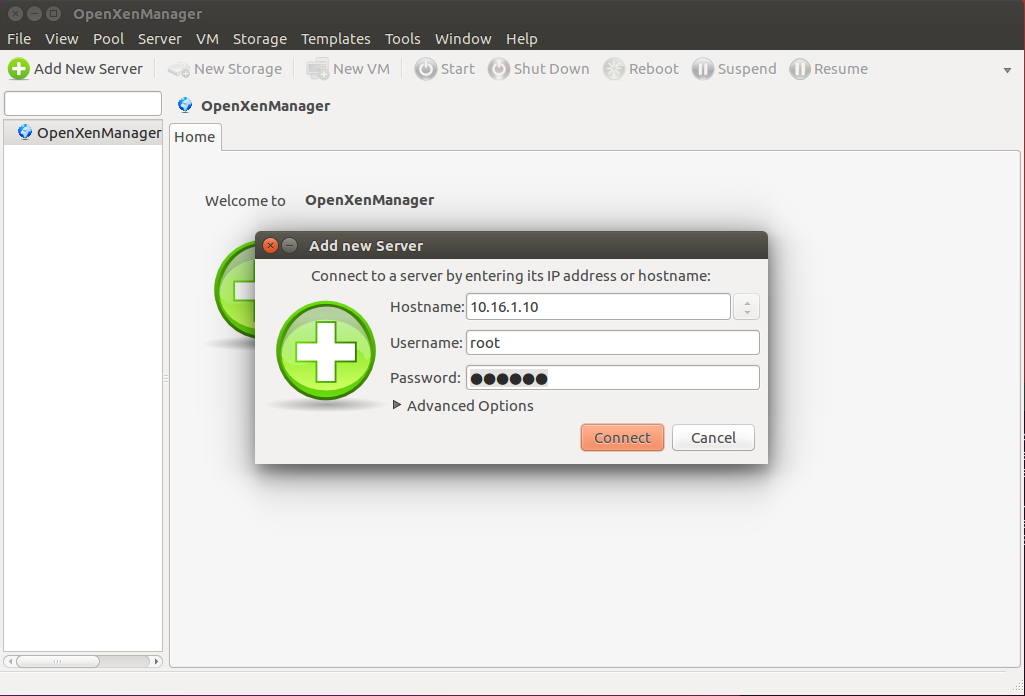
Click on Add New Server and enter the IP address and the username root and the password. Confirm with Connect.
Now you can see the management interface that allows you to manage the XenServer.