Install and configure the firewall
Install the firewall
Boot the server you want to use for the firewall with the IPFire CD. Confirm by pressing the ENTER key that you want to install IPFire.
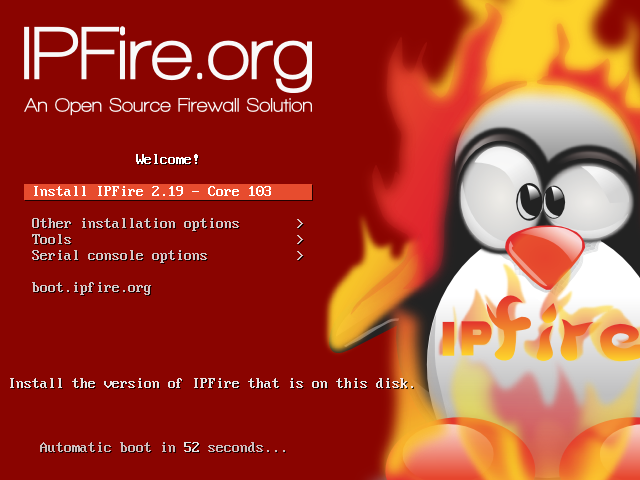
Confirm that you want to install IPFire.
Use the arrow keys to select your language and confirm your selection with the ENTER key.
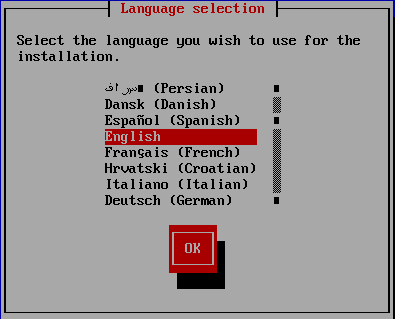
Select the desired language.
Confirm by pressing the ENTER key that you want to install IPFire.
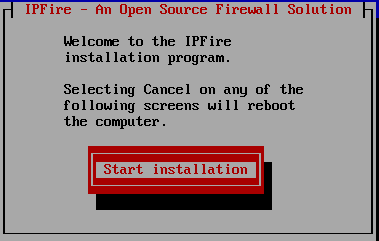
Confirm that you want to install IPFire.
Accept the license. Press the TAB key to jump to the confirmation checkbox and press the Spacebar. Confirm with the ENTER key.
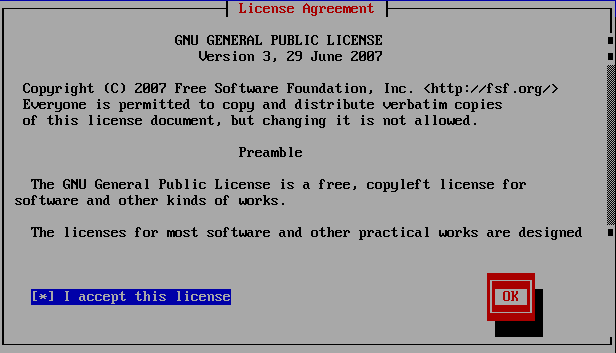
Accept the license
Confirm by pressing the ENTER key that in the following steps the hard disk will be partitioned and formatted. All data will be lost on the disk.
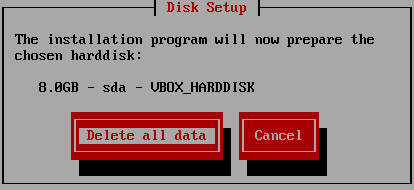
Confirm the partitioning and formatting of the hard disk.
Select ext4 as file system by pressing the ENTER key.
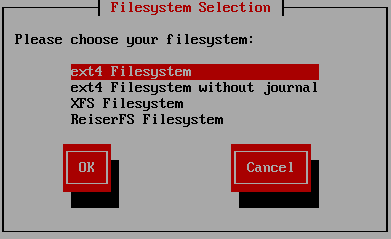
Select ext4 as file system.
After installation, remove the CD and confirm the reboot by pressing the ENTER key.
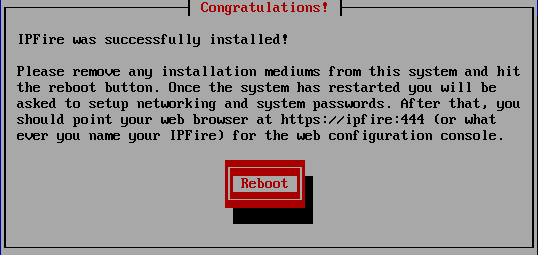
Remove the CD and confirm the reboot.
Configuration of the Firewall
After the reboot, the initial configuration of IPFire is done. Use the Arrow keys to select the keyboard layout and confirm your selection by pressing the ENTER key.
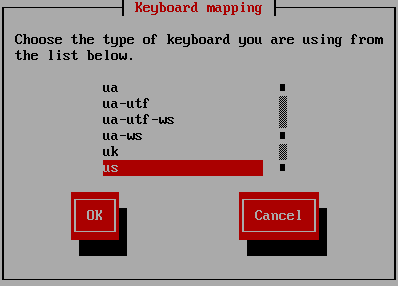
Select the keyboard layout.
Use the Arrow keys to select the time zone and confirm your selection by pressing the ENTER key.
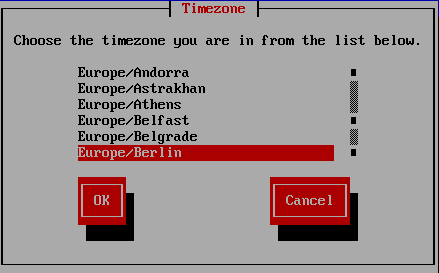
Select the time zone.
Enter ipfire as host name and confirm by pressing the ENTER key.
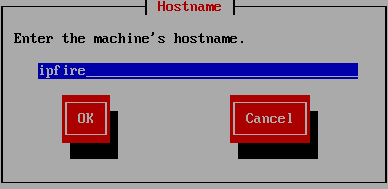
Enter ipfire as host name.
Enter the domain name and confirm by pressing the ENTER key. Recommendation: Use linuxmuster-net.lokal
Warning
Do not use local as part of the domain name!
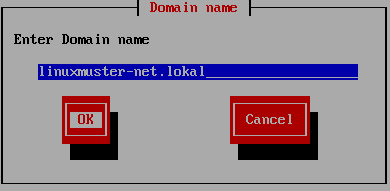
Enter the domain name.
Enter the password for the user root and confirm your entry with the ENTER key. With this user you can login later on to the console of the IPFire.
Note
You won’t see the password as you enter, not even in the form of the usual stars.
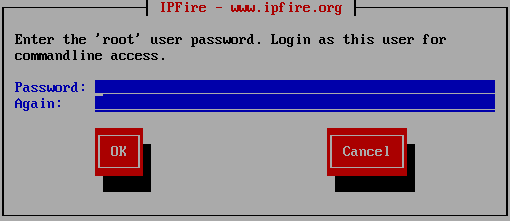
Choose the password for the user root.
Enter the password for the user admin and confirm your entry with the ENTER key. With this user you can login later to the web interface of the IPFire.
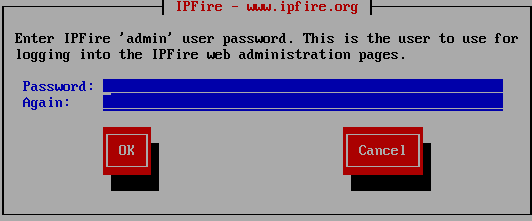
Choose the password for the user admin.
Select the item Network configuration type by pressing the ENTER key.
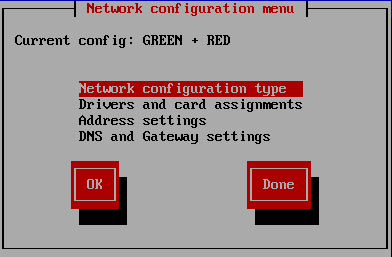
Select the item Network configuration type.
Select the item GREEN + RED + BLUE with the Arrow keys and confirm your selection with the ENTER key.
Note
- The school computers are located in the green network later.
- The IPFire is connected to the internet via the red network via the router.
- The blue network is the guest network, this will be used for BYOD or wifi connected devices later.
Warning
Select the configuration even if you do not plan to offer a guest network. Otherwise the additional installation will fail.
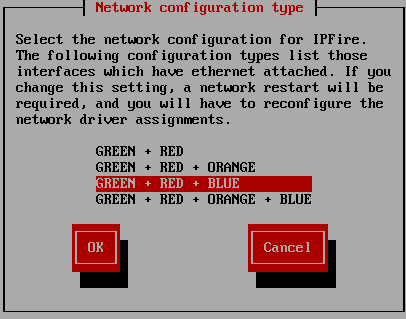
Select the item GREEN + RED + BLUE.
Select the item Drivers and card assignments with the Arrow keys and confirm your selection with the ENTER key.
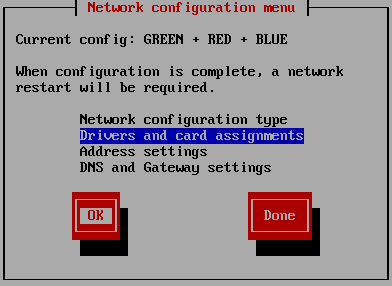
Select the item Drivers and card assignments.
Now you assign the individual network cards based on their MAC address to the networks.
Note
If you do not know, which MAC addresses belongs to which network card, you can configure the network card assignment - at this point - arbitrarily and determine later which network card is connect which network.
Select the item GREEN with the Arrow keys and confirm your selection with the ENTER key.
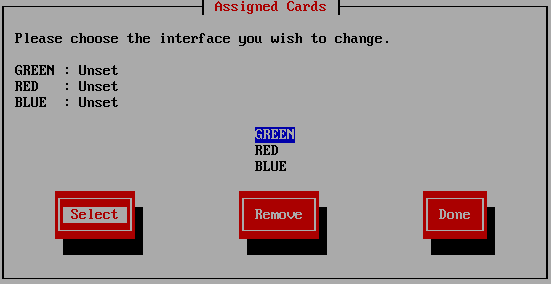
Select the item GREEN.
Select the network card for the green network with the Arrow keys and confirm your selection with the ENTER key.
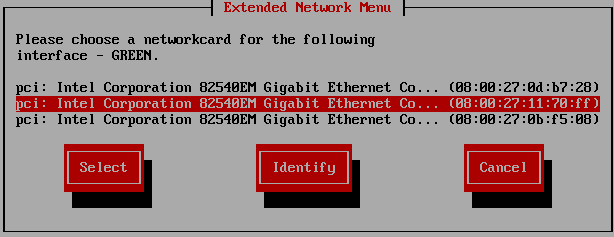
Select the network card for the green network.
Select the item RED with the Arrow keys and confirm your selection with the ENTER key.
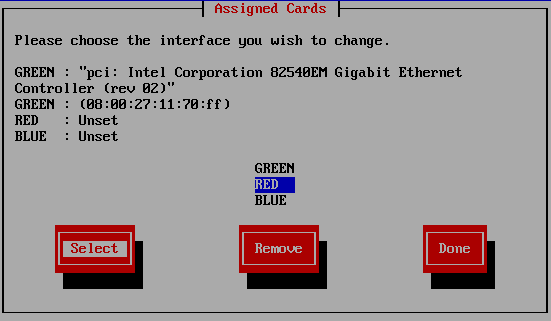
Select the item RED.
Select the network card for the red network with the Arrow keys and confirm your selection with the ENTER key.

Select the network card for the red network.
Select the item BLUE with the Arrow keys and confirm your selection with the ENTER key.
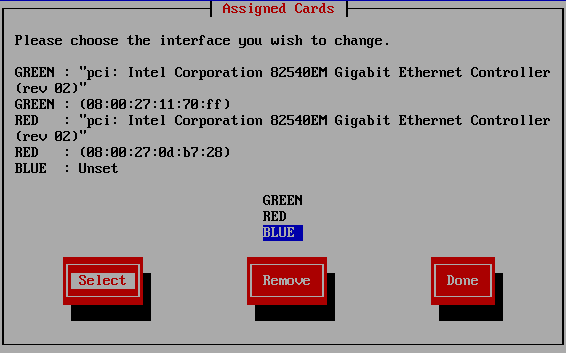
Select the item BLUE.
Select the network card for the blue network with the Arrow keys and confirm your selection with the ENTER key.
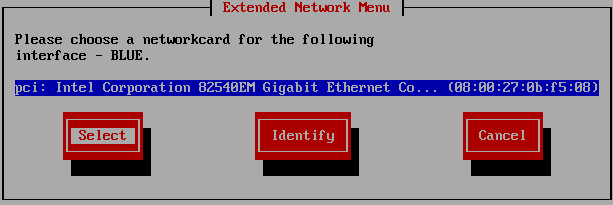
Select the network card for the blue network.
Confirm the end of the NICs assignments. Select with the Arrow keys the item DONE and confirm your selection with the ENTER key.
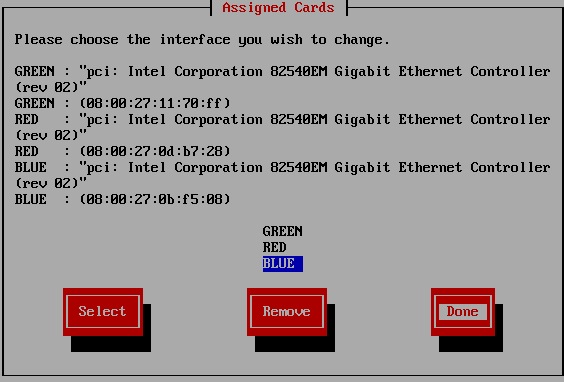
Confirm the end of the NICs assignments.
Select the item Address Settings with the Arrow keys and confirm your selection with the ENTER key.
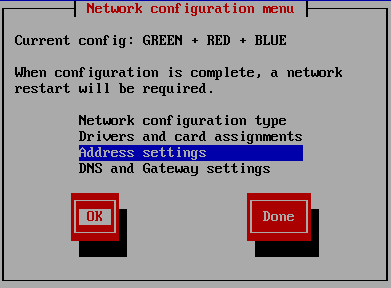
Select the item Address Settings.
Select the item GREEN with the Arrow keys and confirm your selection with the ENTER key.

Select the item GREEN.
Confirm the security note by pressing the ENTER key.
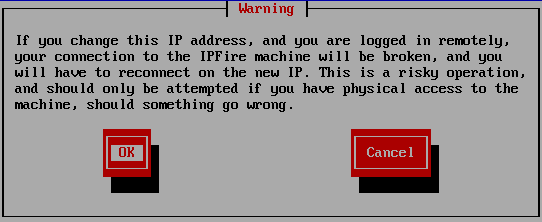
Confirm the security note.
Enter the IP address 10.16.1.254 and the netmask 255.240.0.0 and confirm your selection with the ENTER key.
Note
If you have chosen a different IP address range, you must adjust this input.
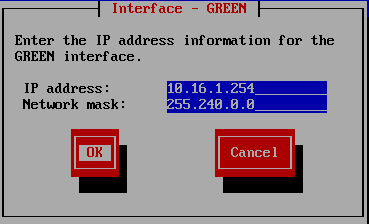
Enter the IP address 10.16.1.254 and the netmask 255.240.0.0.
Select the item BLUE with the Arrow keys and confirm your selection with the ENTER key.
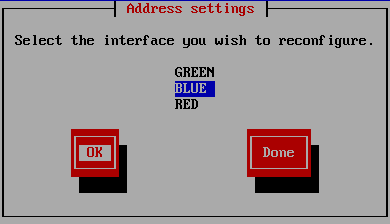
Select the item BLUE.
Enter the IP address 172.16.16.254 and the netmask 255.255.255.0 and confirm your selection with the ENTER key.
Note
If you have chosen a different IP address range, you must adjust this input.
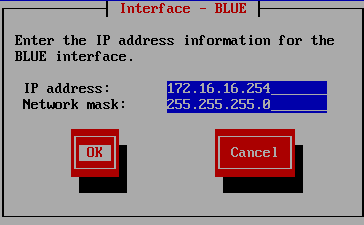
Enter the IP address 172.16.16.254 and the netmask 255.255.255.0.
Select the item RED with the Arrow keys and confirm your selection with the ENTER key.
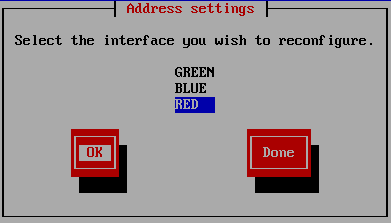
Select the item RED.
Choose according to your internet connection the appropriate option with the Arrow keys and confirm your selection with the ENTER key.
Note
Schools in Baden-Württemberg are often equipped with a router of BelWü and thus have a static IP. In this case, select Static.
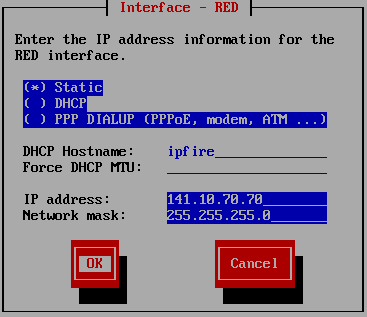
Static
If you have selected Static, enter the data from your provider (for example BelWü) , and confirm with the ENTER key.
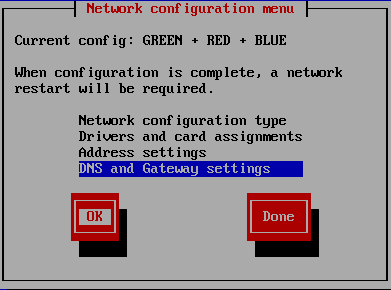
If you selected Static the last step, go to DNS and Gateway settings with the arrow keys and confirm with the ENTER key.
Now enter your primary and secondary DNS and the default gateway and confirm your entry with the ENTER-key.
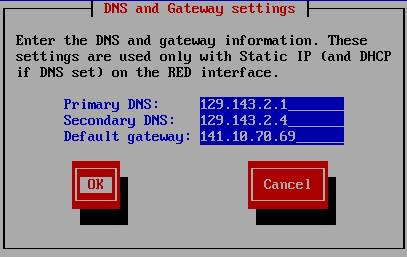
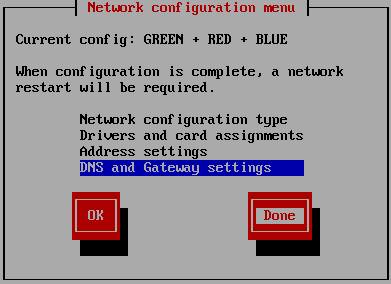
Navigate with Arrow keys on Done and confirm your selection with the ENTER-key.
DHCP
If you have selected DHCP press the ENTER key.
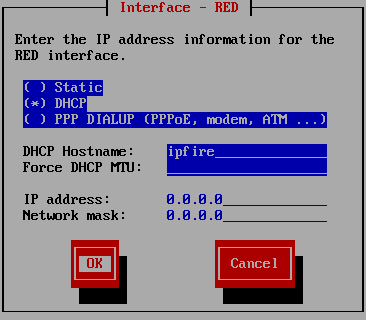
If you have selected DHCP in the last step, navigate using the arrow buttons to Done and confirm your selection with ENTER.
Completion of configuration
Do not enable the DHCP service for the green network, this functionality does the linuxmuster.net server itself. Navigate with the Arrow keys on the button OK and confirm your choice with the ENTER key.
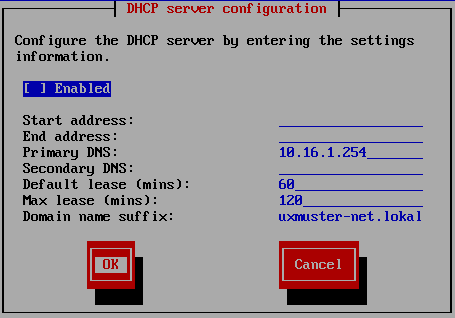
Do not activate the DHCP service.
Confirm the end of the setup with the ENTER key.
Confirm the end of the setup.
Install an admin-PC
Set up a PC that is connected to the IPFire’s green network interface via a switch. With this PC you can assign the network cards in the next section and later use the web interface of the IPFire.
Give the Admin PC a fixed IP. You need the following data:
- IP: 10.16.1.2
- Netzmask: 255.240.0.0
- Gateway: 10.16.1.254
Note
If you have chosen a different IP address range, you must adjust this input.
Assigning networks to network cards
If you were not sure during setup, which network card is connected to which network you will now finish the assignment. Otherwise, please continue with Customizing the SSH configuration.
Assignment of the NIC to the green network
Connect one of the three network cards to the switch. In the following, it is checked whether this network device is in the green network.
Note
During testing no other devices are aloowed to be connected to the switch.
From the Admin PC, ping to the IP 10.16.1.254. On Linux, the command and its answer looks as follows:
linuxadmin@admin-pc:~$ ping 10.16.1.254 -c 1
PING 10.16.1.254 (10.16.1.254) 56(84) bytes of data.
64 bytes from 10.16.1.254: icmp_req=1 ttl=63 time=0.438 ms

--- 10.16.1.254 ping statistics ---
1 packets transmitted, 1 received, 0% packet loss, time 0ms
rtt min/avg/max/mdev = 0.438/0.438/0.438/0.000 ms
If there is no answer, the program says Destination Host Unreachable and returns 100% packet loss.
If you do get a response this network device is located in the green network. In this case, continue with Assignment of the NIC to the red network.
If you don’t get an answer unplug the cable from the first NIC of IPFire and insert it again in the second NIC and ping again the IP 10.16.1.254. If you now get an answer then this network card is in the green network. Continue in this case with the Assignment of the NIC to the red network.
If you don’t get an answer unplug the cable, insert it again in the third NIC and ping again the IP 10.16.1.254. You should get an answer.
Assignment of the NIC to the red network
Login in as user root at the console of the IPFire with your chosen password.
ipfire login: root
Password:
Note
You won’t see the password as you enter, not even in the form of the usual stars.
Now connect one of the two network cards that is not connected yet to your router. Then start the network again.
[root@ipfire ~]:# /etc/init.d/network restart
Then update the package lists in order to check your connection to the Internet.
[root@ipfire ~]:# pakfire update
If the command returns with a download of new lists or without any confirmation, the network card is located in the red network (and thus the third network is not yet wired in the blue network, which we leave like that). Continue with Customizing the SSH configuration. If the command returns
[root@ipfire ~]:# pakfire update
PAKFIRE ERROR: You need to be online to run pakfire!
the network card is in the blue network. Connect in this case, the remaining third network card to your router and run the command again.
[root@ipfire ~]:# /etc/init.d/network restart
The “blue network card” initially remains unwired.
Customizing the SSH configuration
Thus the linuxmuster.net server can access when installing the IPFire, the SSH server must be enabled. There are two ways to do this: on the Console or with the Webinterface of the IPFire. Both ways are equivalent.
SSH configuration via the web interface
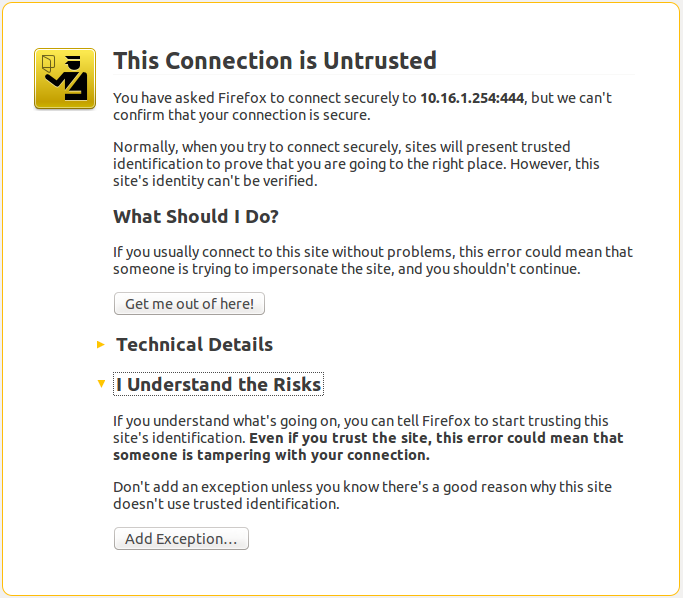
Open a browser in the admin PC connected to the switch and call the address https://10.16.1.254:444 . Accept the security notice by clicking on I know the risk.
Note
Depending on the browser the following images can vary. Here Firefox was used.
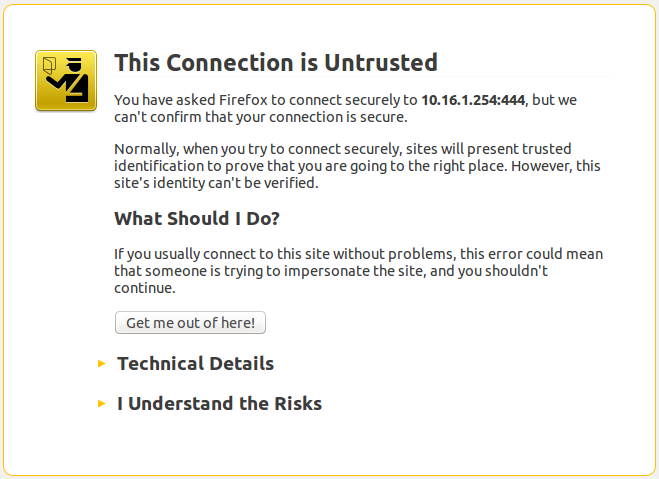
Open the address https://10.16.1.254:444 and accept the security note.
Click on Add exception.
Click on Add exception.
Click on Confirm security exception.
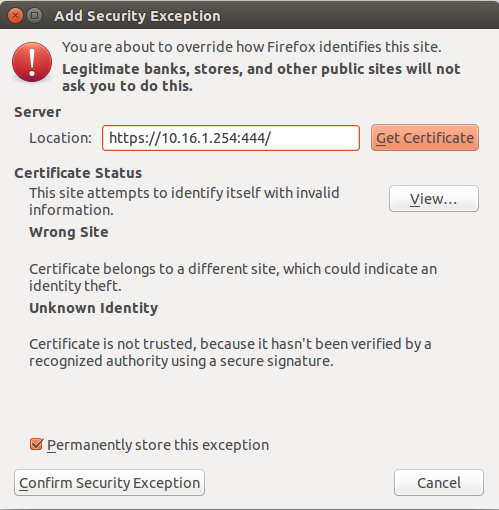
Click on Confirm Security Exception.
Login in as user admin with your chosen password.
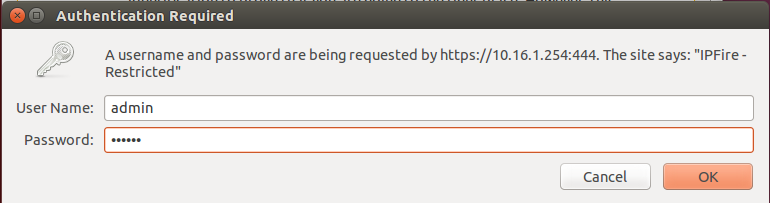
Enter your credentials.
Goto System and then SSH Access.
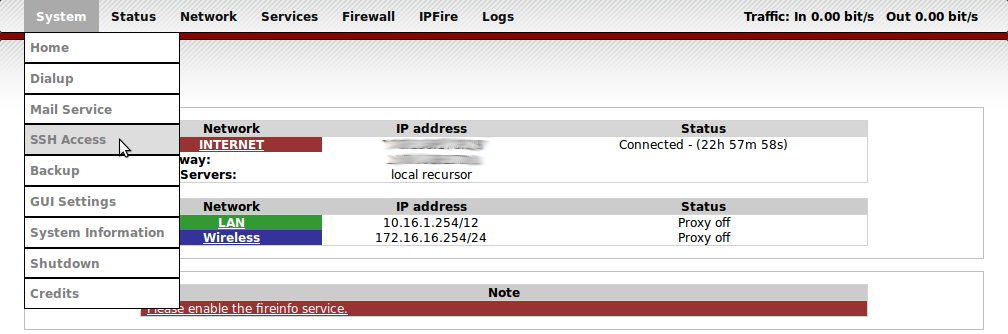
Goto System and then SSH Access.
You should additionally put hooks in
- SSH access
- Allow public key based authentication
and confirm your choice by clicking on the Save.
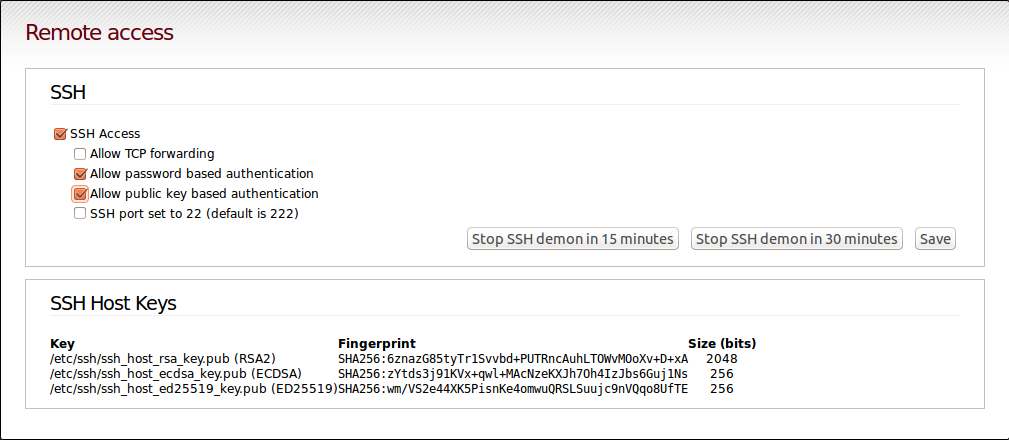
Allow SSH access and authentication based on public key
Note
If IPfire reportes updates in the web interface, do not install them! Instead, use, after installing the server linuxmuster.net, the command linuxmuster-ipfire --upgrade. It is thus ensured that the version of IPFire is compatible with the version of the linuxmuster.net server. See also Update the IPFire Firewall.
Now continue with the Configuration of the proxy.
SSH configuration from the console
Login as root on the console with your password. Edit the file /var/ipfire/remote/settings with the editor vi, so it has the following content. The last line does not need to be adjusted.
ENABLE_SSH_KEYS=on
ENABLE_SSH_PROTOCOLL1=off
ENABLE_SSH_PASSWORDS=on
ENABLE_SSH_PORTFW=off
ENABLE_SSH=on
__CGI__=CGI=HASH(0x840b7a0)
In addition, with the following commands
[root@ipfire ~]:# touch /var/ipfire/remote/enablessh
[root@ipfire ~]:# chown nobody:nobody /var/ipfire/remote/enablessh
create the file enablessh so that you can start the SSH service. The command
[root@ipfire ~]:# /etc/rc.d/init.d/sshd restart
finally starts the service. You’ll see an [OK].

Restart the SSH service.
Now continue with the Configuration of the proxy.
Enable proxy access for the server
The linuxmuster.net server can fully access the Internet. For this, the Web proxy needs to be configured, there are again two equivalent alternatives: webinterface or console.
Proxy configuration via the web interface
In the computer connected to the switch, open a browser and invoke the address https://10.16.1.254:444.
If you have not already done so, accept the security note and add an exception as described in section SSH configuration via the web interface and log in with admin and your chosen password.
Click on Web Proxy in the Network-Menu.
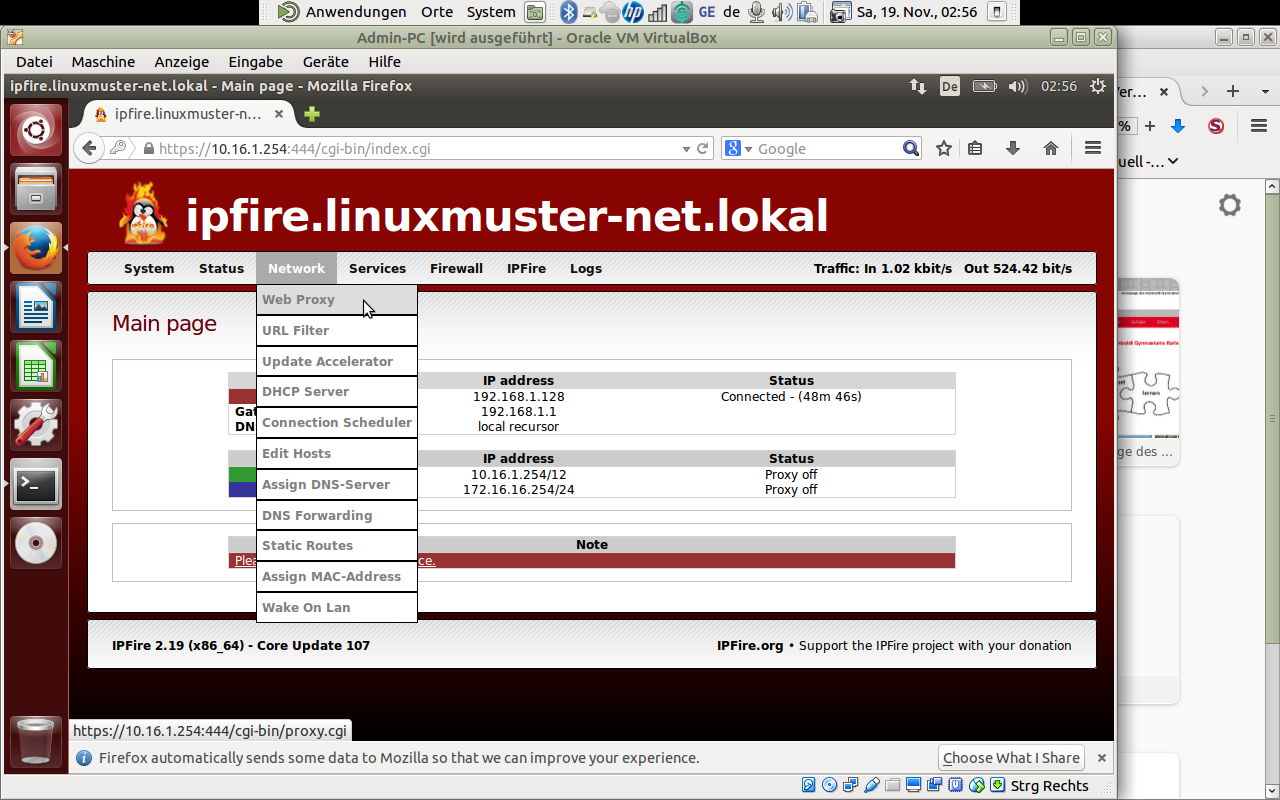
Click on Web Proxy in the Network-Menu.
In the section Network based access control, enter the IP address of the server, 10.16.1.1, in the input field below Unrestricted IP addresses (one per line).
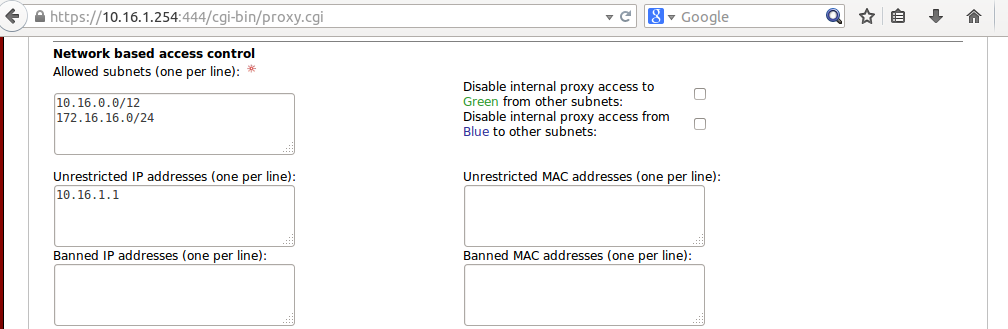
Allow the server unrestricted access to the Internet.
Then press the “Save and Restart” button on the bottom of the page.

Confirm the changes by “Save and Restart”
Note
If IPFire reports updates in the web interface, do not install them! Instead, use, after installing the server linuxmuster.net, the command linuxmuster-ipfire --upgrade. It is thus ensured that the version of IPFire is compatible with the version of the linuxmuster.net server. See also Update the IPFire Firewall.
Now continue with the Installation of the server.
Proxy configuration from the console
First, a new folder acls is created and its rights are adapted.
[root@ipfire ~]:# mkdir /var/ipfire/proxy/advanced/acls
[root@ipfire ~]:# chown nobody:nobody /var/ipfire/proxy/advanced/acls
The file src_unrestricted_ip.acl is created in this folder and its rights are adapted.
[root@ipfire ~]:# touch /var/ipfire/proxy/advanced/acls/src_unrestricted_ip.acl
[root@ipfire ~]:# chown nobody:nobody /var/ipfire/proxy/advanced/acls/src_unrestricted_ip.acl
In the created file you enter the server’s IP with the editor vi.
10.16.1.1
Finally, Web Proxy Service is restarted.
[root@ipfire ~]:# /etc/rc.d/init.d/squid restart
If this is successful you will see no output on the commandline.
Note
If IPFire reports updates in the web interface, do not install them! Instead, use, after installing the server linuxmuster.net, the command linuxmuster-ipfire --upgrade. It is thus ensured that the version of IPFire is compatible with the version of the linuxmuster.net server. See also Update the IPFire Firewall.
Now continue with the Installation of the server.