Create Windows 10 Image
Partition your Computer
Important
The partitioning for the operating system installation has to be done by Linbo before Windows is installed, otherwise Linbo can’t create the hard disk images.
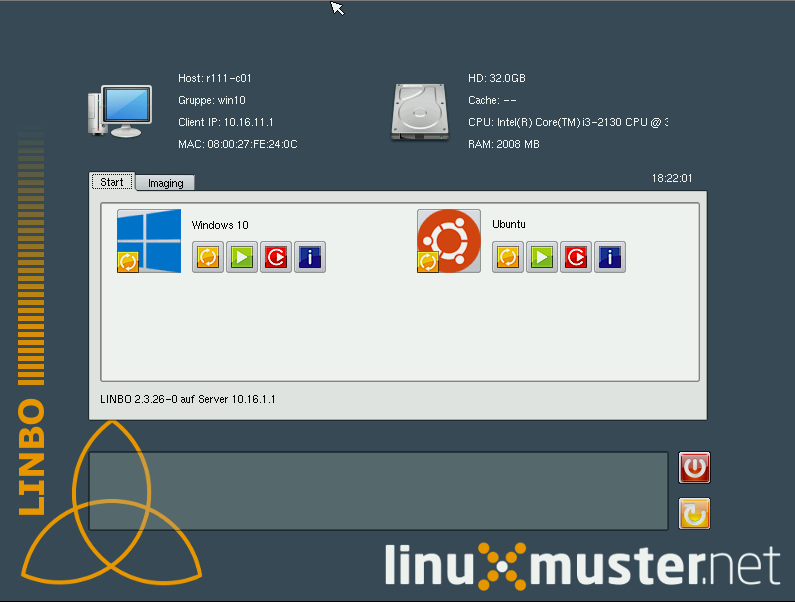
Restart the PC on which you want to create the image and boot again from the network (PXE). You’ll get the following screen:
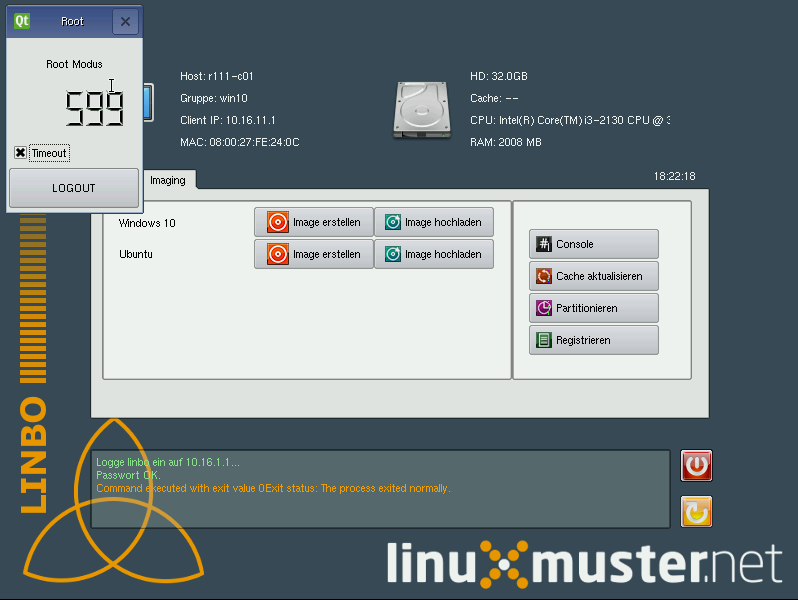
Click on the ‘Imaging’ tab, enter the password and confirm by clicking “Enter”.
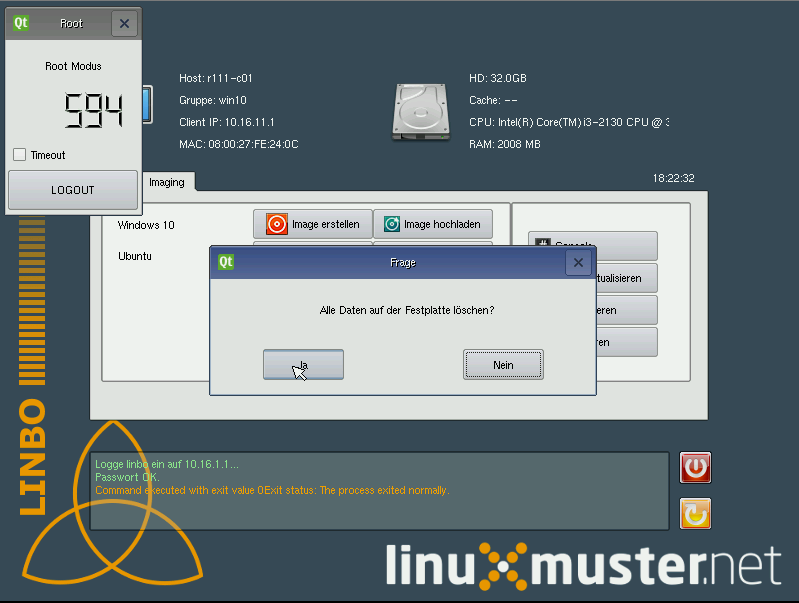
Click the button Partition and confirm the message with Yes
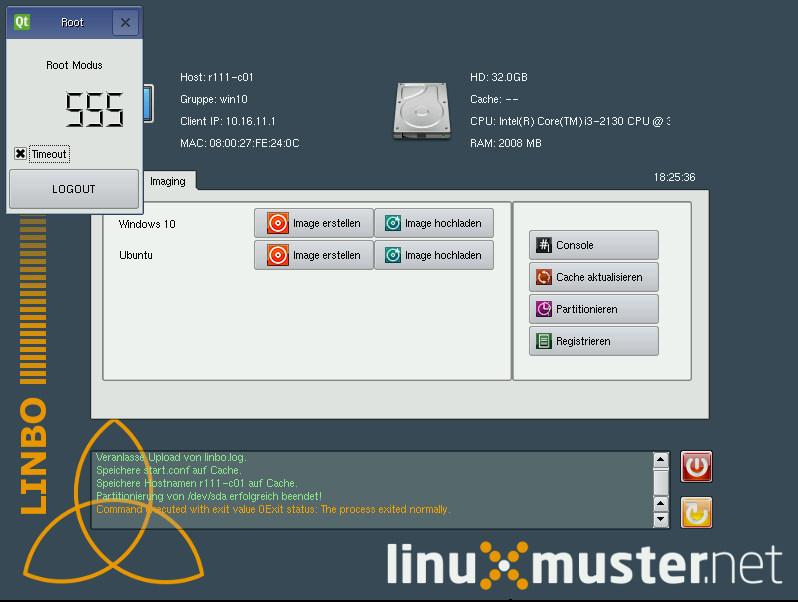
After this, you can restart the computer.
Install Windows
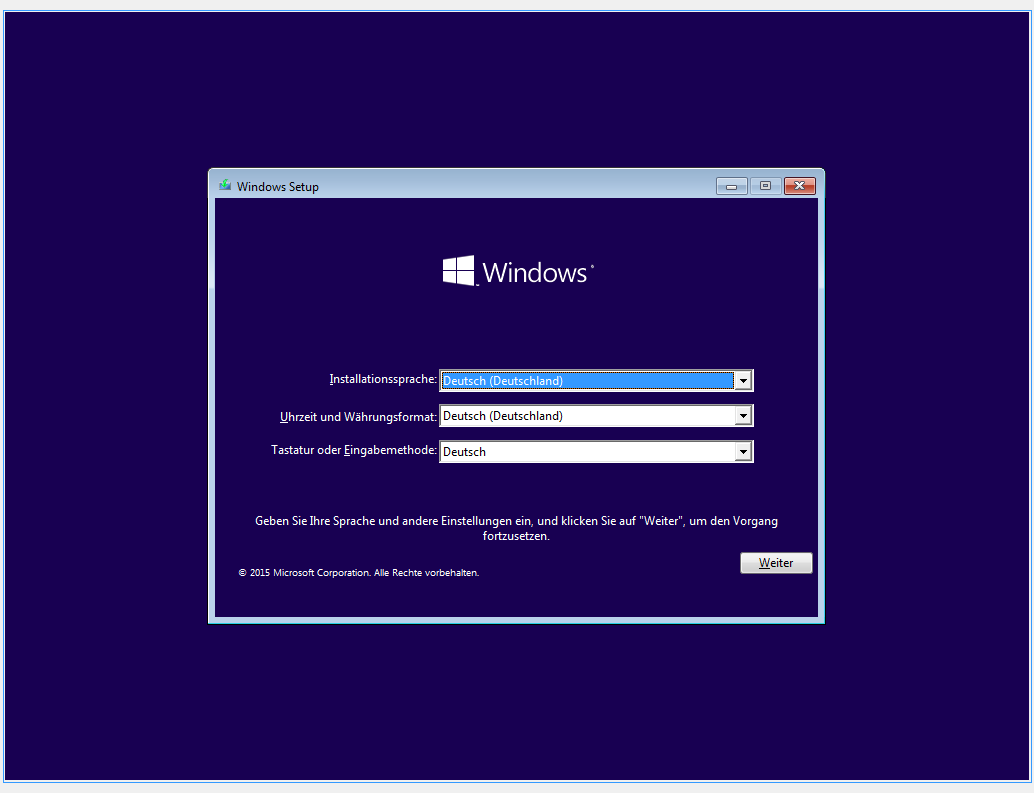
Insert the Windows installation disc and boot from the CD. Wait for the installation wizard to load and select your language. Confirm with Next
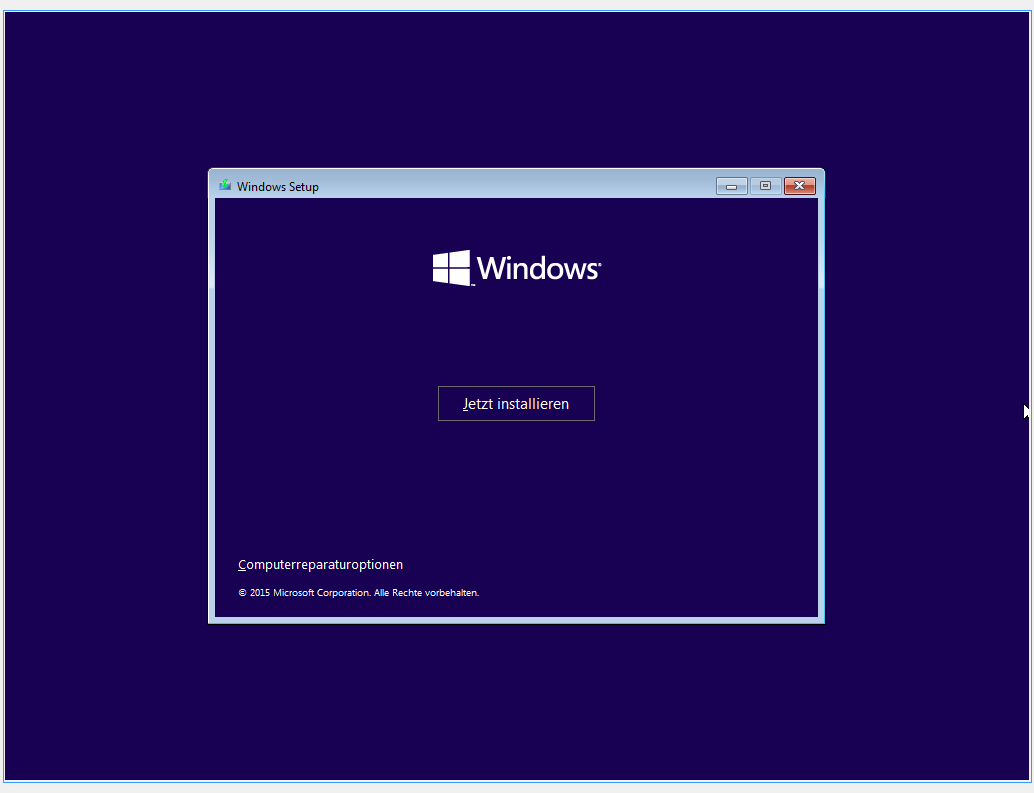
Click on Install Now
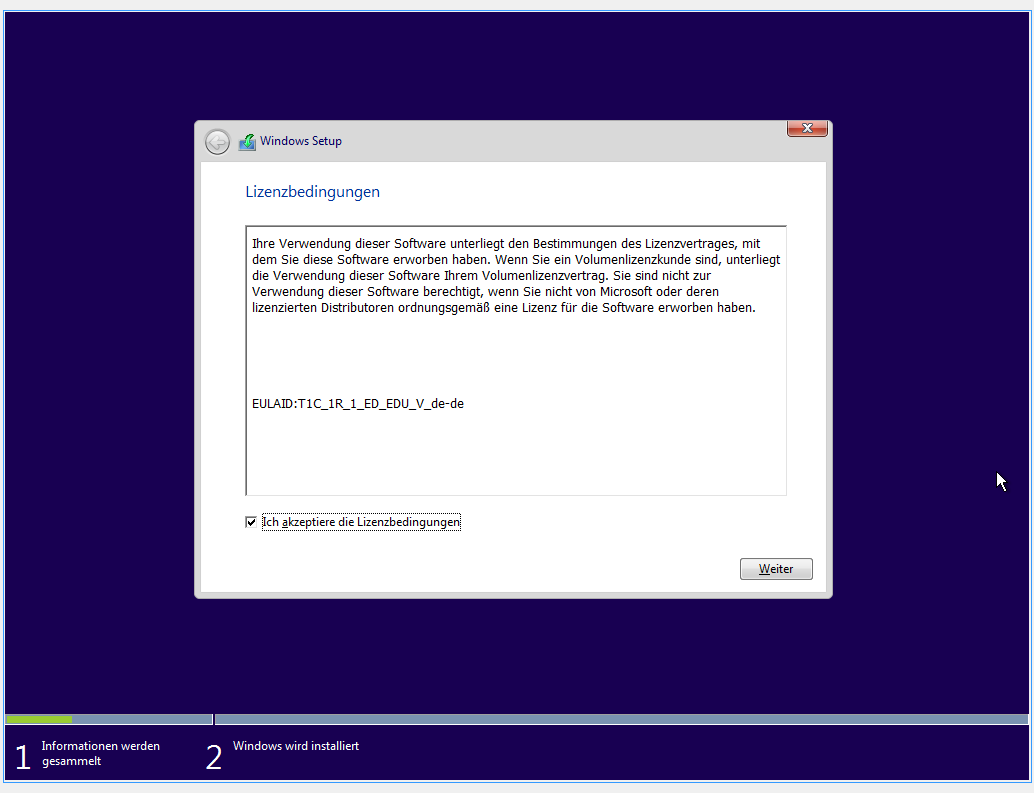
Accept the license conditions and set the corresponding hook and confirm with Next.
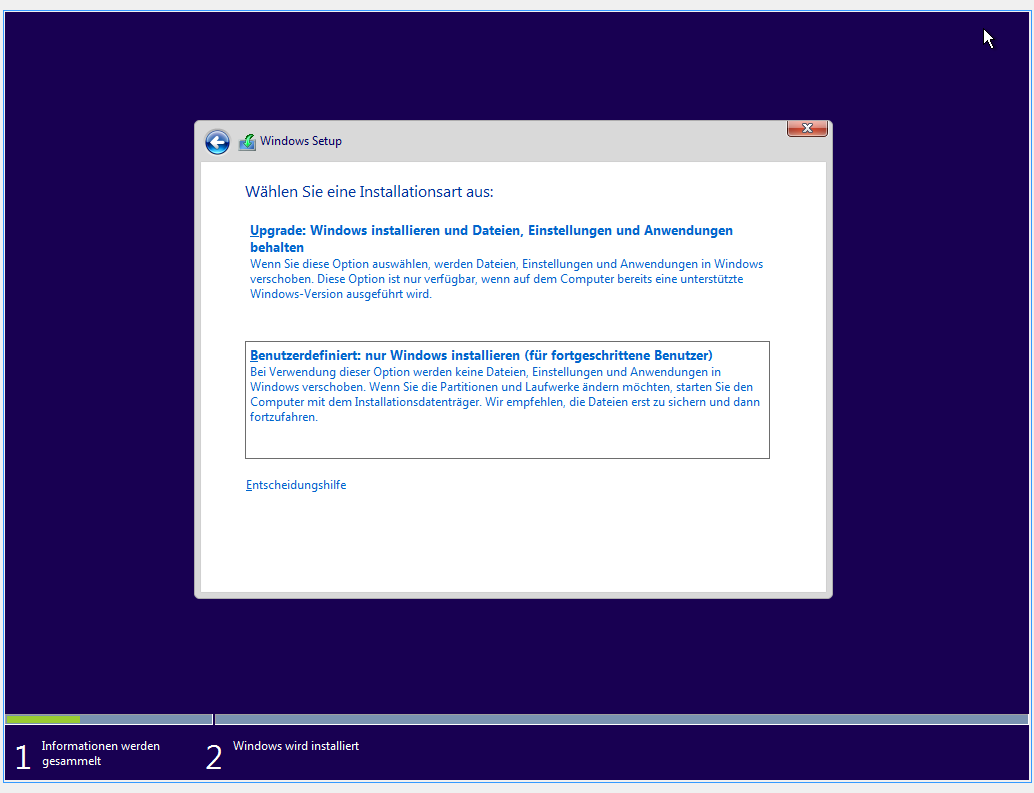
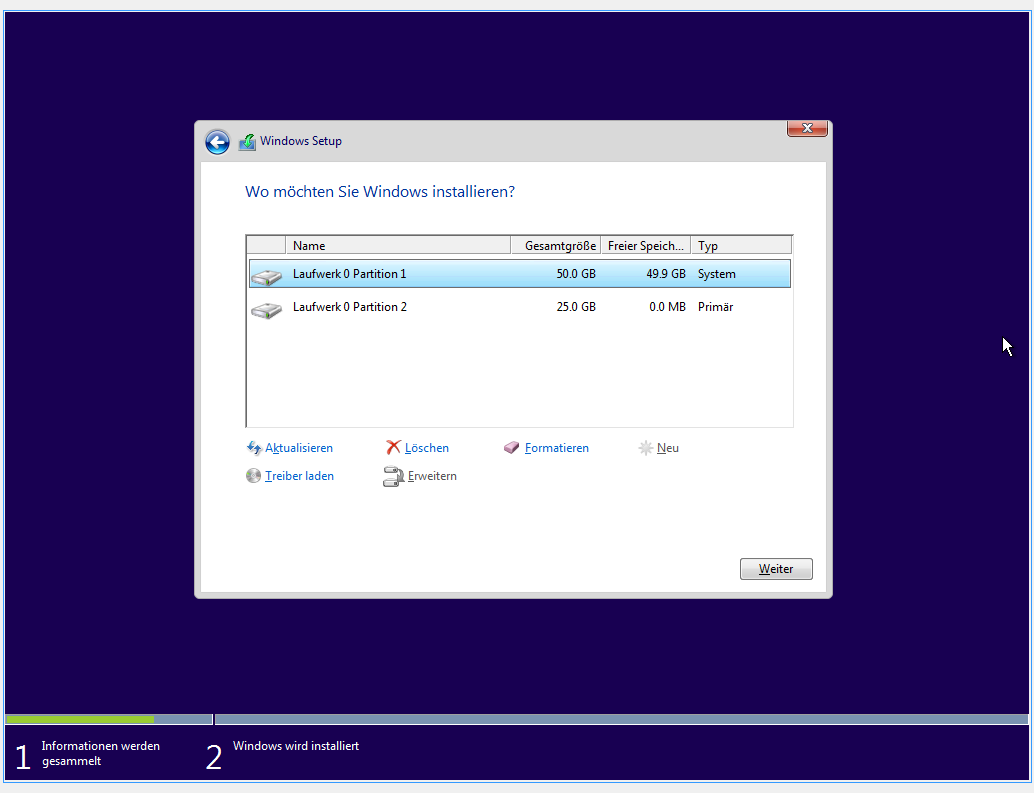
Click on Custom: Install Windows only.
Select the partition on which Windows should be installed. You can identify the correct partition in terms of size in GB. In our example 50GB. Click on Netx.
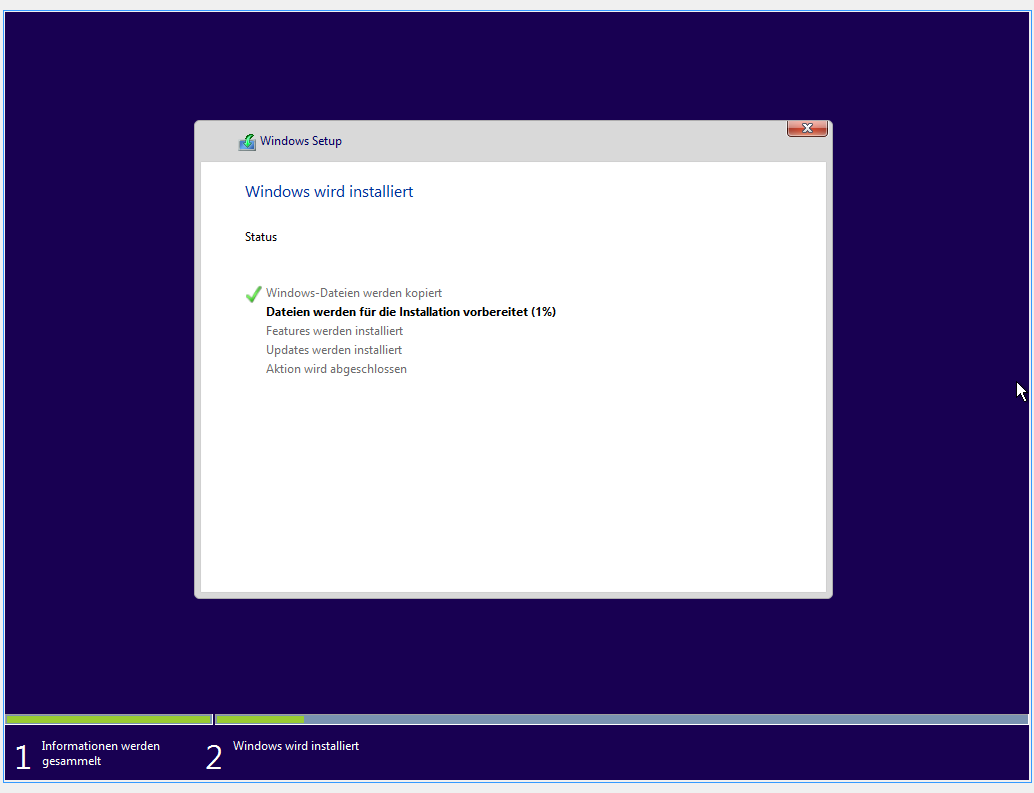
Wait until the installation has completed.
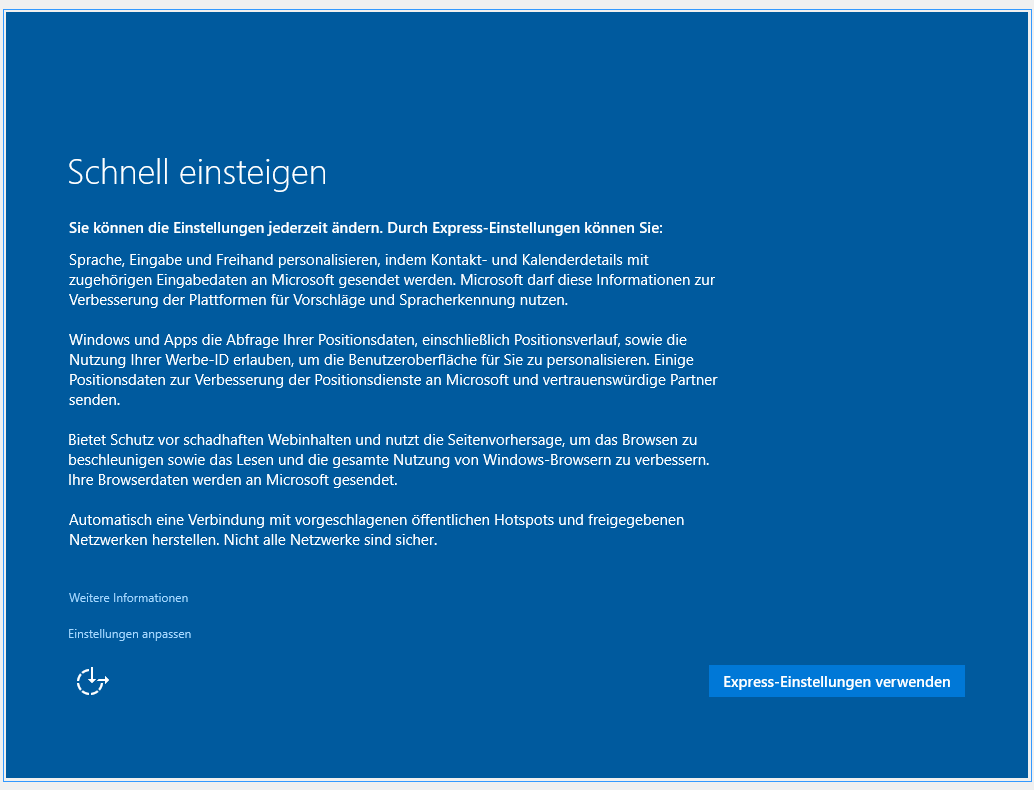
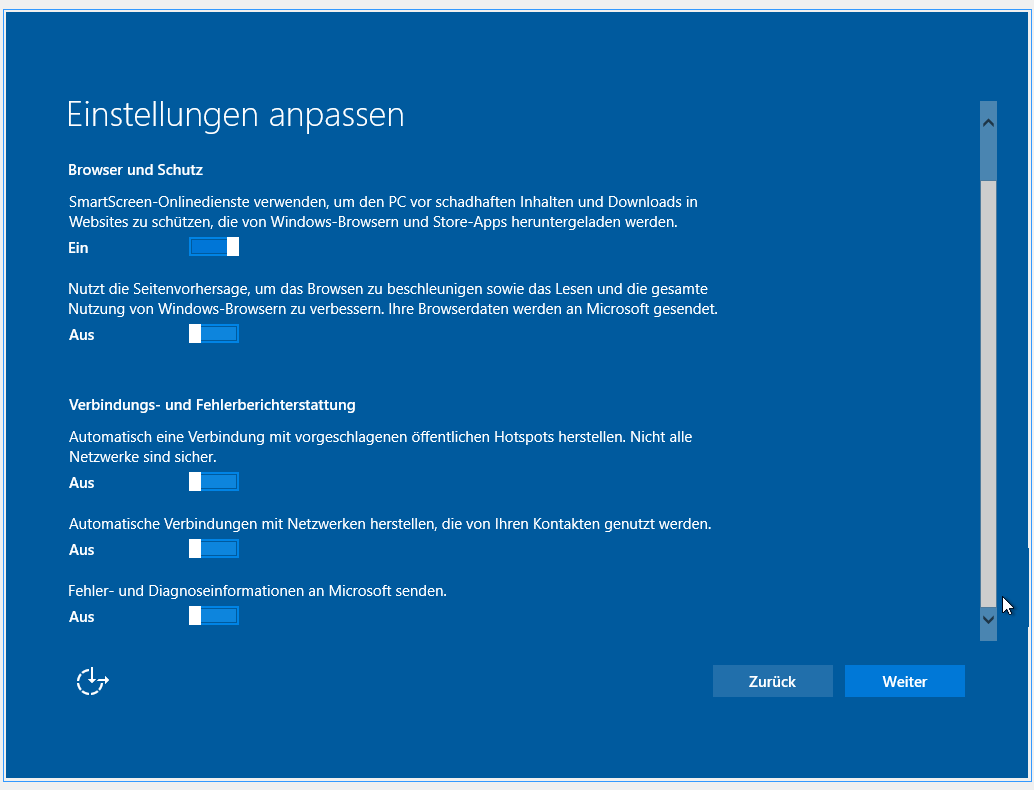
Select the option Adjust settings.
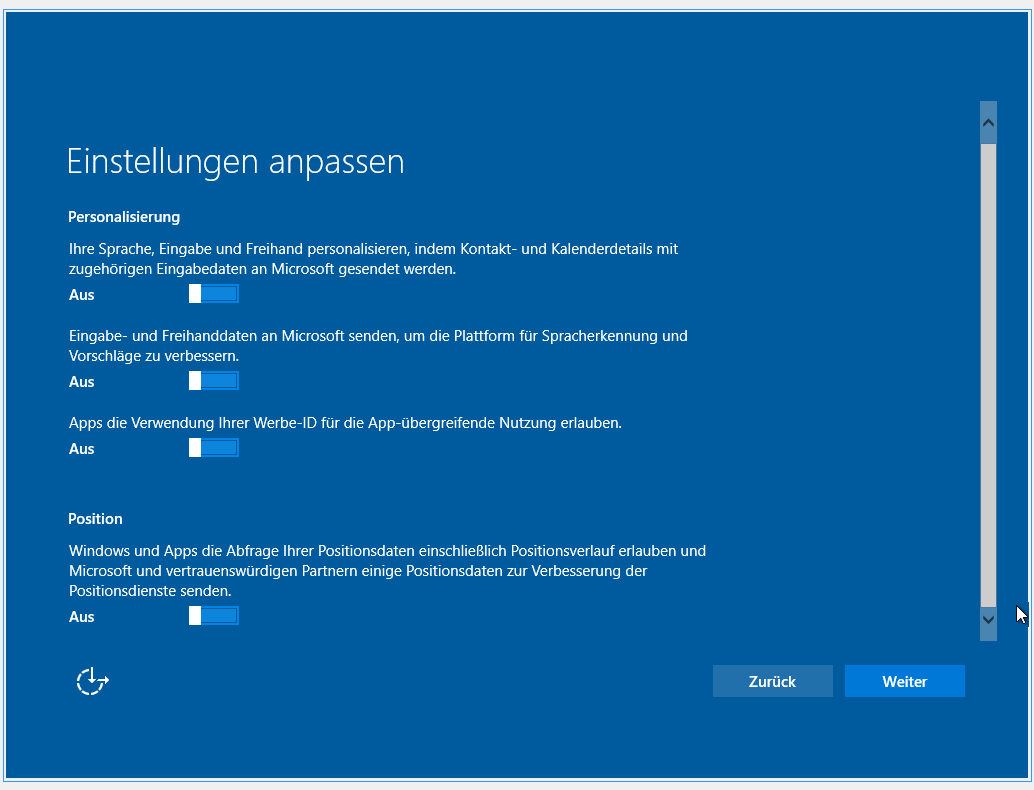
Configure the privacy settings to your needs.
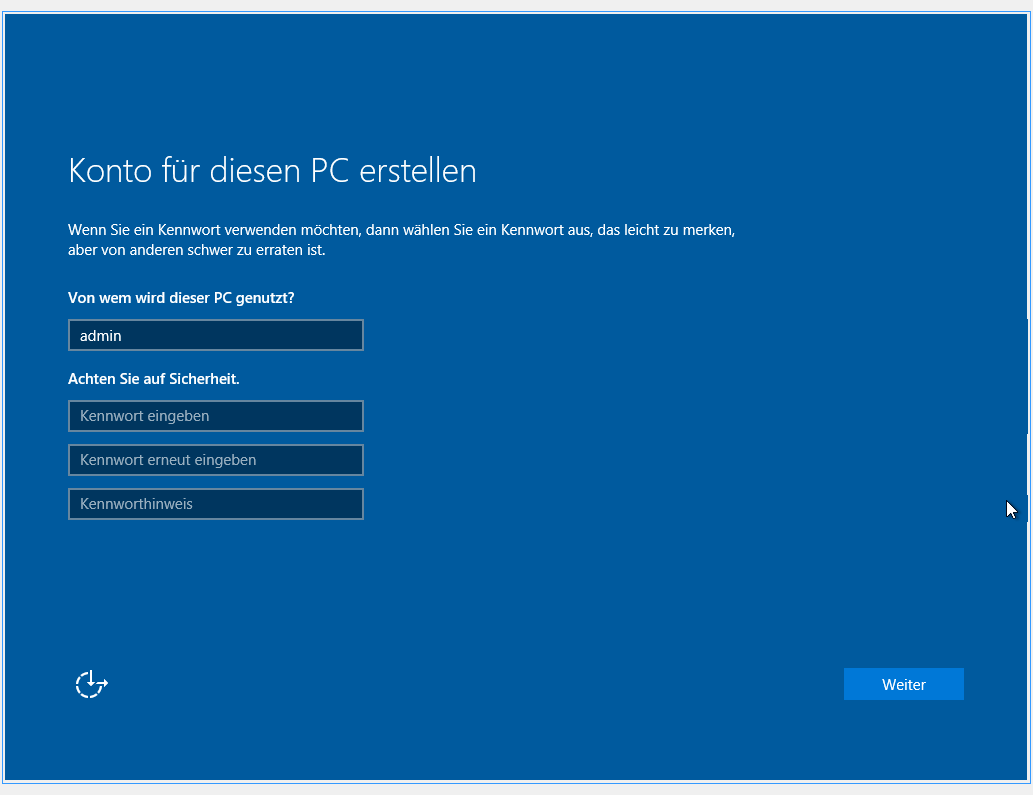
Now enter a user who is locally used in Windows as an administrative account. This account is not used on the network. Set a new password for the local user and click on Next.
You have installed Windows on the computer and you should be redirected to the desktop.
Important
Before you shutdown the computer some adjustments have to be made. You will need the regpatch provided by linuxmuster.net.

provide regpatch
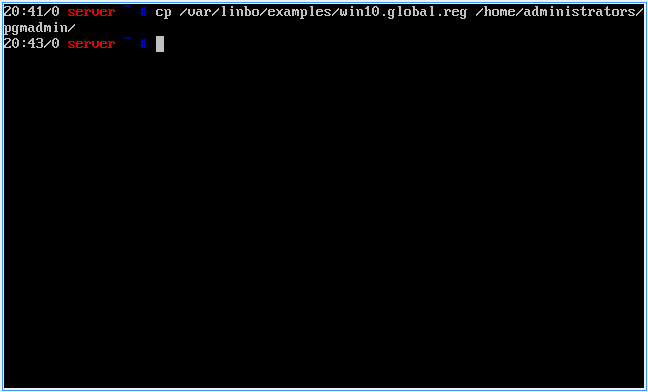
To provide the regpatch for the Windows client, you have to copy it first on the server console to the home directory of pgmadmin.
$ cp /var/linbo/examples/win10.global.reg /home/administrators/pgmadmin/
Configuring Windows
Some essential settings have to be made to be able to use Windows 10.
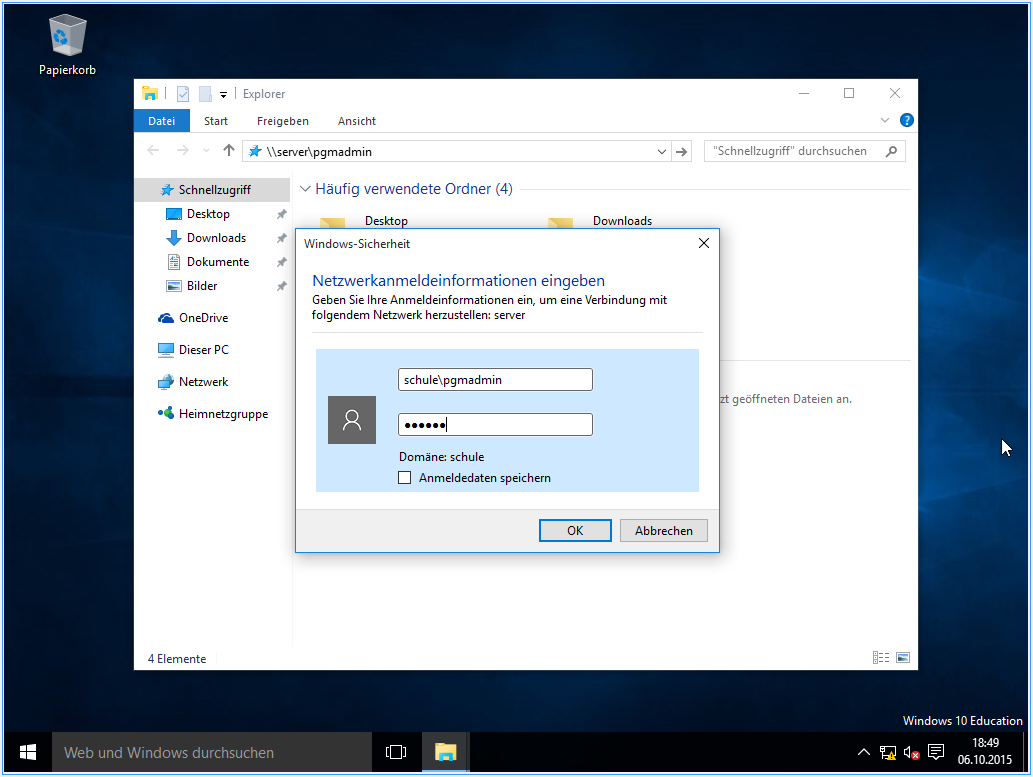
Open the Windows Explorer and put the UNC path \\server\pgmadmin in the navigation bar to access the pgmadmin’s home directory on the server.
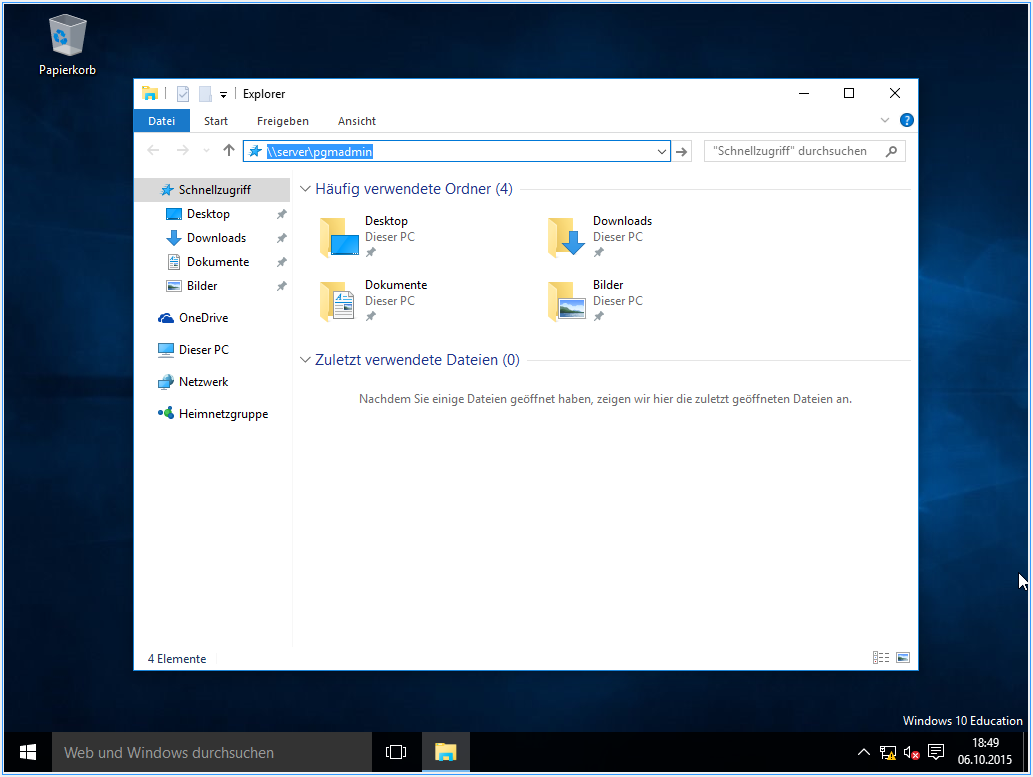
Enter the credentials for the user pgmadmin and confirm with OK
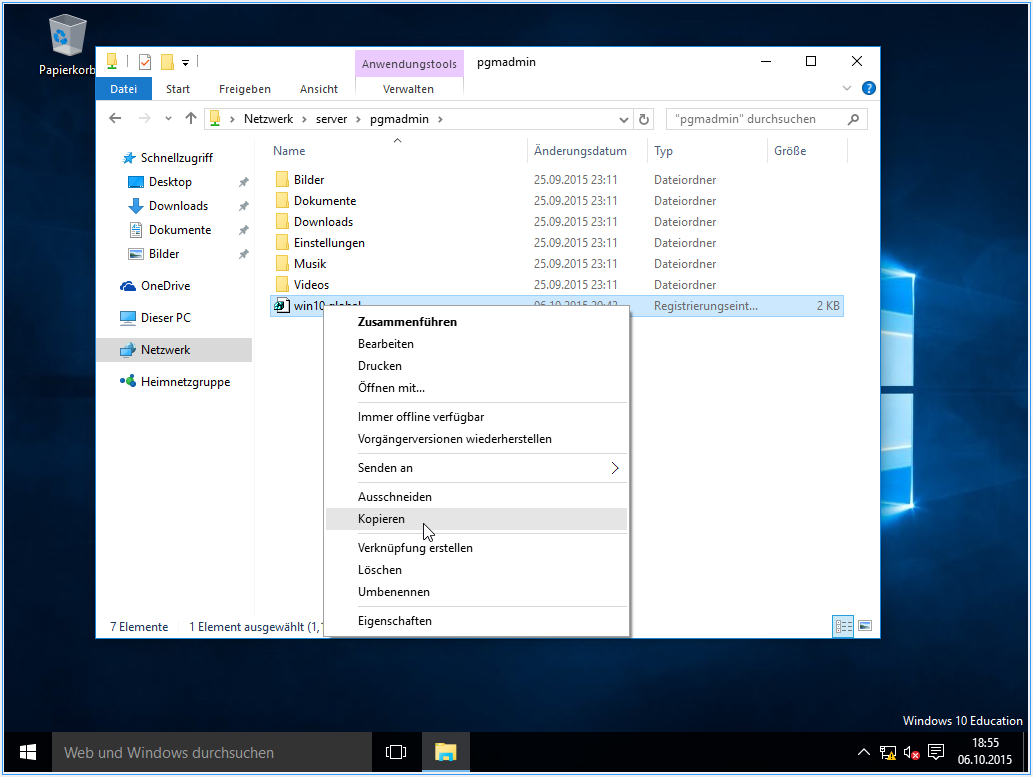
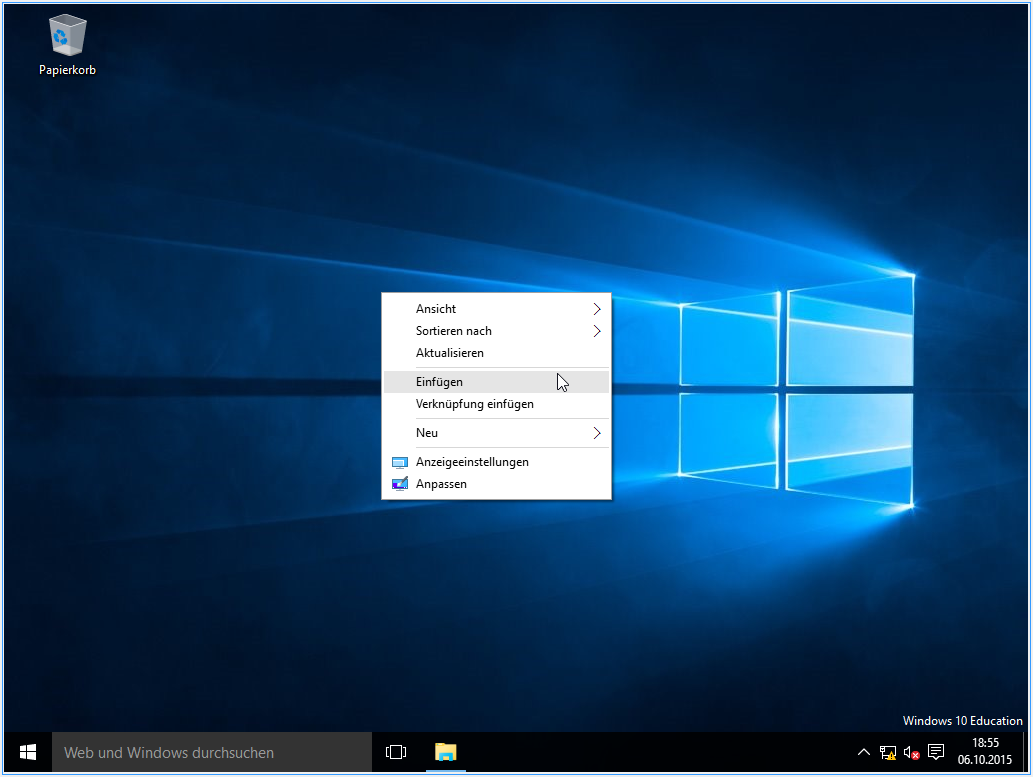
Copy the file win10-global to the desktop.
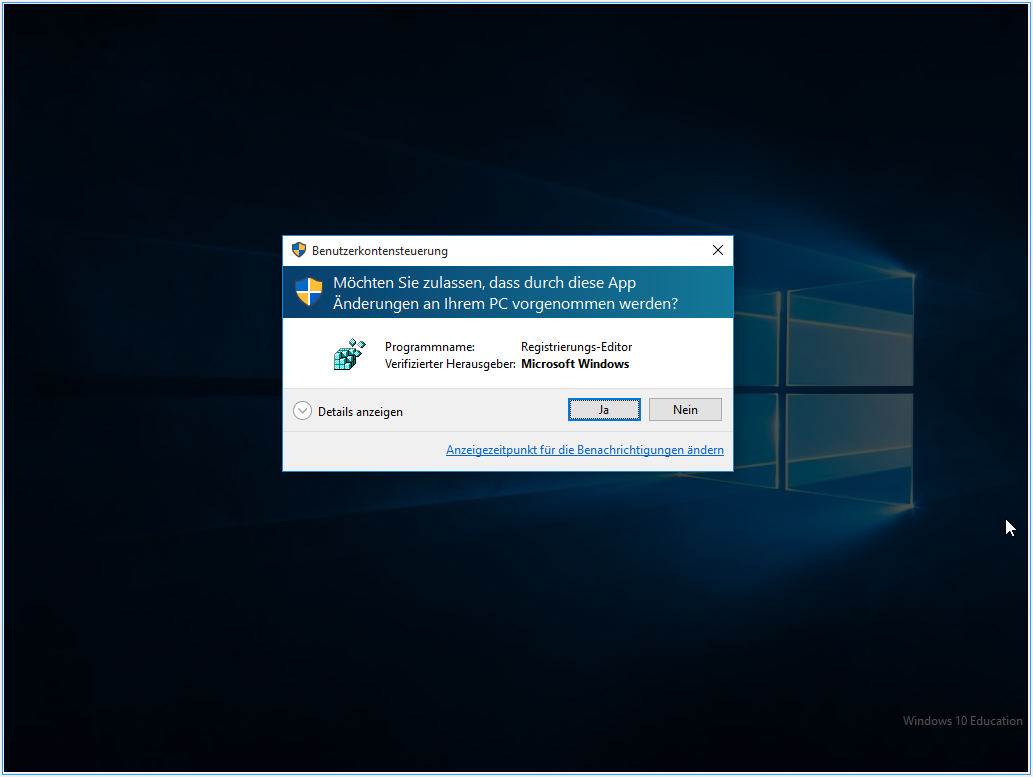
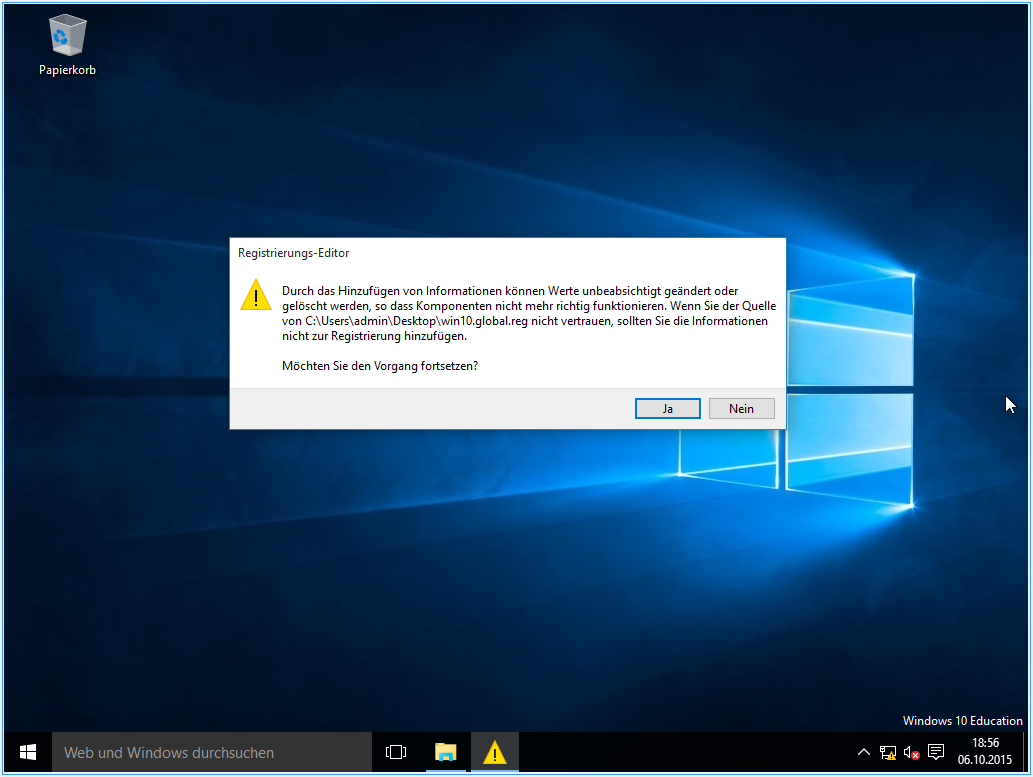
Double-click the file and click in both dialogs on Yes.
Important
As of Windows 10 version 1709, domain joining cannot be achieved without difficulty. With Windows 10 Prof you have to join the domain within the first 15 days after installation. Here SMB 1 Client is still installed, but will be uninstalled after 15 days if not in use. It is different with the Education and Enterprise versions, Samba 1.0 must be installed here. A manual is available at https://ask.linuxmuster.net/t/windows-10-1709-laesst-sich-nicht-in-domain-aufnehemen/1402/1 Please read first!
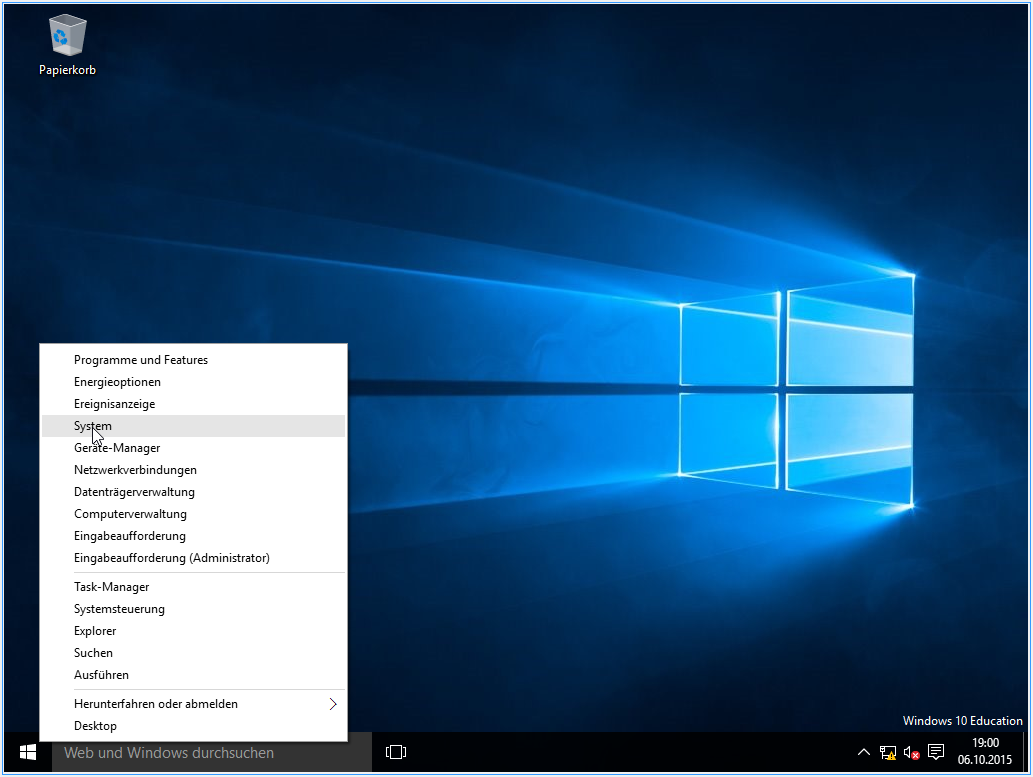
Click with the right mouse button on the Windows icon or press the Windows key+X. Click on System.
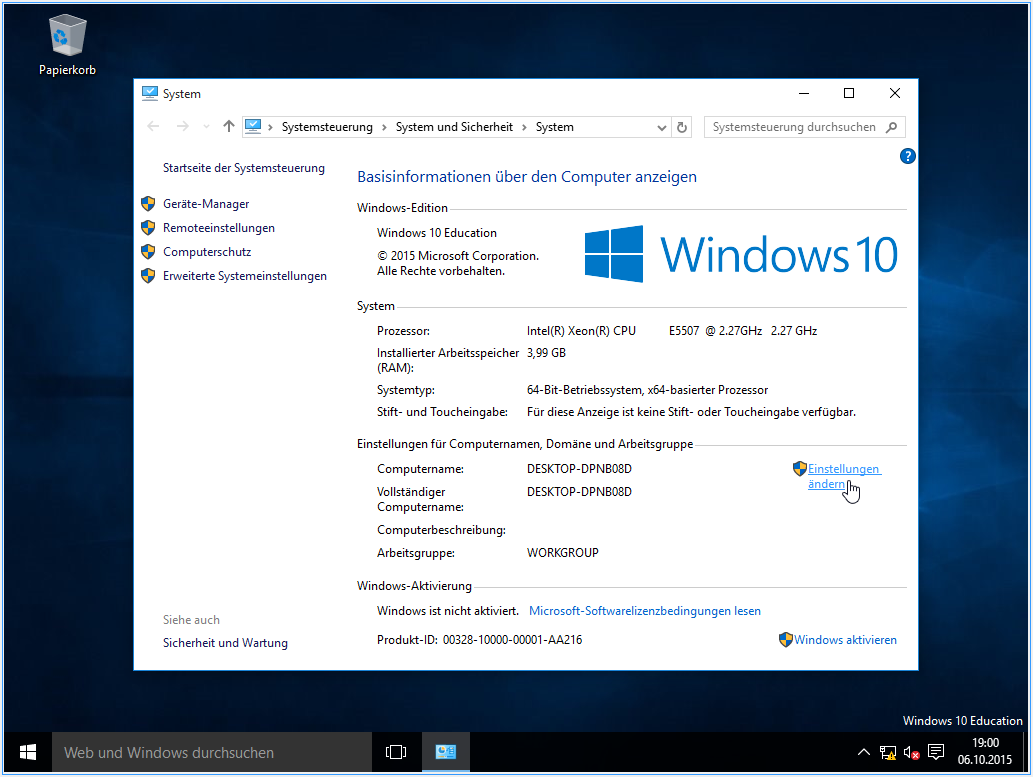
Click on Change Settings (next to the computer name).
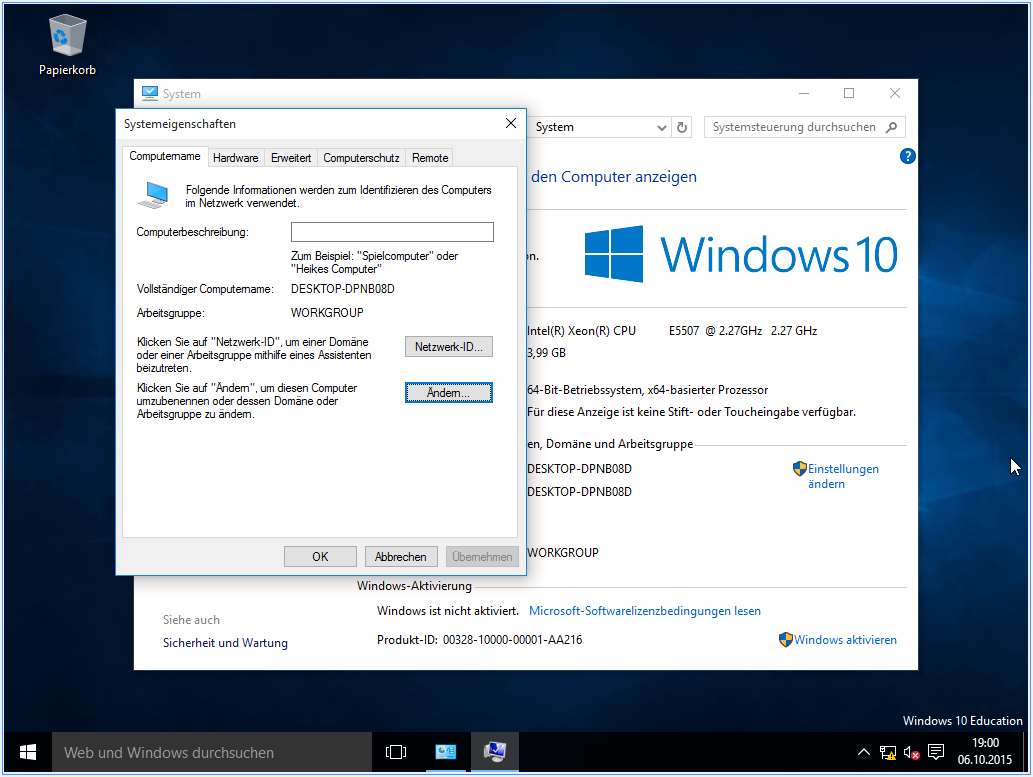
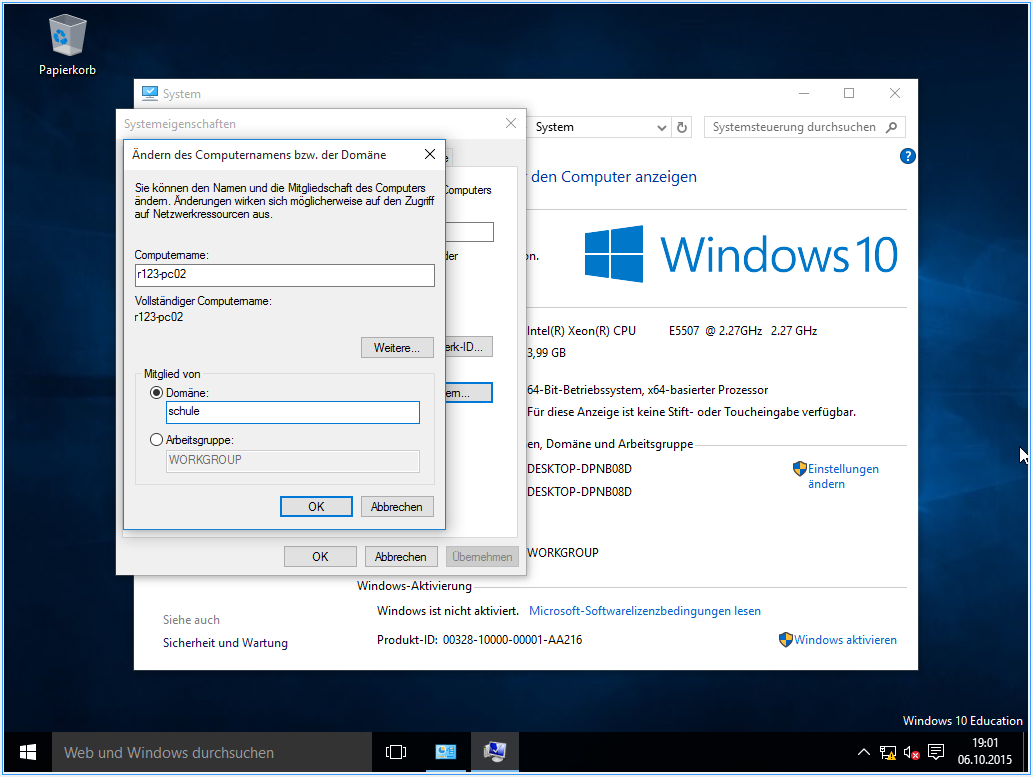
Click on Change.
Enter the computer name you assigned in Linbo for the computer. In our example, r123-pc02. Choose Domain and enter the domain name, in our example schule
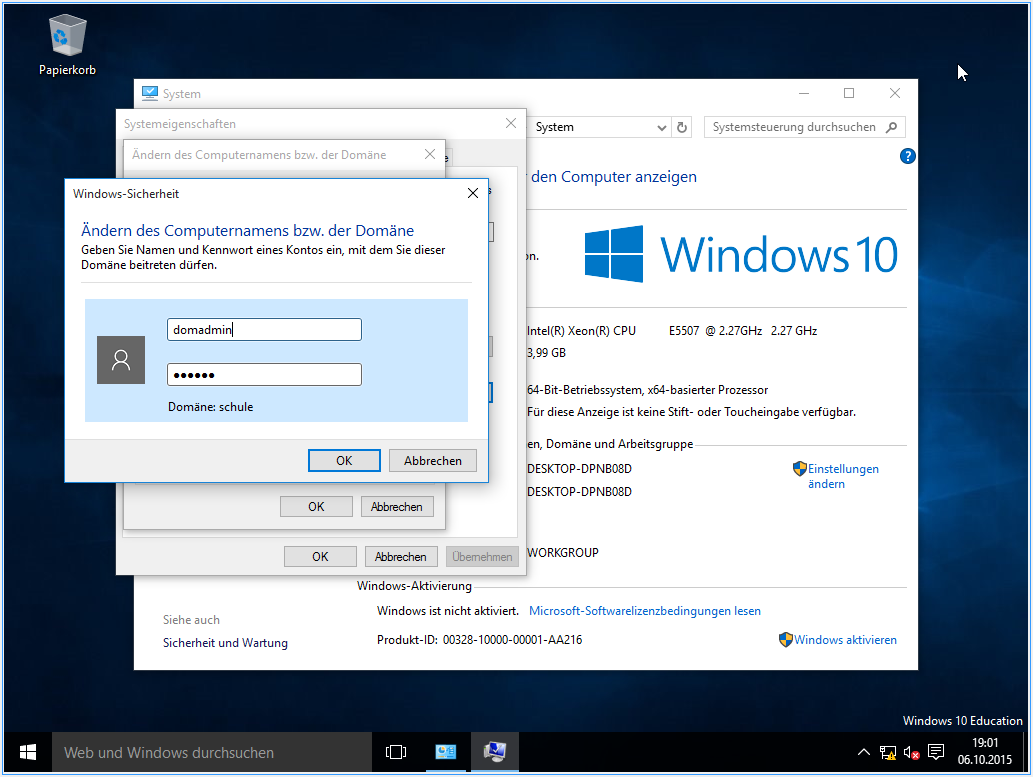
Enter one of the administrator users. For example, the user domadmin with the appropriate password and confirm with Ok.
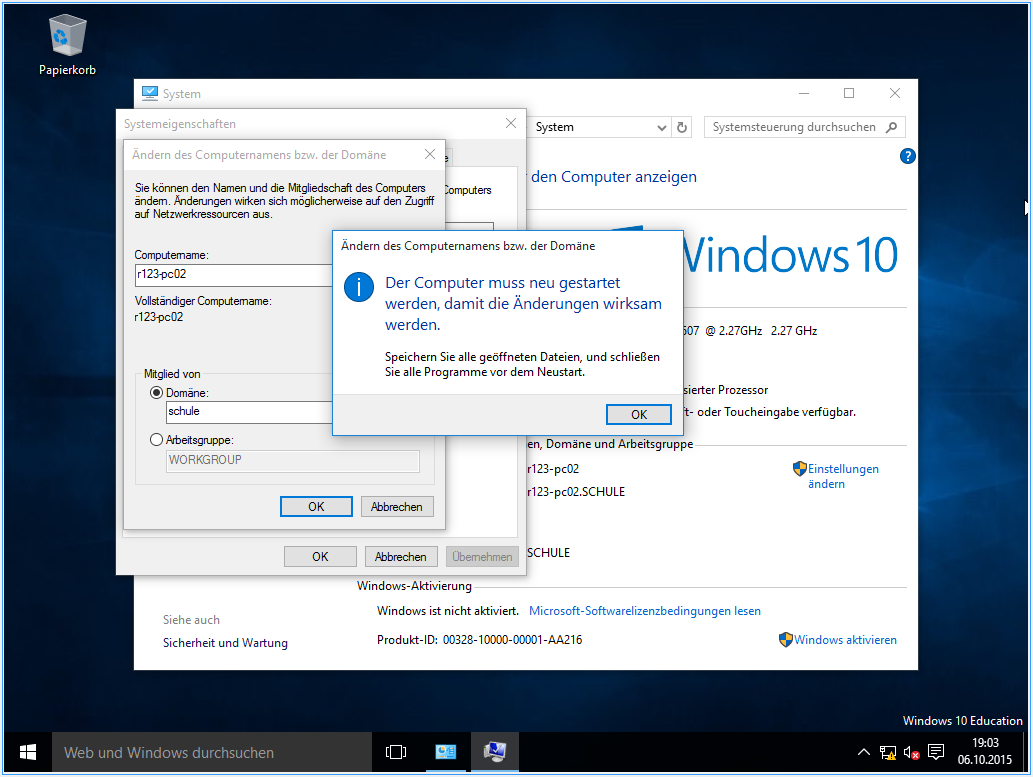
Confirm the message with Ok, close all the windows and click on Restart Now.

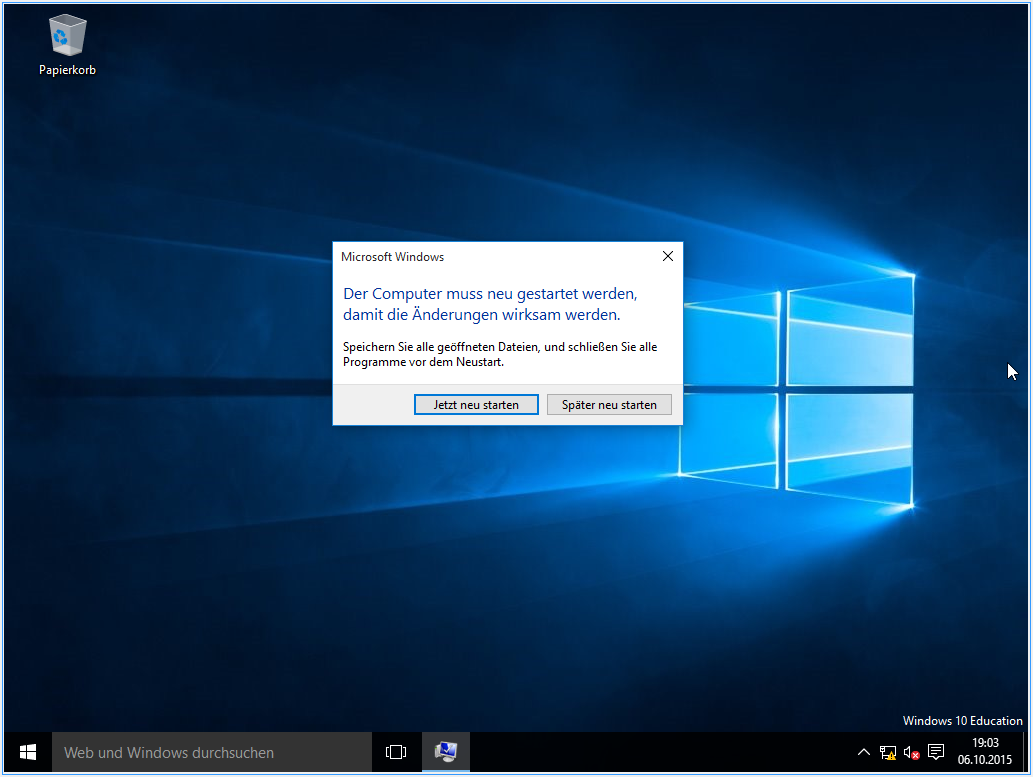
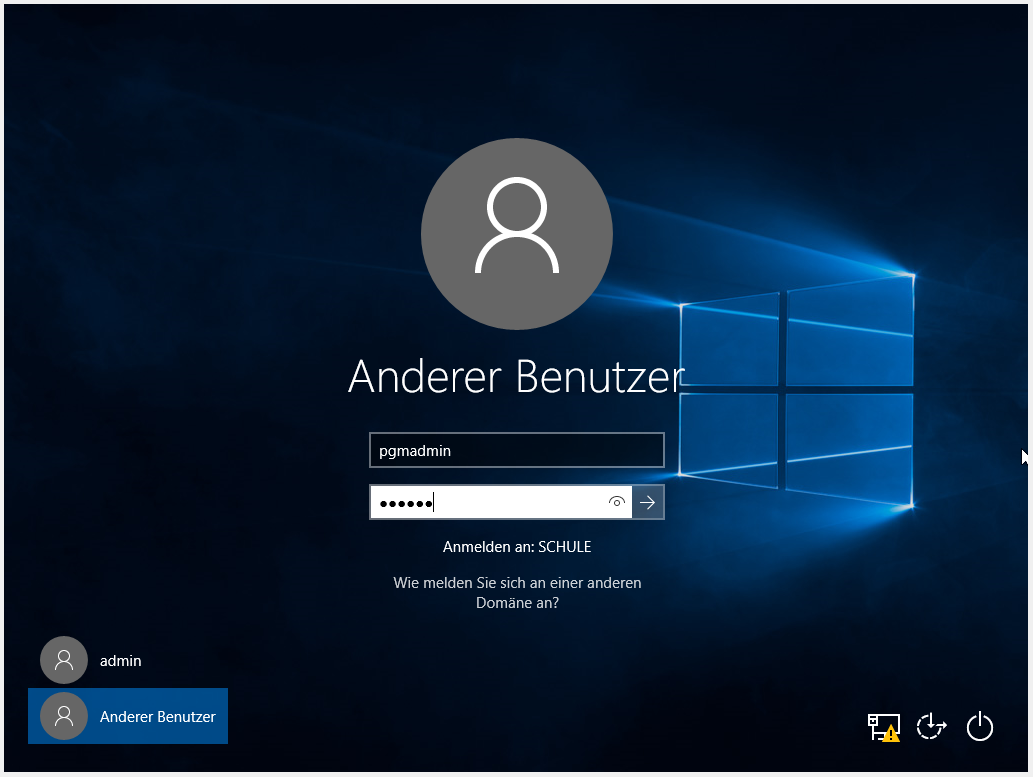
After rebooting you can choose Other User in the left-bottom corner to log in with a domain user.
You can now make changes to Windows. Configure the system to your needs and then shutdown Windows.
Write Image to the Server
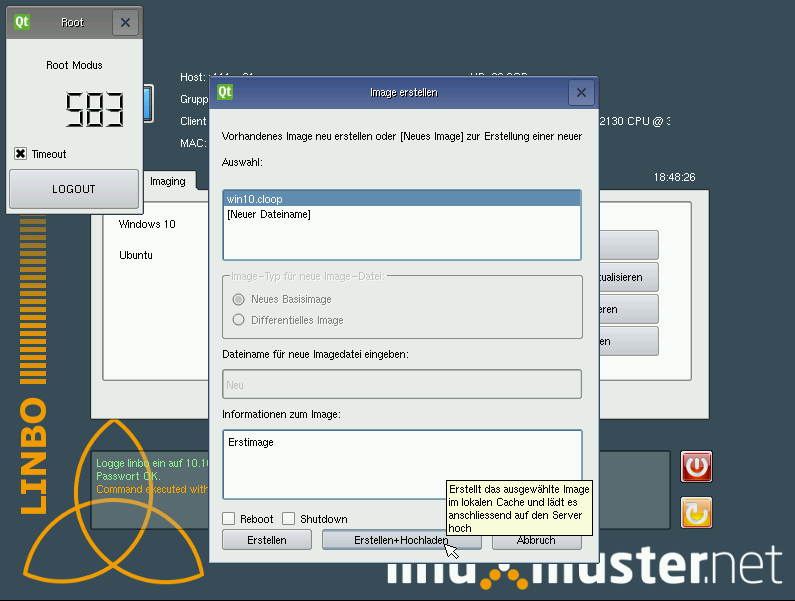
Restart the computer, boot via pxe and switch in Linbo to the tab Imaging. Click on Create Image. Start the process by clicking on Create and Upload.
Hint
In this method, as long as an image with the same name already exists, the old image will be renamed and the current image takes its place as the active image.
As soon as the process is completed, you can now always reset the status of the installation to this point.
The image is available on the server.
If you want to roll it out to other computers, the image. reg has to be made available on the server. Copy the /var/linbo/win10.image.reg to /var/linbo/<BEZEICHNUNG DER RECHNERGRUPPE>.cloop.reg.
Here’s the example:
$ cp /var/linbo/examples/win10.image.reg /var/linbo/win10.cloop.reg
From now on linbo will enter the image.reg file after the sync of an operating system into the registry of the synced computer and set the hostname to the correct value.