Linuxmuster.net Configuration
Configuration IPFire
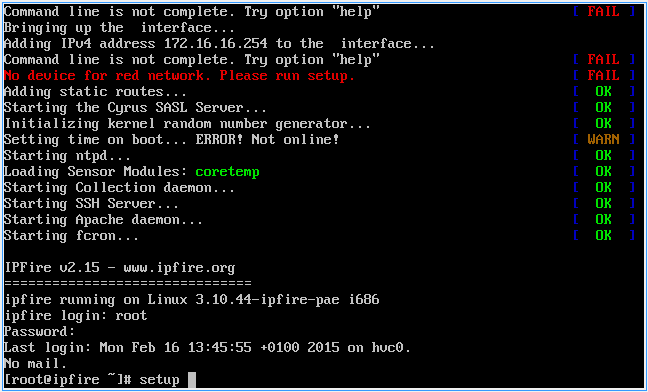
Enter root as the username and the password muster. Confirm each with Enter. Then enter the command setup and confirm with Enter.
$ setup
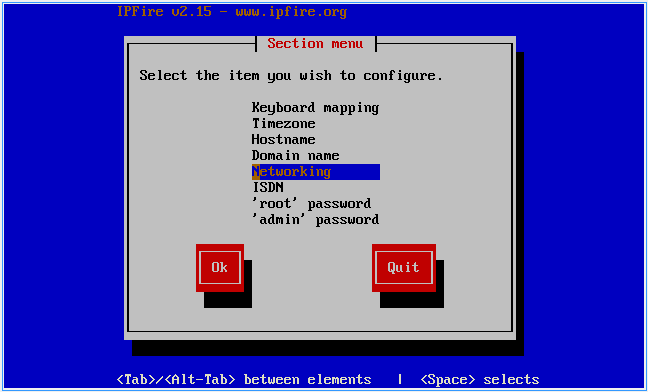
Select “Networking” and press Enter.
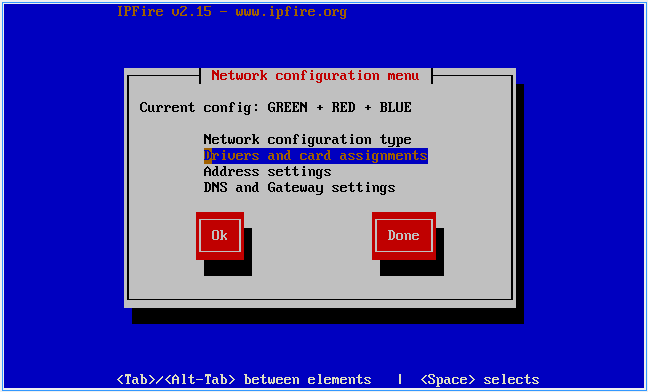
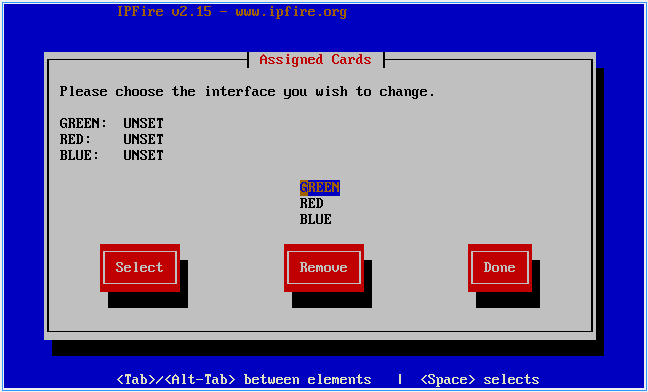
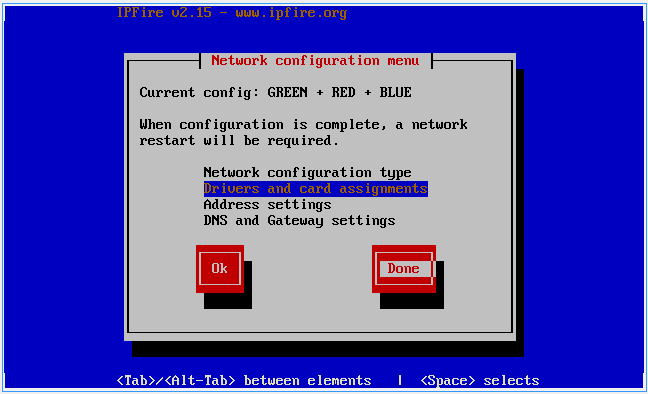
Select “Drivers and card assigments” and confirm with Enter.
Select “GREEN” and confirm with Enter.
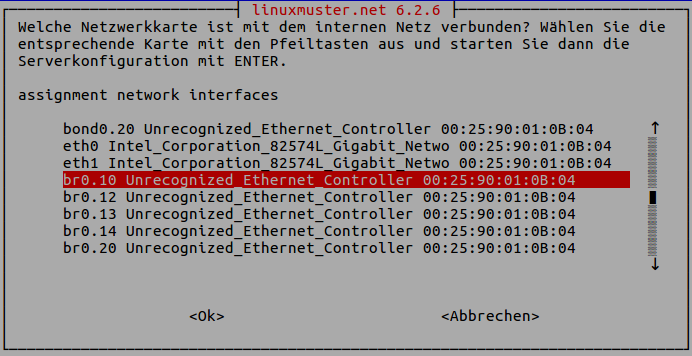
Select the appropriate network card and press Enter.
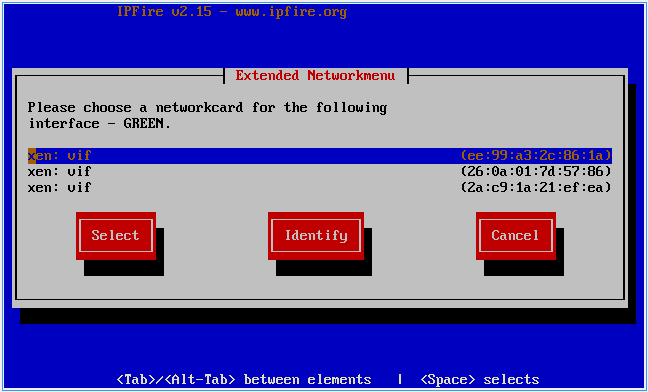
Note
Find out the appropriate network card based on the MAC address. You can compare this here:
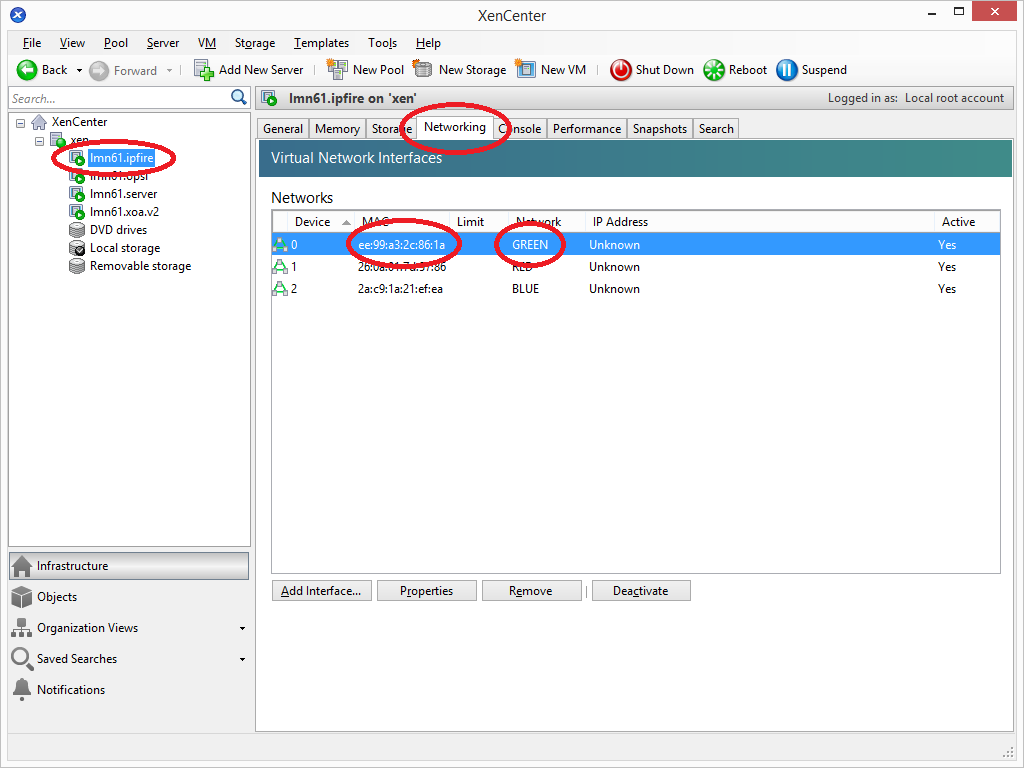
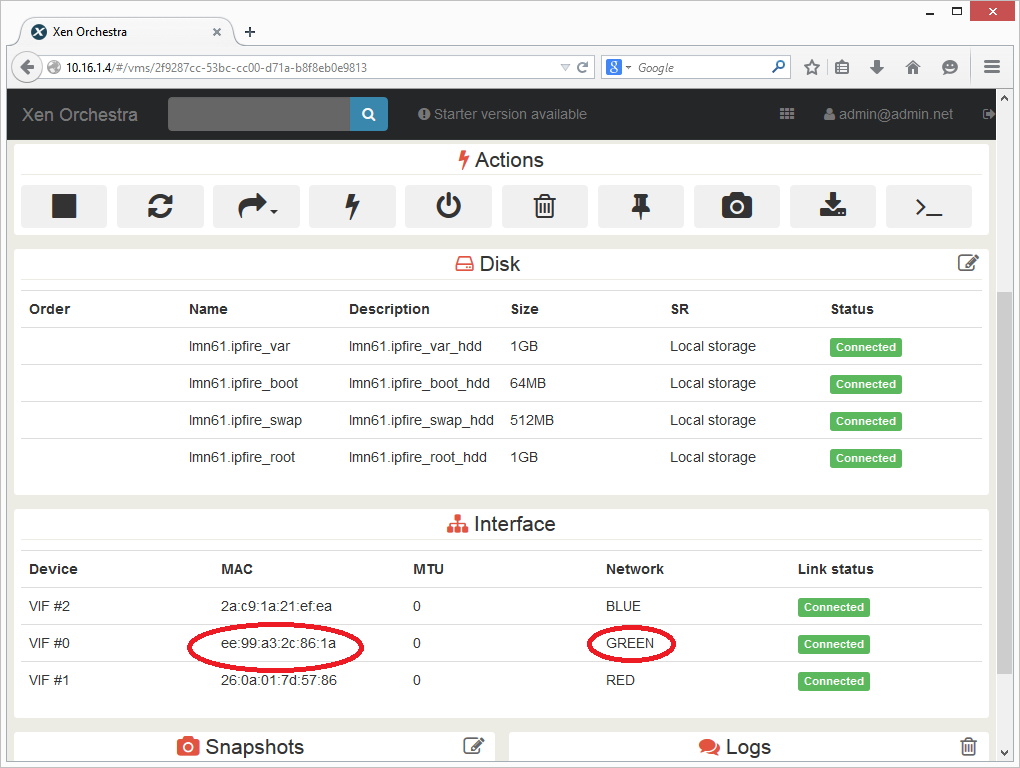
In the default configuration, the order of the NICs is mostly true, therefore it must be selected just one after the other.
Repeat the process for the RED and BLUE interface. Then, select “Done” and press Enter.
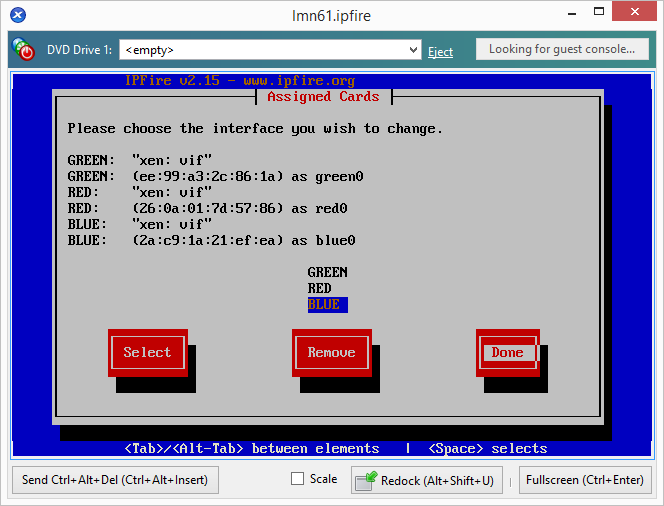
Confirm your entries with Done.
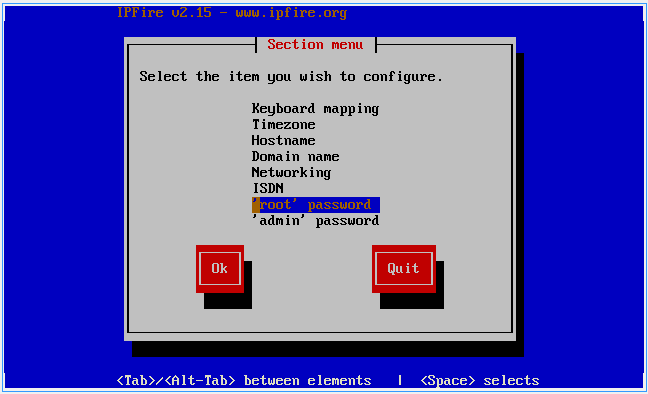
Select “‘root’ password” and confirm with Enter.
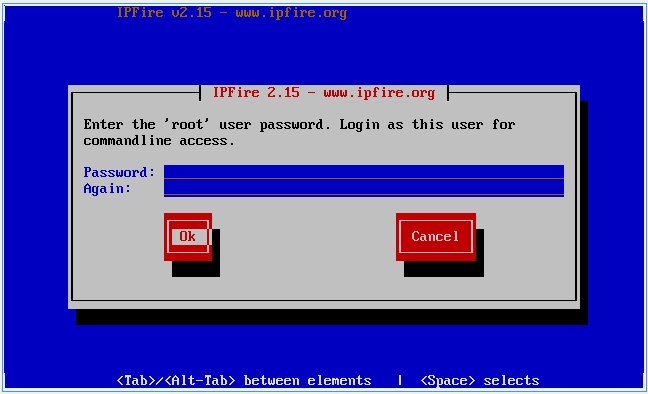
Enter a new password for the root account and confirm with Ok.
Repeat the process for the user “admin”. This user / password is used to login later to the web interface of the firewall. Exit the setup with the button Quit.
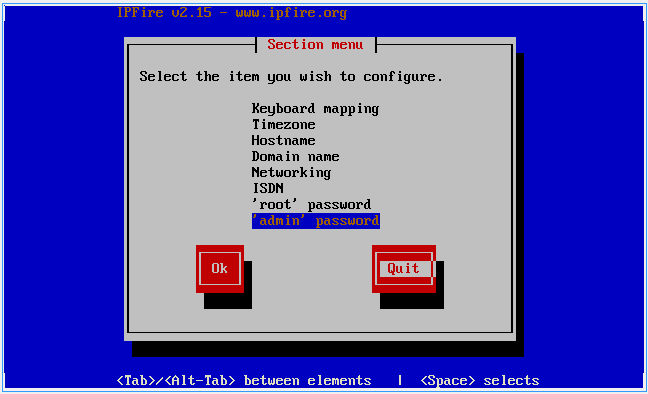
If necessary, run the command “reboot” to reboot.
Configuration Server
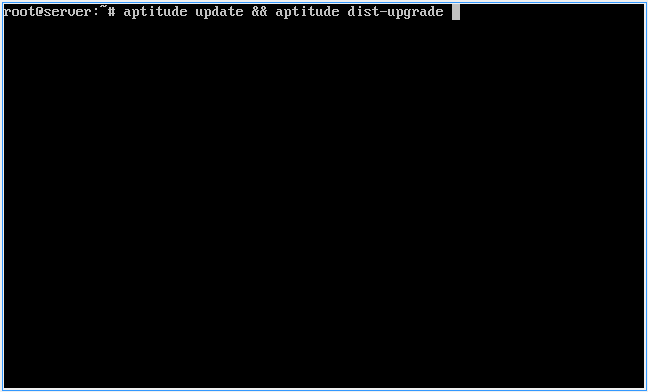
Enter the user name root and muster as password. Then enter the commands
$ aptitude update
$ aptitude upgrade
$ aptitude dist-upgrade
and confirm it with Enter or Y.
Note
With this command you update the server to the latest version. You may have to confirm the update with Y.
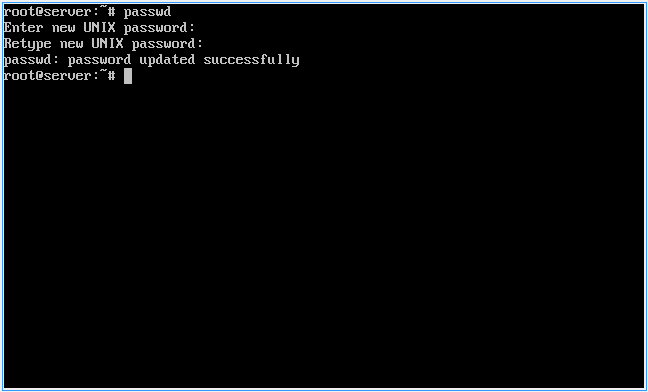
Enter the command
$ passwd
to change the root password.
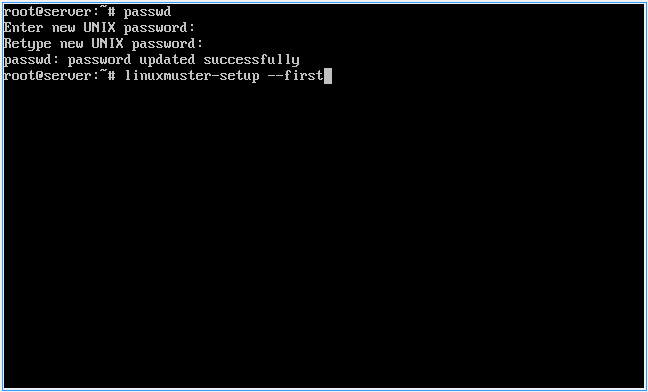
Enter the command
linuxmuster-setup --first
and confirm with Enter.
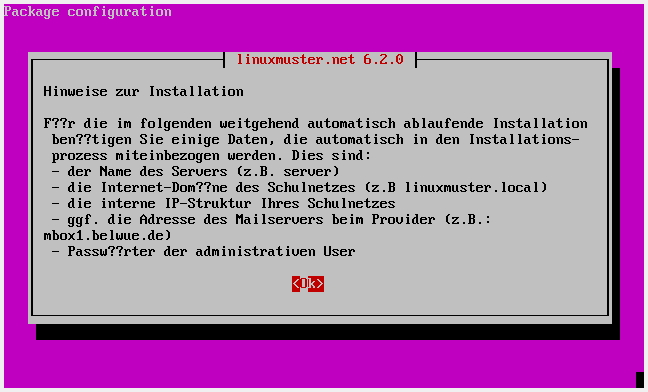
Confirm the message with the hints by clicking Ok.
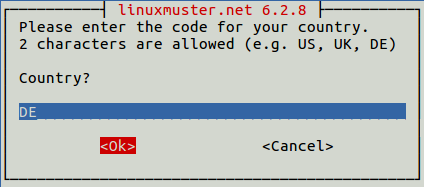
Enter your country code, or confirm “DE” with Enter.
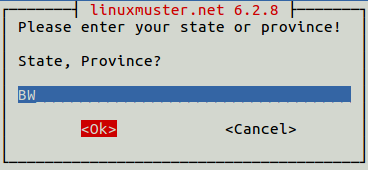
Enter your state, or confirm “BW” with Enter.
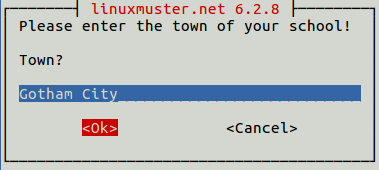
Enter the school location (city).
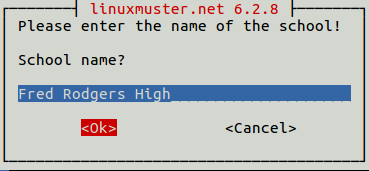
Enter the name of your school.
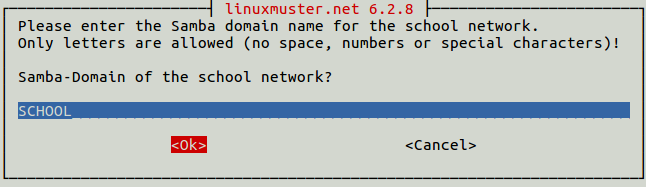
Enter the domain name you want to use. In the example, “SCHOOL”.
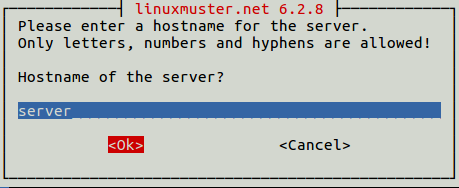
Enter the server name. It is recommended to name the server server.
Enter the domain name of the school network that you want to use. For example, an internal network such as “linuxmuster-net.lokal” or, of course, an external domain such as “internal.my-school.com”.

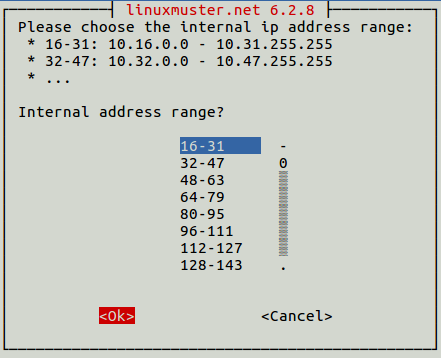
Select the desired internal IP address range you want to use.
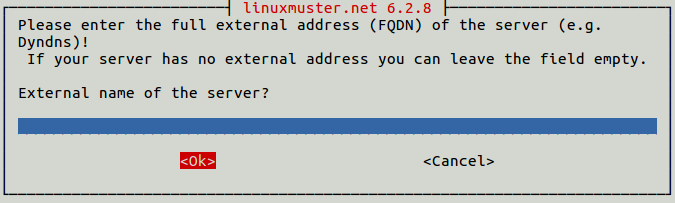
Specify the external url on which your server is accessible from the Internet. If no external communication is planned, you can leave the field blank.
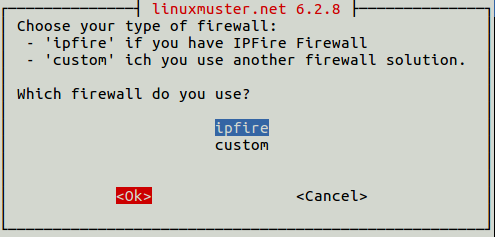
Specify which firewall you are using. In the XenAppliance uses ipfire.
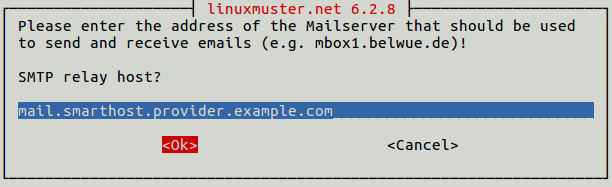
Enter a SMTP host for the email function or leave the field blank. For example, mbox1.belwue.de.
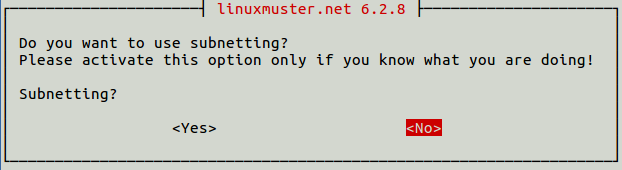
If you want to use subnetting, you can activate it here.
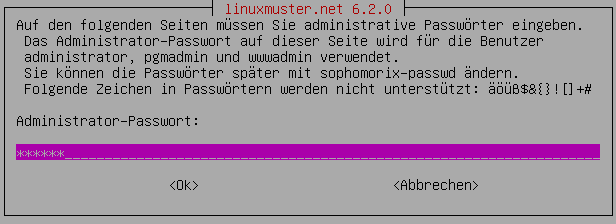
Select a password for the administrative domain users and confirm it in the next step.
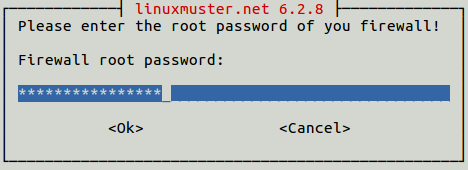
Enter the root password of the firewall that you assigned in the “IPFire Configuration” step and confirm it in the next step.
Select the network card that is connected to the school network (GREEN). Unless you haven’t installed additional adapters confirm your selection with Enter.