Adjustments
Installation Netzint-lmntoolbox
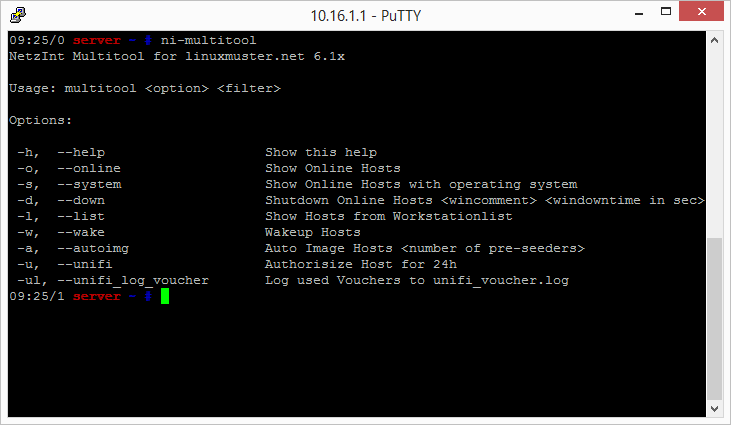
There is a script in the Netzint lmn-toolbox to extend the LVM on the VM server. This tool is used later in the manual, so the toolbox should be installed. But there are also other useful tools for example, to edit the LDAP, customize Linbo, to control Unifi or even the Netzint-multitool.
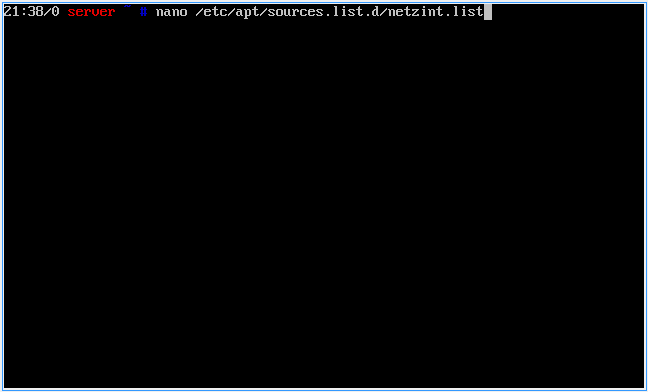
Enter the following command on the server to create and edit a repository list:
$ nano /etc/apt/sources.list.d/netzint.list
Enter the following line in the file:
deb http://pkg.netzint.de/ precise main
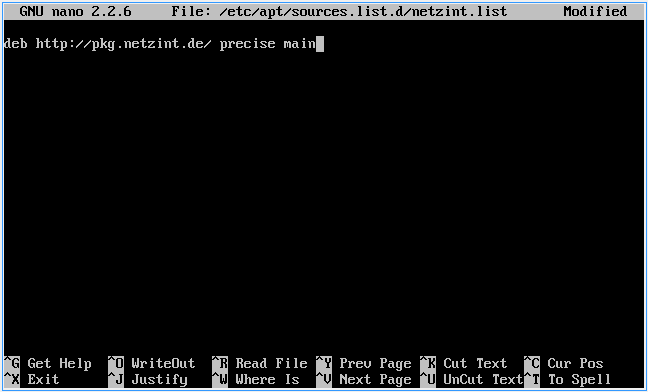
Exit the editor with Ctrl+x. You will be asked whether you want to save the changes. Press Y and confirm the location / filenames with Enter.
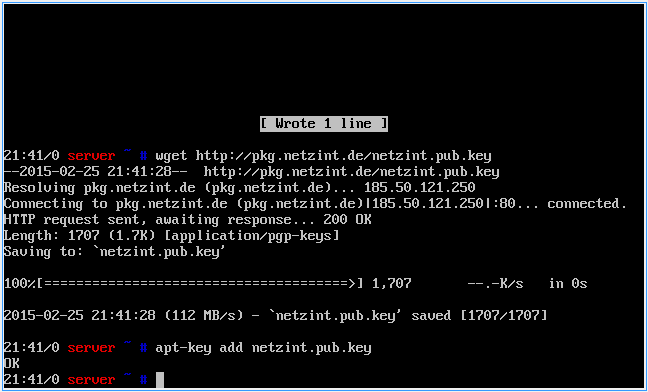
Enter the following commands in the console and confirm each with `` Enter``:
$ wget http://pkg.netzint.de/netzint.pub.key
$ apt-key add netzint.pub.key
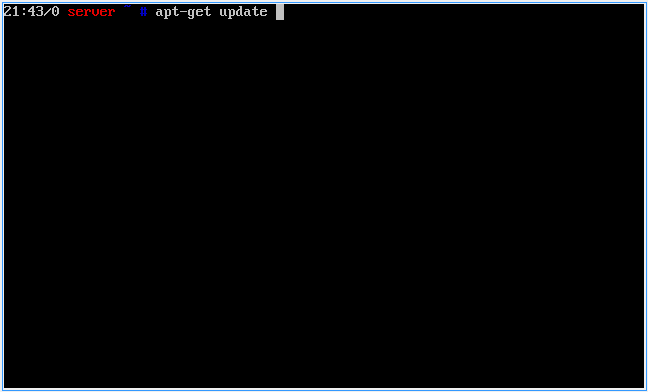
Enter the command
$ apt-get update
in the console and press Enter.
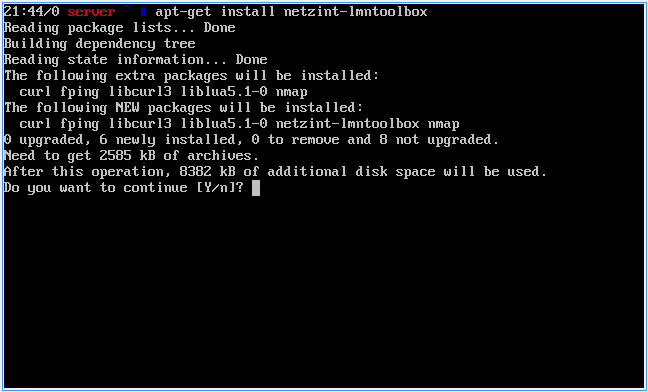
Enter the command
$ apt-get install netzint-lmntoolbox
in the console and press Enter. Continue with Y.
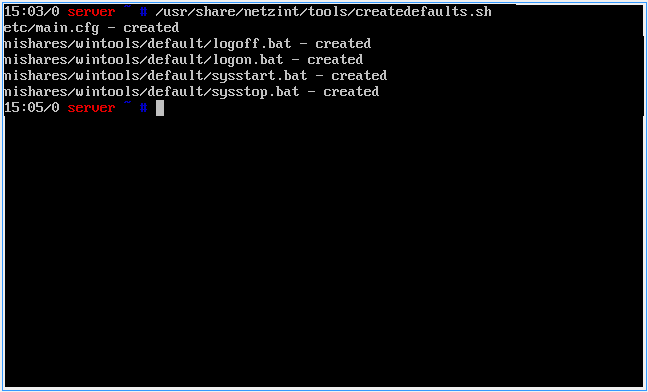
Create the basic configuration files with the command
$ /usr/share/netzint/tools/createdefaults.sh
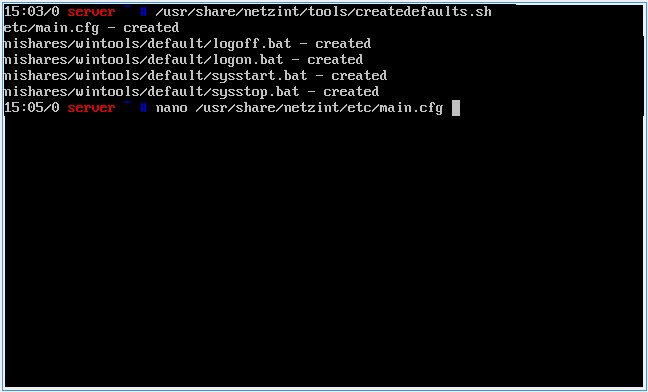
The command
$ nano /usr/share/netzint/etc/main.cfg
you can edit the default settings for some tools.
Customizing the system resources
XenCenter
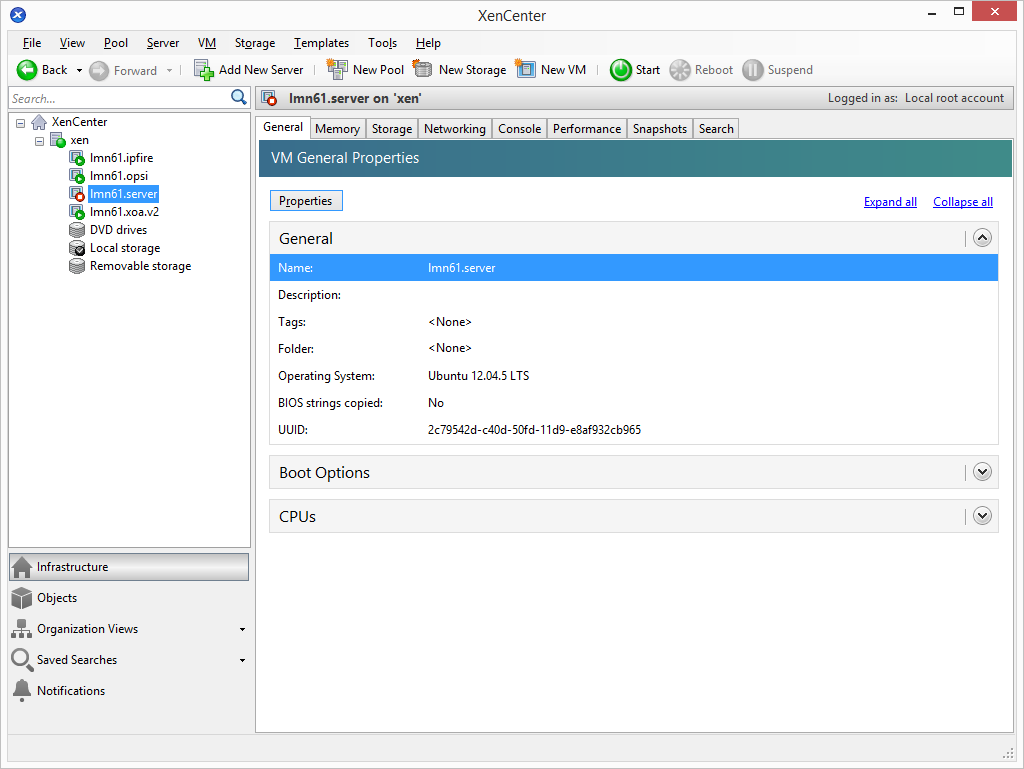
Click with the right mouse button on the server and select Shut Down. Switch to the General tab and click on Properties.
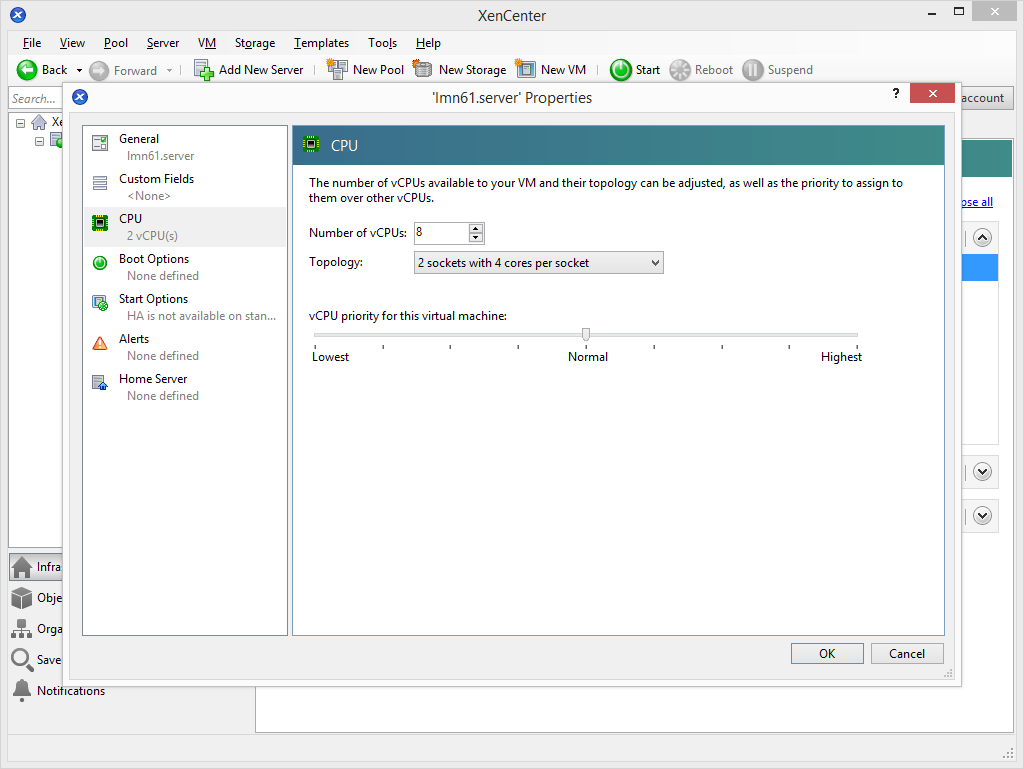
Select CPU on the left side and enter the desired number of virtual cores and confirm the setting with Ok.
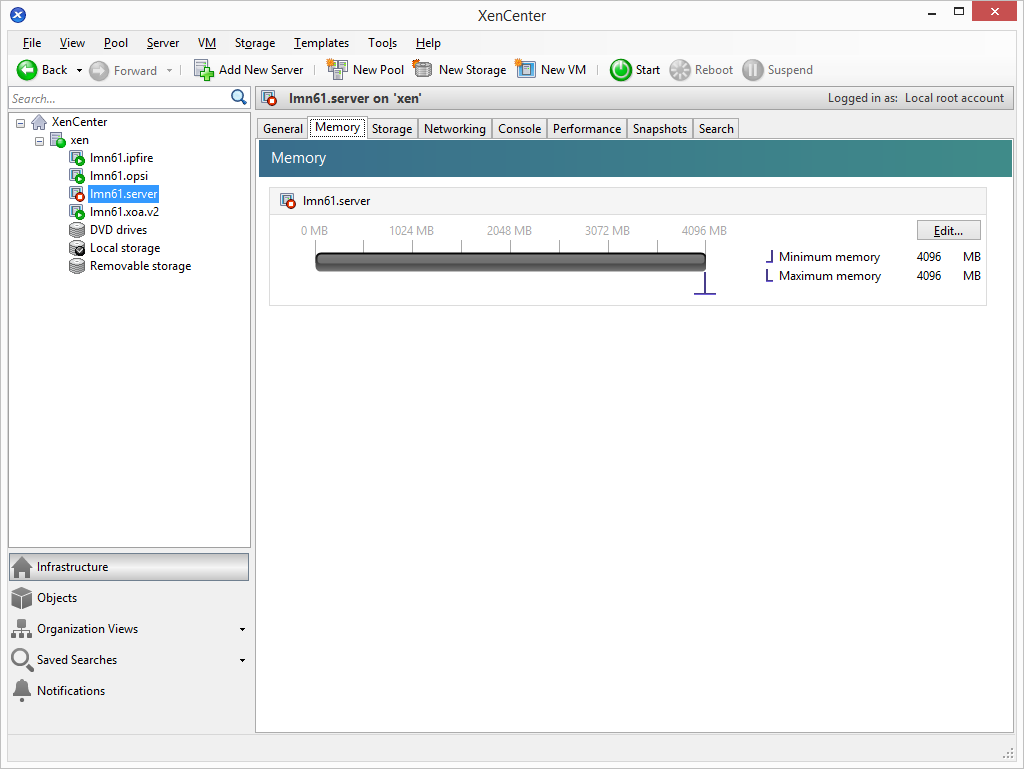
Switch to the Memory tab and click on the ``Edit … ``.
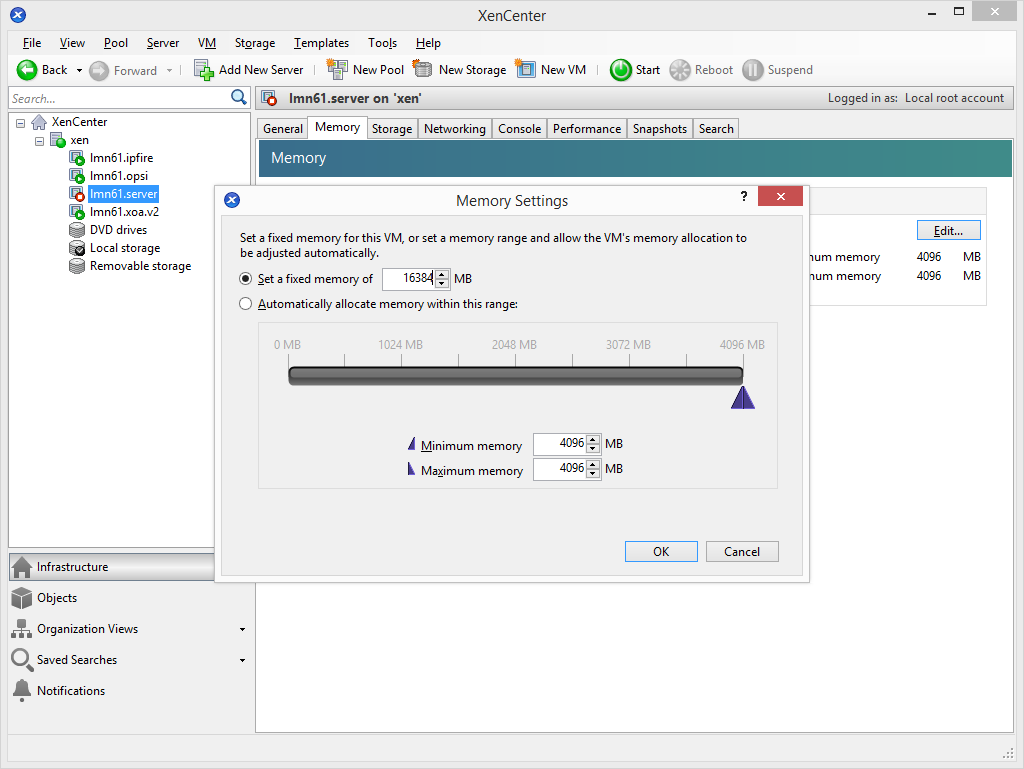
Enter the desired amount of memory and confirm the setting with OK.
Repeat the steps for the adjustment of CPU and memory for the other virtual machines in your pool.
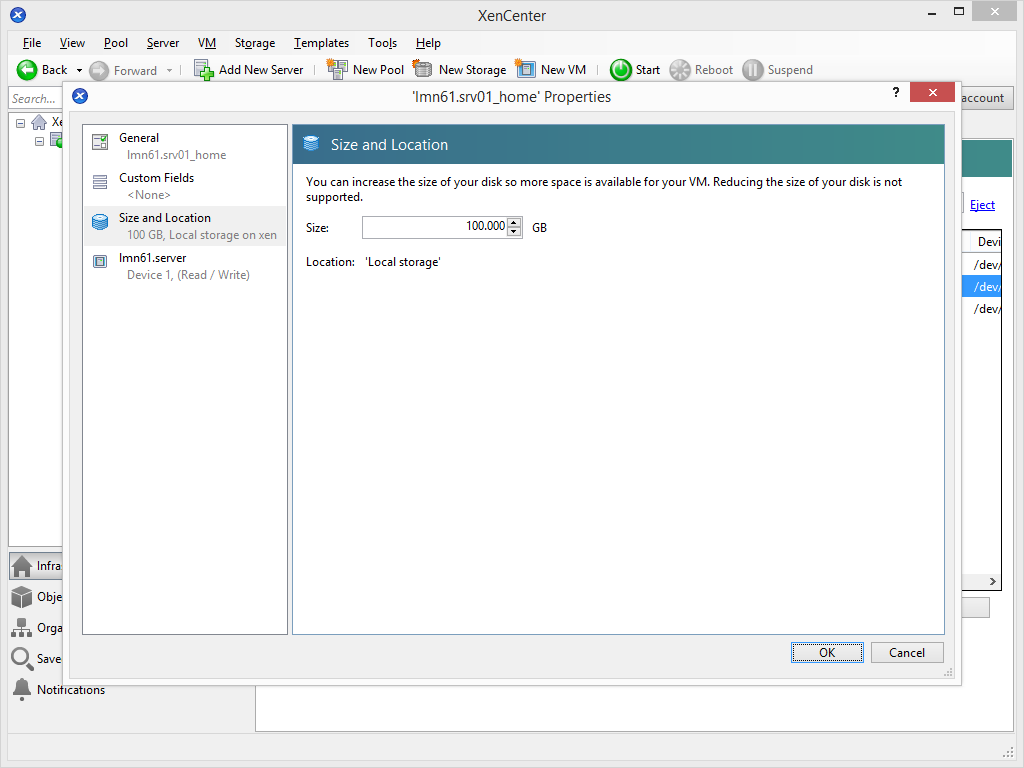
Select the server in the inventory list on the left and navigate to the Storage tab. Double-click the hard disk ..._home or select it and click on Properties.
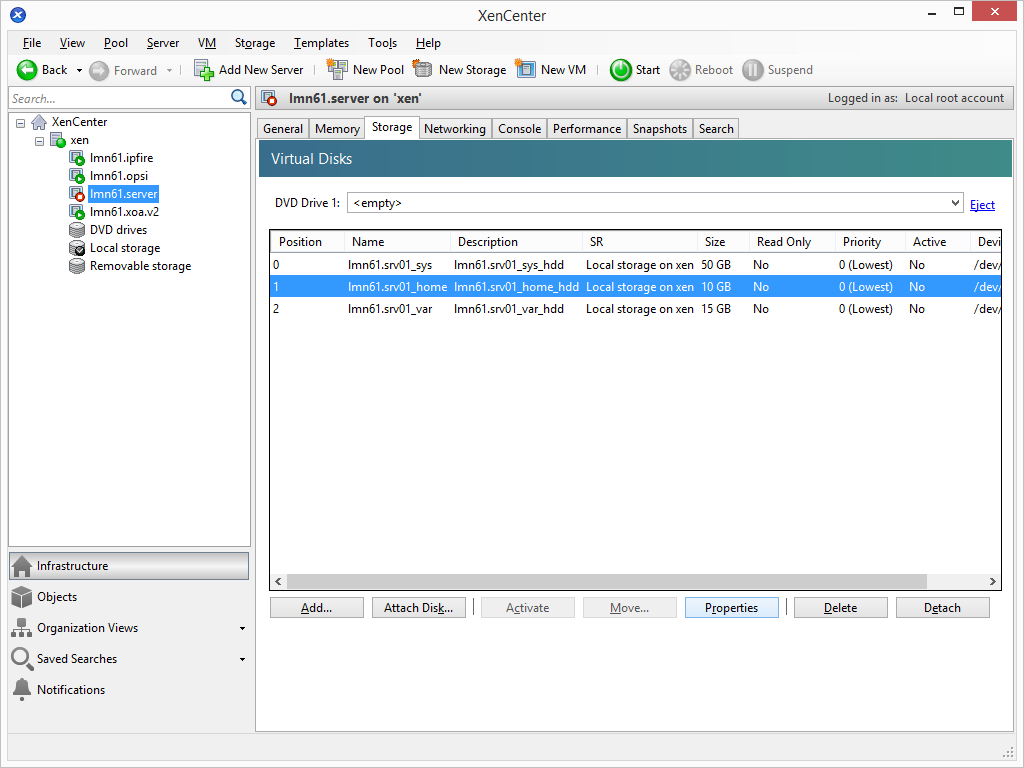
Enter the desired disk size in the size field and confirm the entry with OK.
Note
Hint: The home directories of students and teachers as well as the exchange directories are deposited here later.
Repeat this step with the hard disk ..._var. The images of the school network computers are stored here later.
XOA / XenKonsole
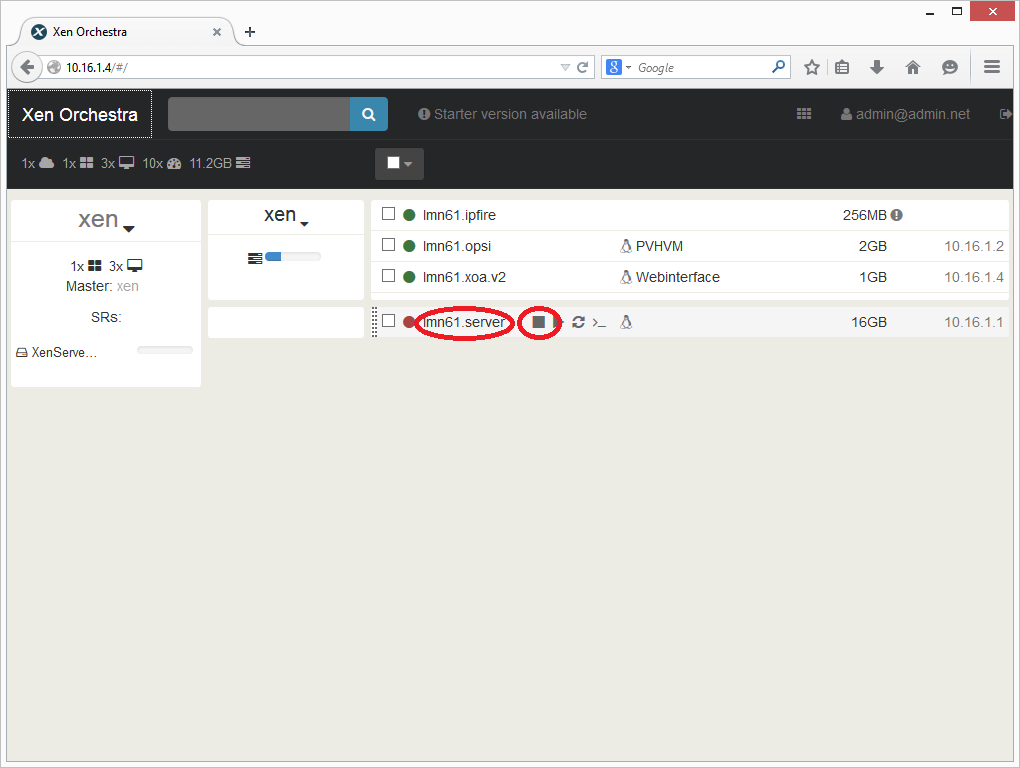
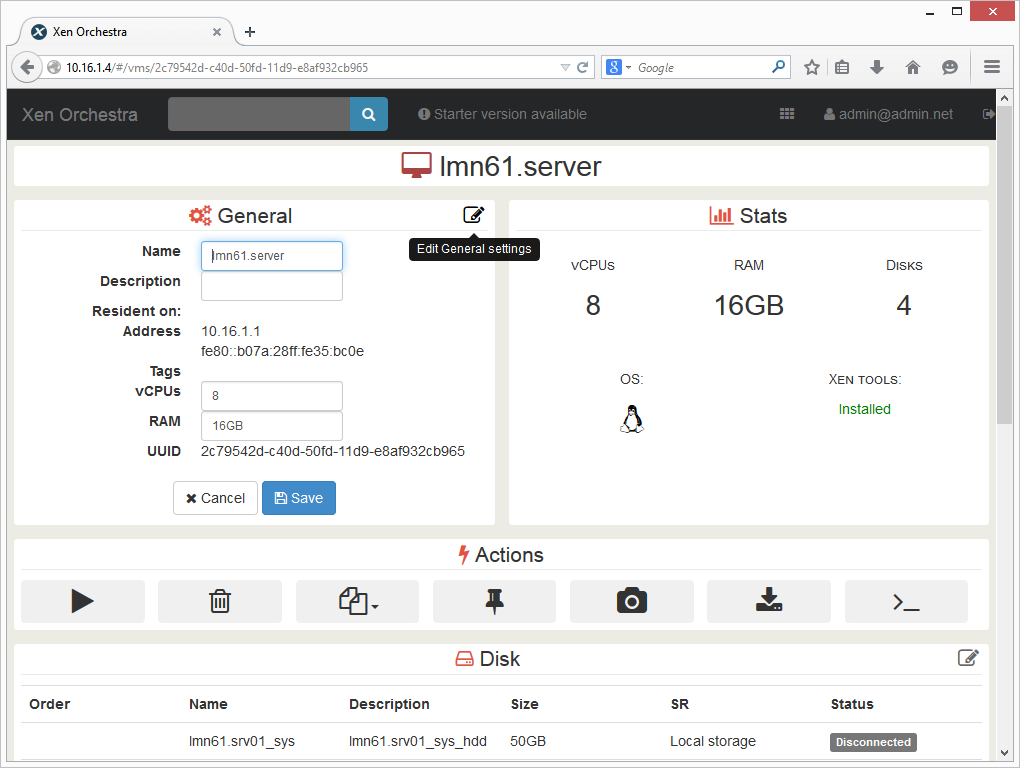
Open XOA in a web browser and log in. Click on the stop icon to shut down the server. Then click on the server to access the overview page.
Click on the edit icon in the field General. Enter the desired number of virtual CPUs and the amount of memory for the VM and complete the setting with the button Save.
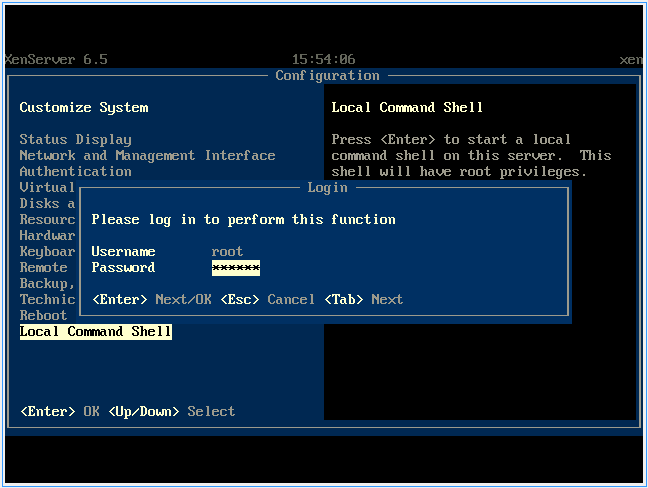
Open a root console on the XenServer.
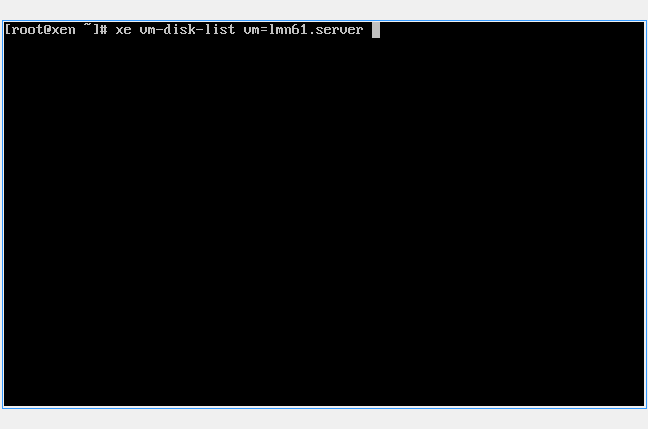
Enter the command
$ xe vm-disk-list vm=lmn62.server
and confirm with Enter.
Note
Hint: By pressing “TAB” you can use auto-completion. Once you have entered the first few letters of a command or the name of the VM pressing TAB completes the command or the name.
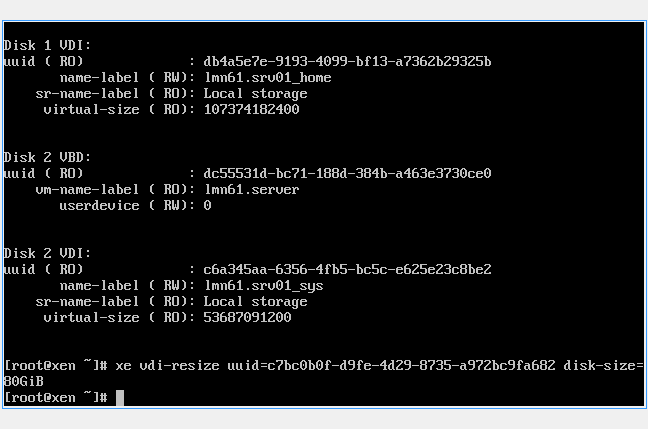
All all virtual hard disks of the server “lmn62.server” will be listed. You must look for the Virtual Disk (VDI) thats label ends with ..._var. Write down the first letters of the UUID.

Enter the command
$ xe vdi-resize uuid=<UUID> disk-size=XXXGiB
and confirm with Enter.
Note
Hint: Use autocompletion! Enter the first character of the UUID, then press “TAB” to complete the UUID.
Repeat the process for the VDI ..._home.
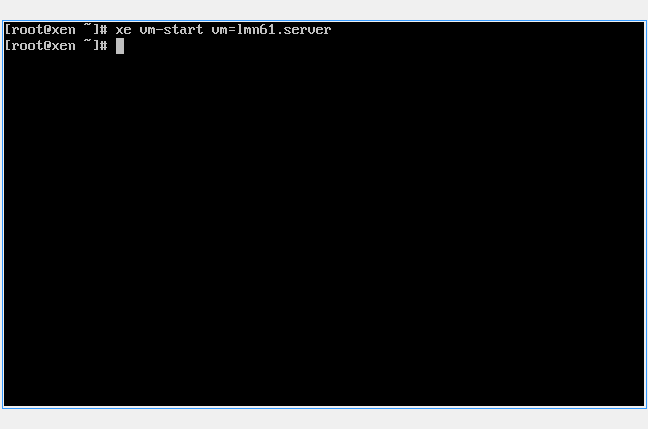
Now start the VM with the command
$ xe vm-start vm=lmn62.server
Expanding the LVMs on the server
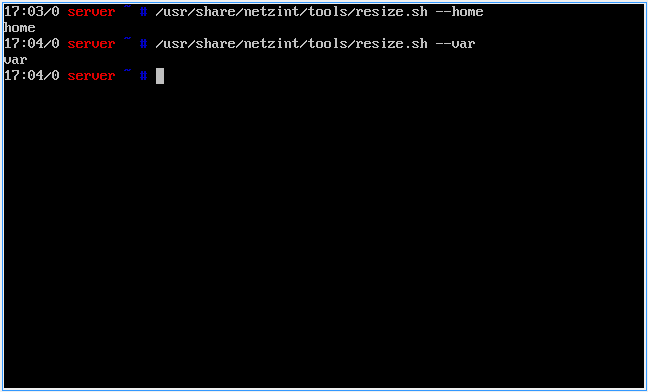
Enter the following commands in the console of the server and confirm each with Enter:
$ /usr/share/netzint/tools/resize.sh --home
$ /usr/share/netzint/tools/resize.sh --var
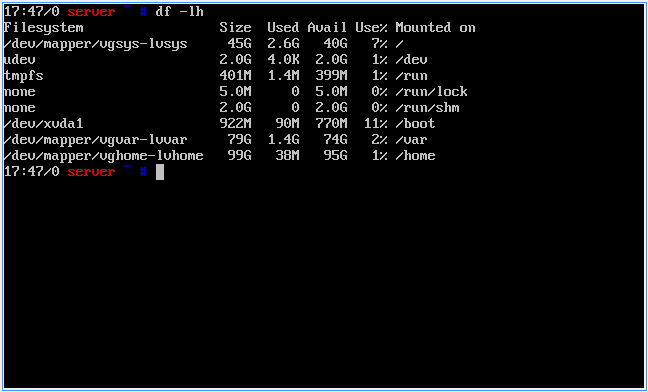
The command
$ df –lh
you can check the amount of memory.
Completion of the basic installation
Your environment is now ready for the regular use of linuxmuster.net.
For most of the administrative tasks you can use the school console. You can open it from a computer in the school network with any web browser under the url https://server:242.
If you have the new linuxmuster-WebUI installed you can open it with https://server:8000.
Note that you can use the school console and ssh to the server only from computers that are listed in the workstation file on the server! Read the documentation about Linbo to learn how you can register a computer in the school network.