Installation XenServer
Download XenServer
The hypervisor can be downloaded from the project website www.xenserver.org. This manual refers to the version 7.0. In older versions of XenServer the VMs lmn62 can not be imported.
The ISO file must be downloaded and burned to a CD.
Installation XenServer
Boot from the CD and follow the setup:
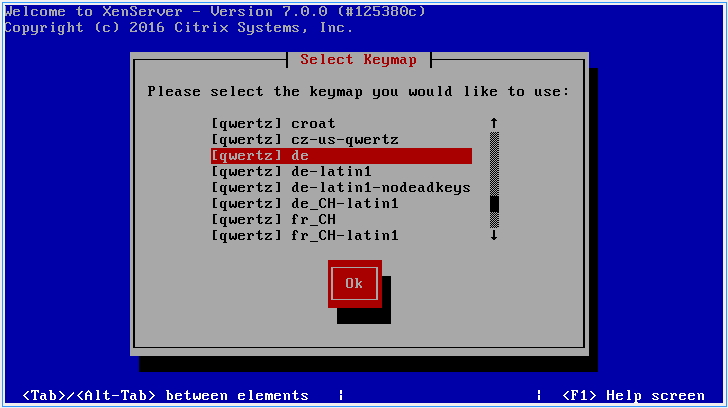
Select your keyboard layout. We use [querz] de.
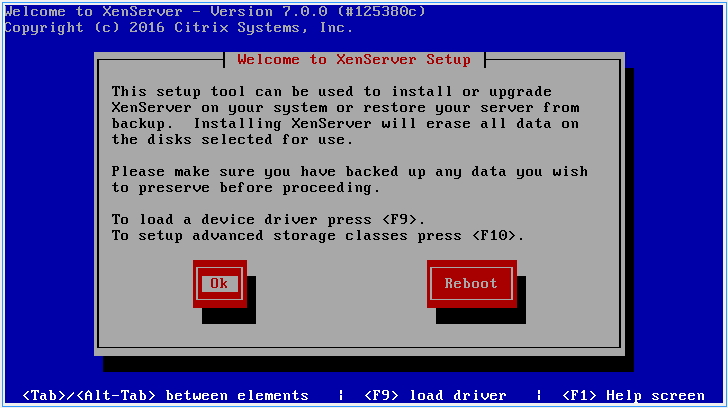
If you need additional drivers you can load by pressing F9.
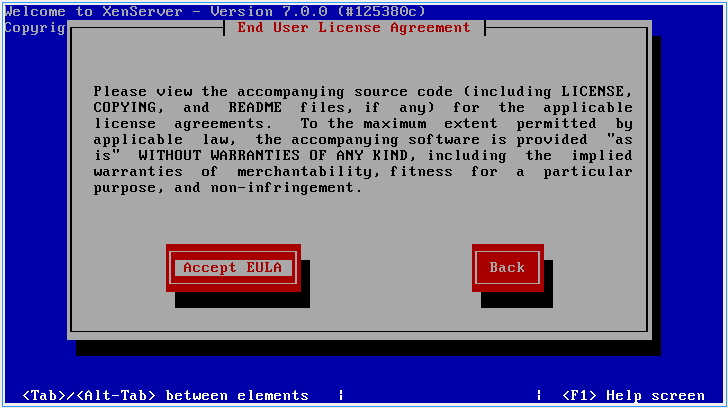
Accept the license conditions with Accept EULA.
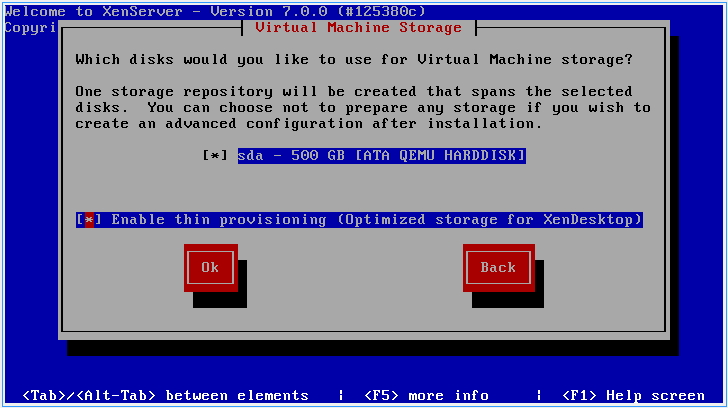
Select the disk to be used and set the check mark for “Enable thin provisioning”. Confirm with Ok.
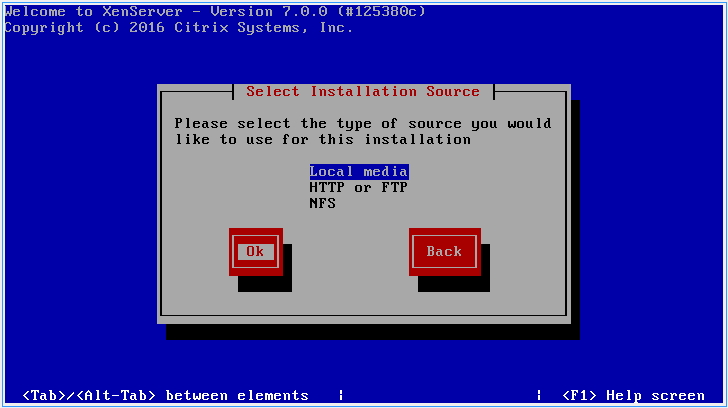
Here you can choose the installation media. We use the local disk (CD).
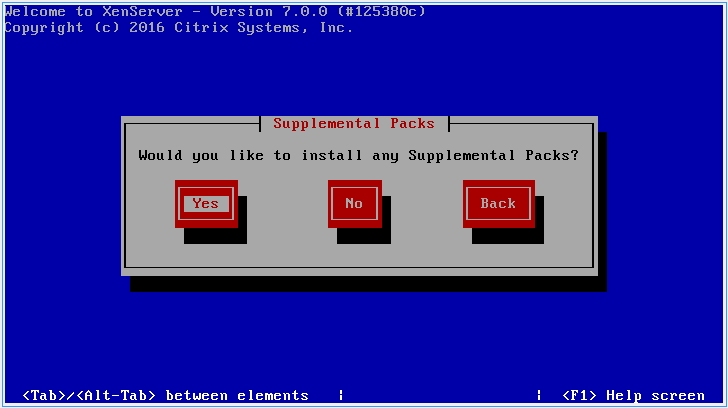
Select Yes to be able to install NI XenServer Tools.
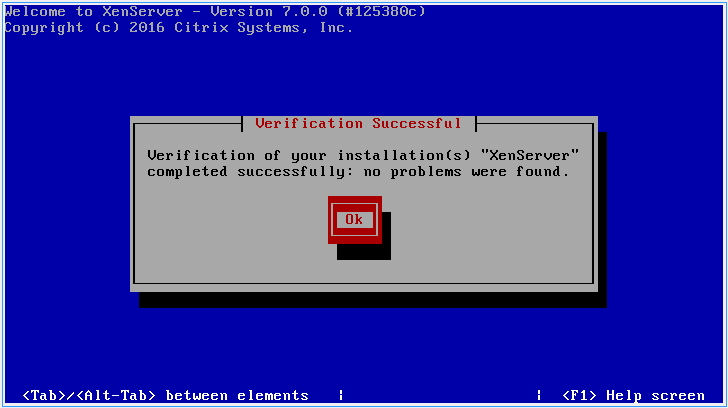
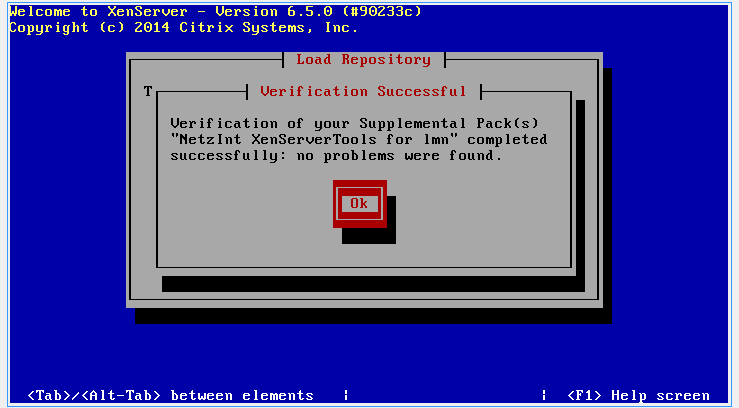
Select “Verify installation source” and confirm with Ok.
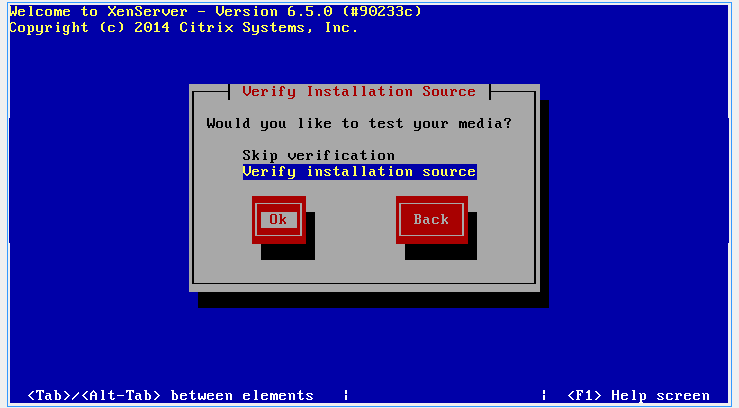
If “no problems were found” appears, you can confirm the message with OK.
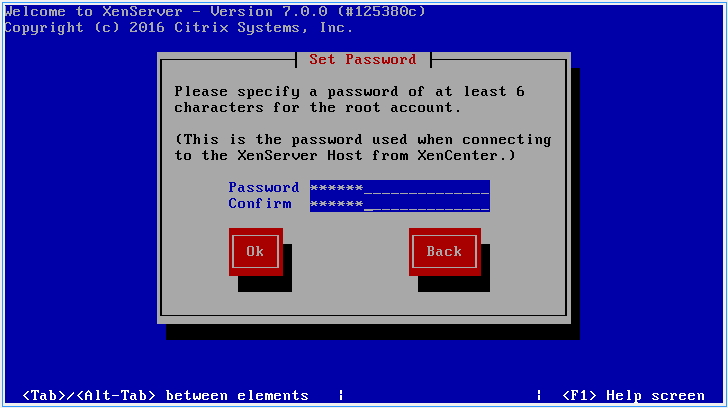
Enter your desired root password. This will be needed later to connect with the hypervisor.
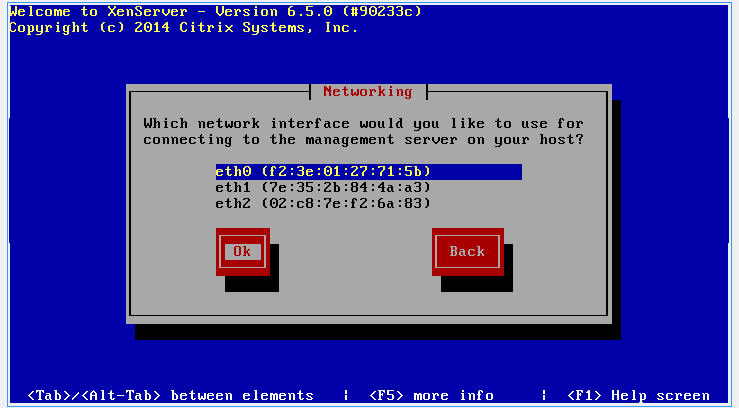
Now select the network card, that is connected to the green network (GREEN) later.
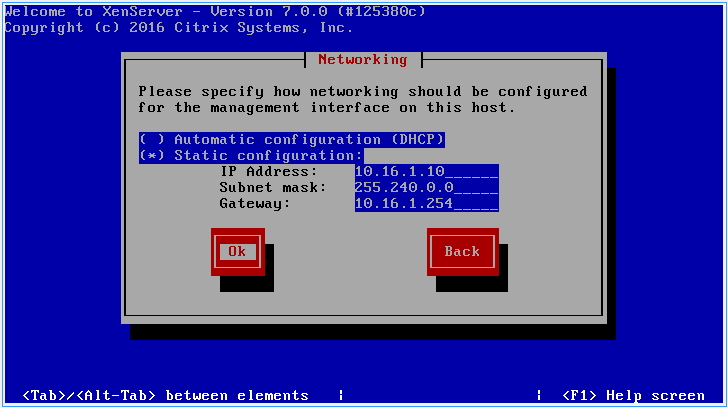
Select “Static configuration” and enter the address of the screenshot. Confirm your entry with Ok.
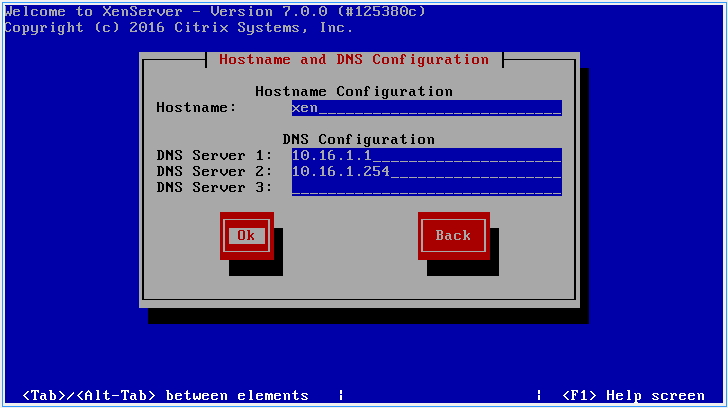
Enter the host name and the DNS server 10.16.1.1 and 10.16.1.254.
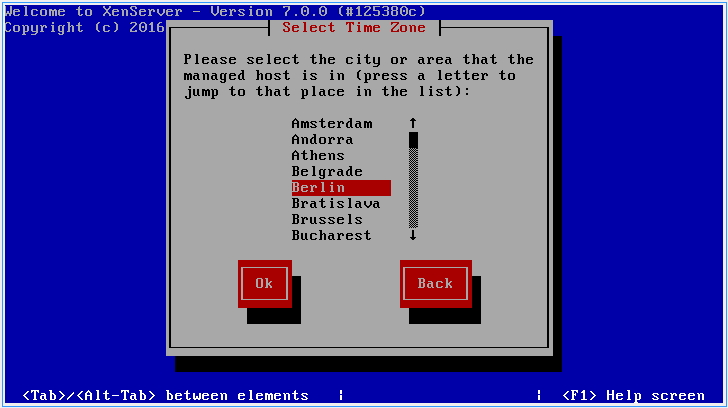
Select your time zone and confirm with Ok.
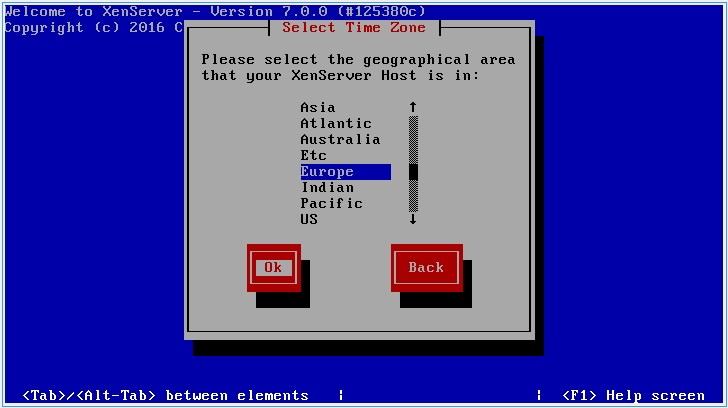
Select your time zone and confirm with Ok.
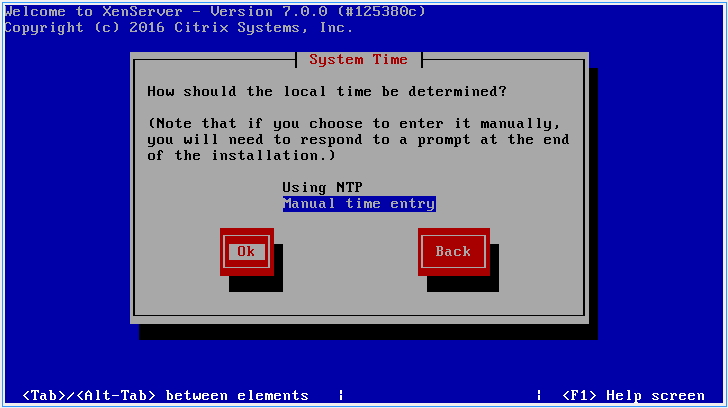
If you operate a time server, you can specify this. We set the time manually. Select “Manual time entry” and confirm with Ok.
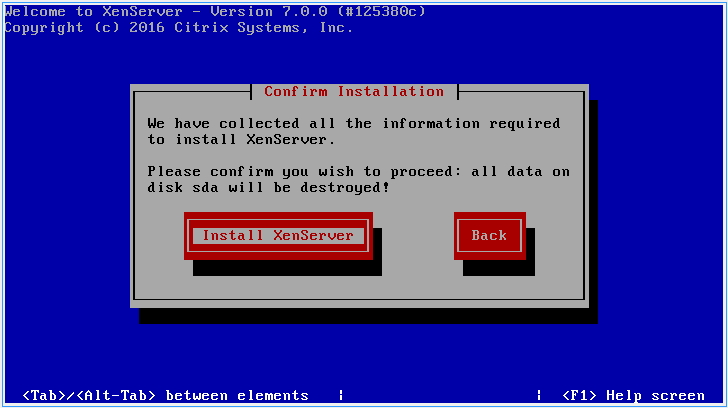
Now start the installation by selecting Install XenServer.
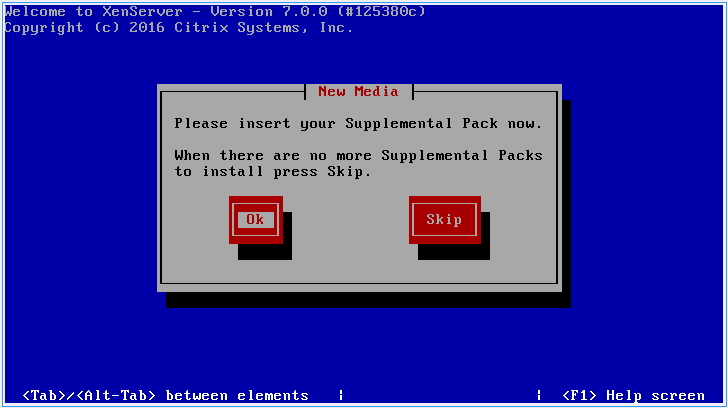
Wait for the “New Media” dialog to appear. Insert the “linuxmuster-SupplementalPack” CD into the drive and confirm with Ok.
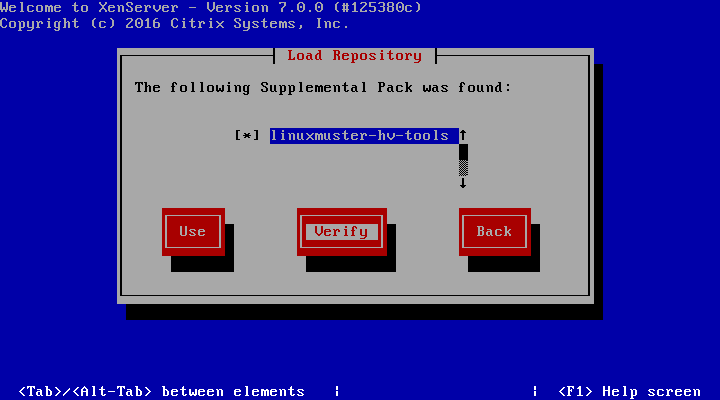
“linuxmuster-hv-tools” should already be selected. Check the CD with Verify.
Start the test with Ok.
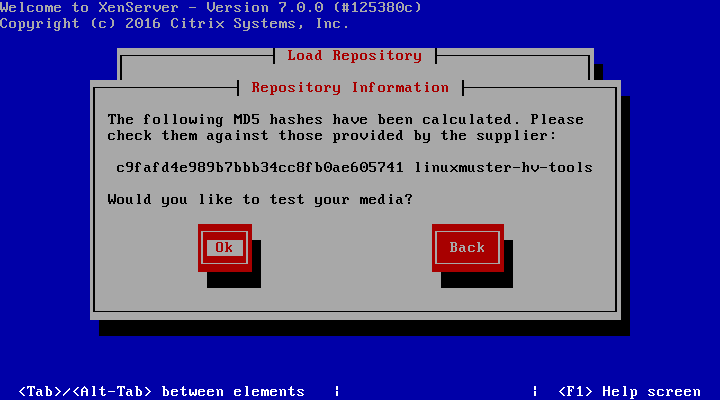
Confirm the successful test with Ok.
Now select button Use and confirm with Ok.
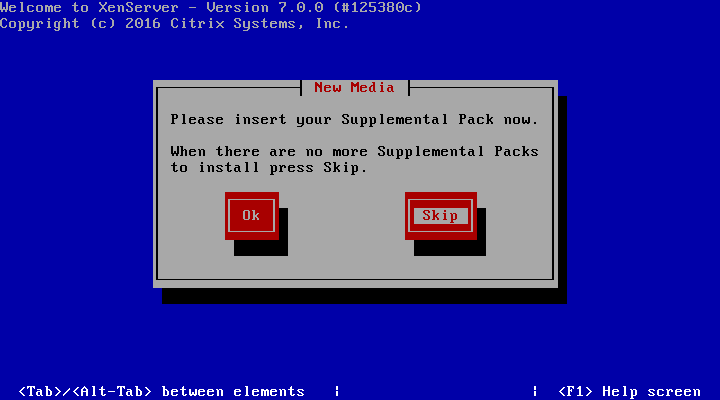
After installation, you will be prompted to insert additional CDs again. Select Skip and confirm with Enter.
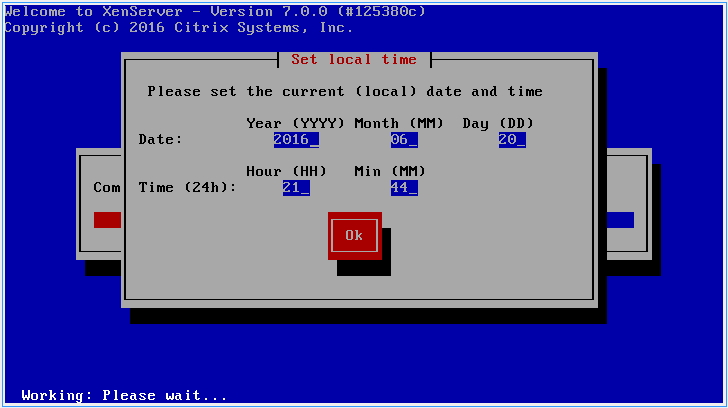
Set the correct time and confirm with Ok.
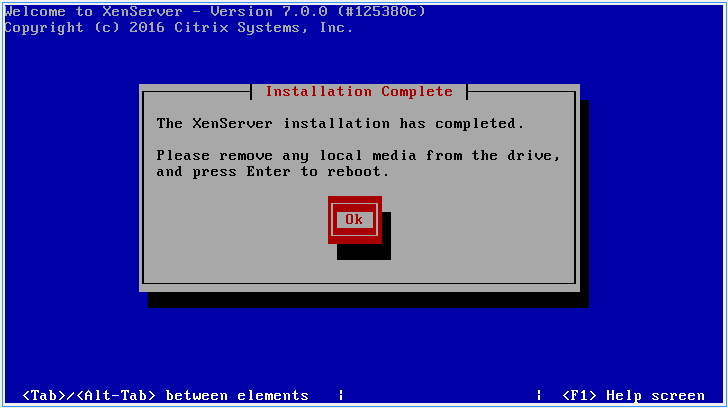
After successful installation, you can reboot the server with Ok.
After the setup a console appears where you can managed the server.
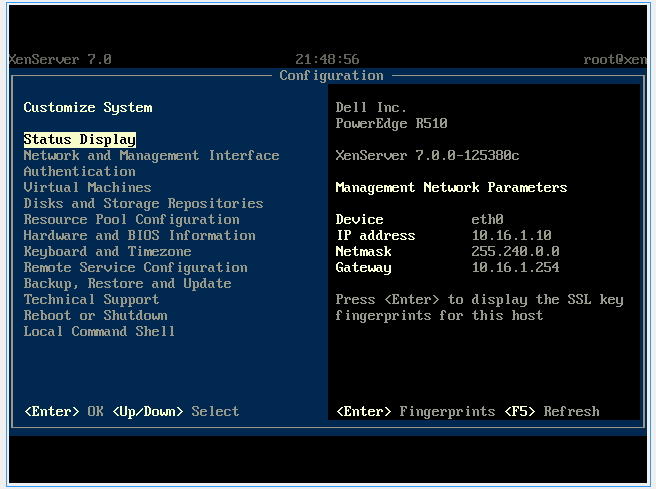
Initialize XenServer
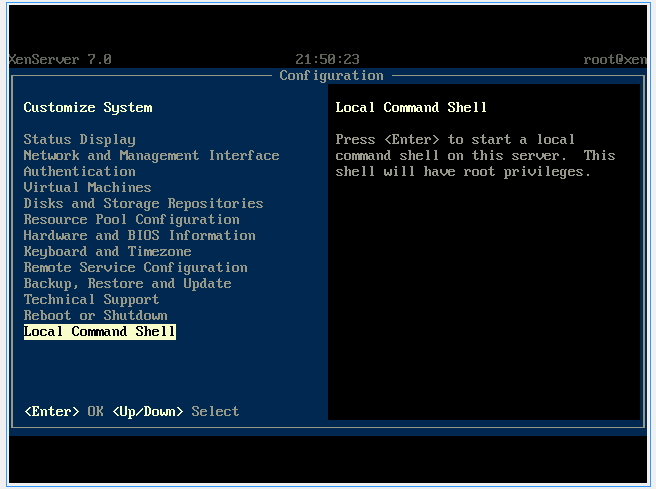
On the XenServer select Local Command Shell and press Enter.
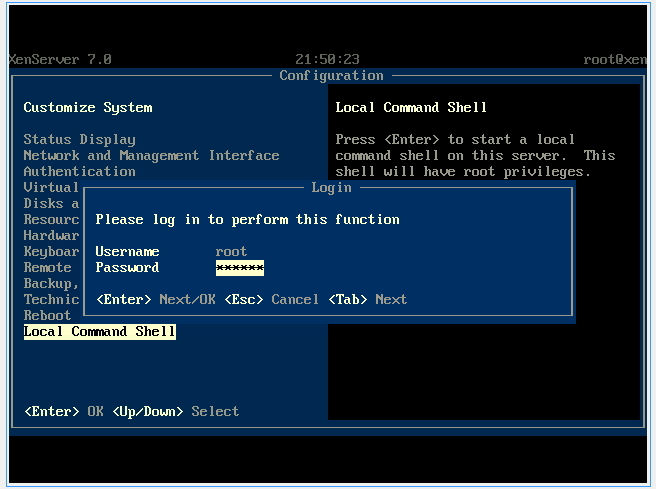
Enter the user root and the password you have assigned during installation.
Note
In case you have installed a raid, you should wait until the raid is completely initialized before doing this step. The larger the raid, the longer the waiting time. It is possible to calculate a waiting time of one night (e. g. 6 Terrabyte hard disk space). If you don’t wait, the import of the machines can fail, because the raid is not yet ready and therefore the hard disk is not available.
Enter the command linuxmuster-hv-setup --first and press Enter.
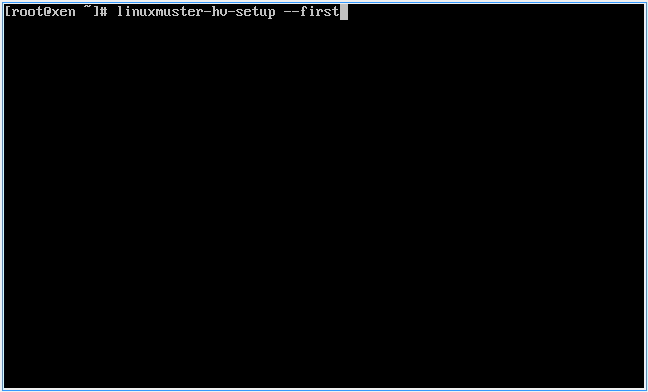
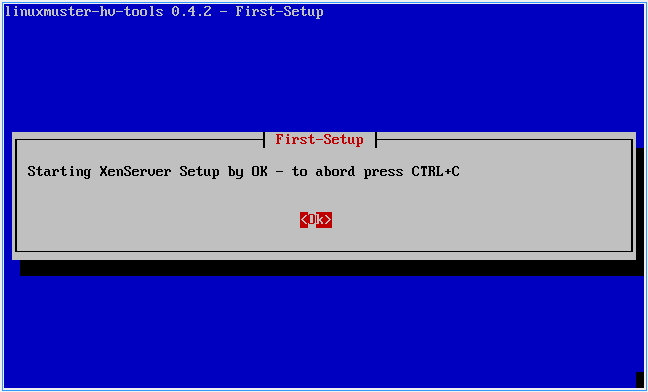
Start the installation with Ok.
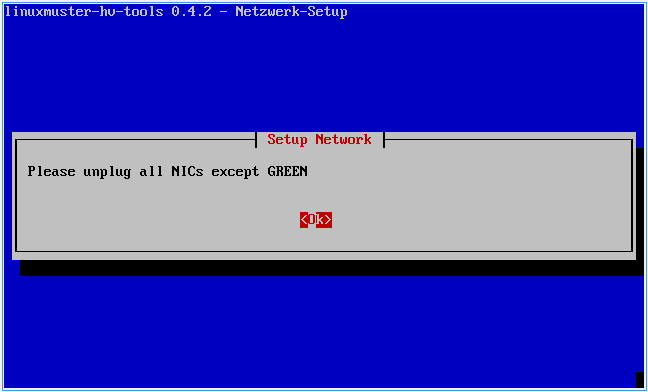
If there are enough NICs this message appears:

Disconnect all network cables except the GREEN network cable (internal school network). There must be a connection between the switch and server. Then confirm with Ok.
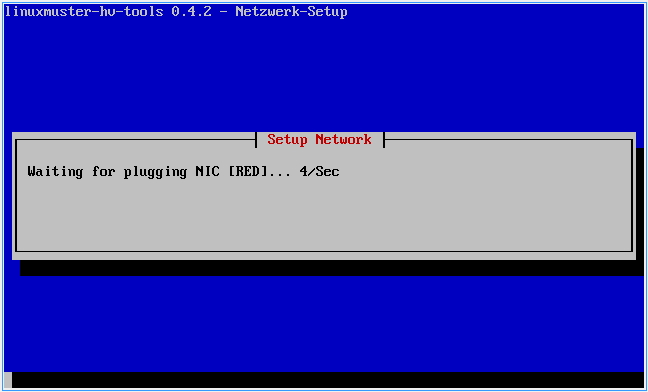
Now connect the RED network card with your modem or switch for the RED network. The affected NIC is recognized and configured.
Now connect the BLUE network with the desired interface at the server.

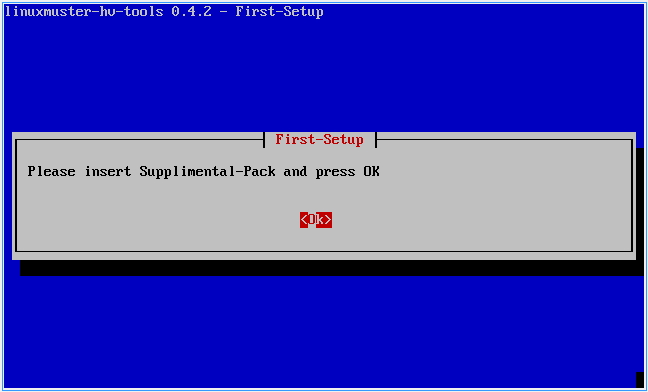
Now insert the CD “linuxmuster-SupplementalPack” again into the drive and press Ok.
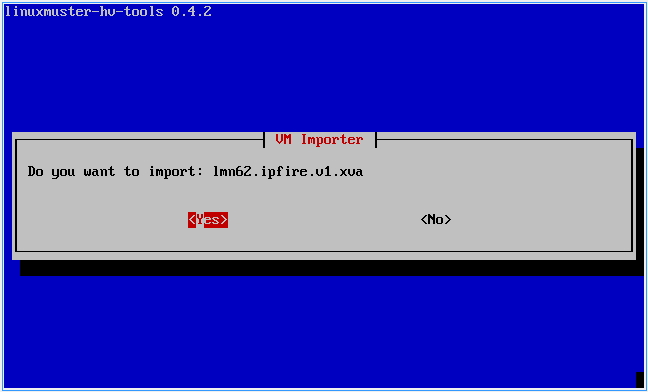
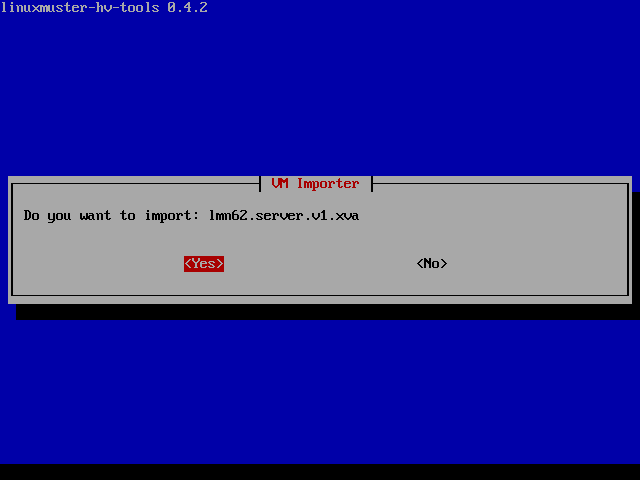
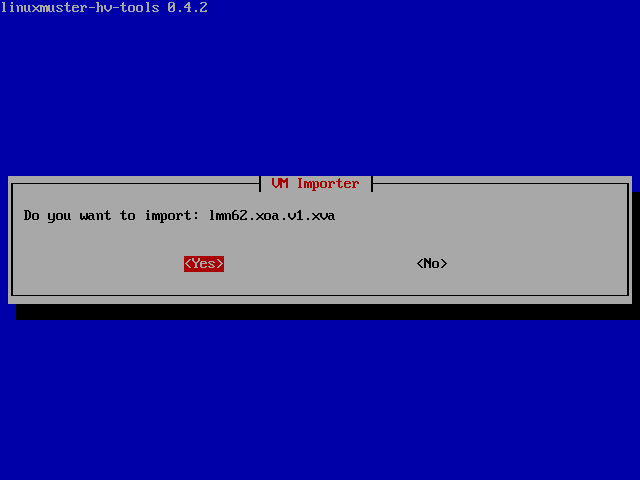
You will now be asked which VMs you want to import. Select for each VM Yes or No and confirm with Enter.
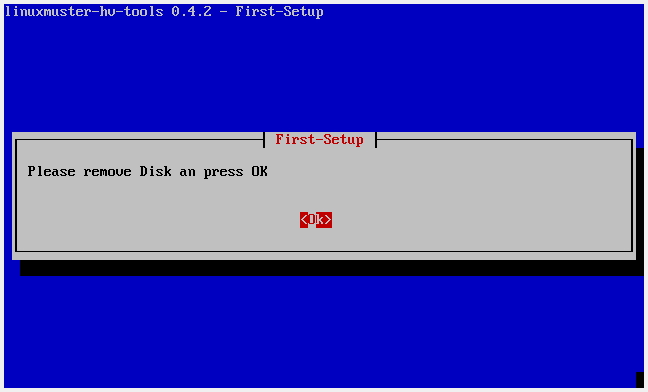
Now remove the CD and confirm with Ok.
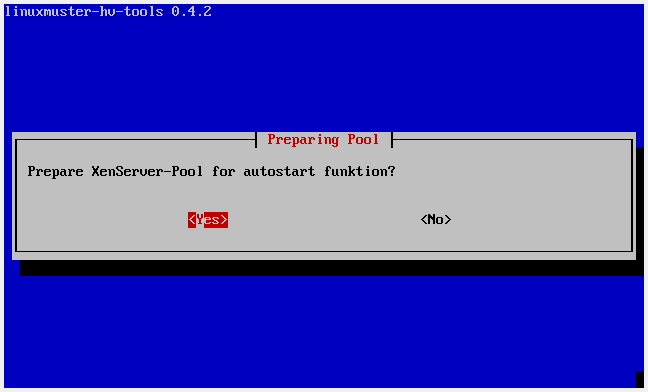
You will be asked whether you want to use the Autostart function. If you enable this feature you can select VMs to be automatically started when the XenServer in the following step. Select Yes or No.
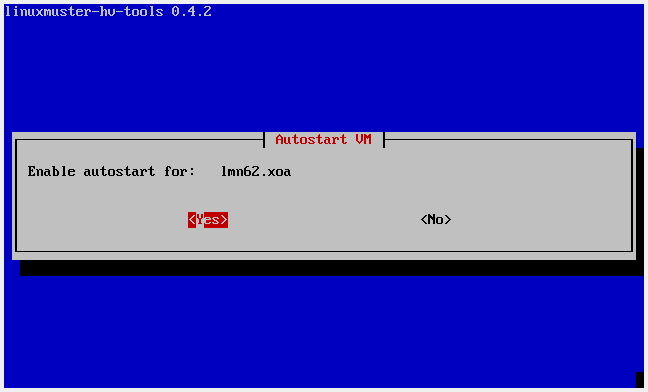
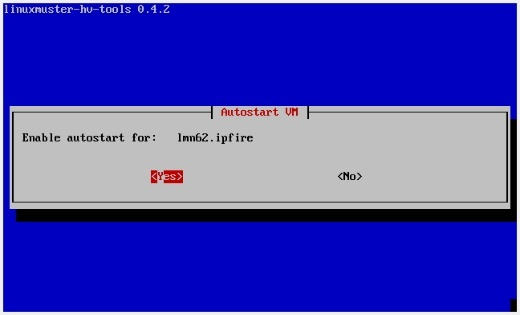
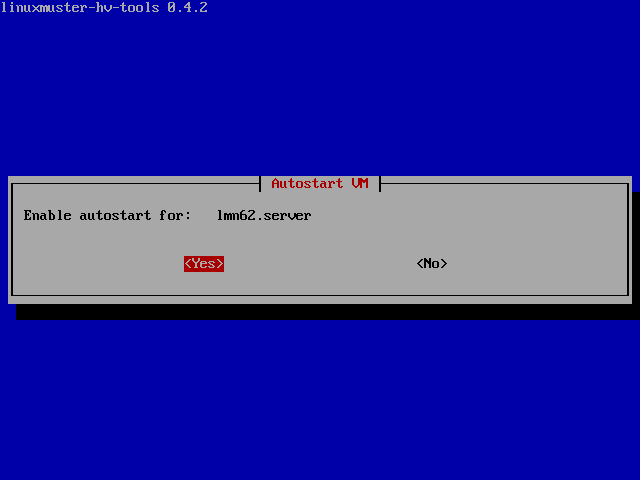
You will now be called one after another which VMs should start automatically. Select each Yes or No and confirm with Enter.
You can now restart the system by selecting Yes.
The system shuts down and starts thereafter. The VMs that you have imported will start directly - if accordingly configured - and are ready for configuration.